Last Updated on 30. June 2026 by Suffocation
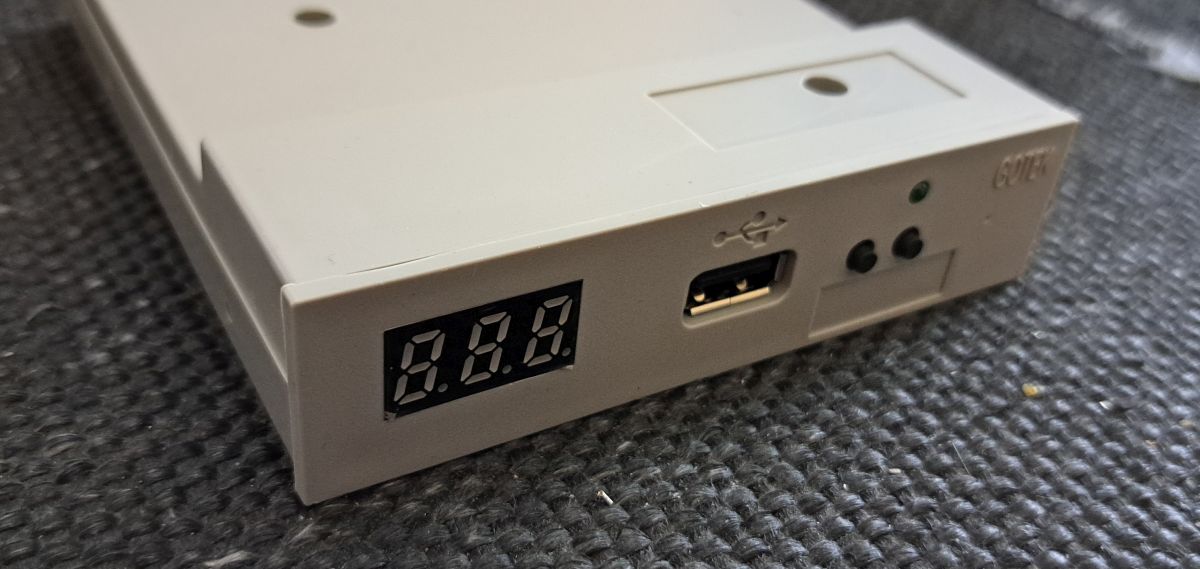
Da es immer schwieriger wird an funktionierende Diskettenlaufwerke zu kommen, hat Gotek einen Emulater entwickelt. Dieser kann anstatt eines originalen Laufwerks eingebaut werden. Der Emulator ließt seine Daten von Disk-Images auf einem USB Stick. So können hunderte von Images per Knopfdruck ausgewählt werden. Ich habe mich, wie sollte es sein für die billige Variante für rund 30€ entschieden und weil es schnell gehen sollte bei Amazon bestellt. Parallel habe ich welche von schnellen Ali für rund 17€/St geordert.
Die billige Variant hat nur eine dreistellige Siebensegmentanzeige und zwei Druckknöpfe. Die neuere und teurere Variant hat ein kleines Oled Display und einen Drehencoder.
Links to the projects
https://github.com/OlegMishin/GotekFlashFloppy/tree/main
https://github.com/keirf/flashfloppy
Facts
| Name | Worth |
|---|---|
| Basis | Replacement floppy drive emulator with USB |
| Target system | Divers für mich PC und Amiga |
| Controller | Artery AT32F435 / STM32 (older version chip has become too expensive) |
| Printed circuit board | YES – but not from the manufacturer |
| Software | Version |
|---|---|
| Artery Flashtool ISP | 2.0.14 |
| FlashFloppy Firmware | 3.42 |
| Gotek | SFRKC30.AT2 |
Views
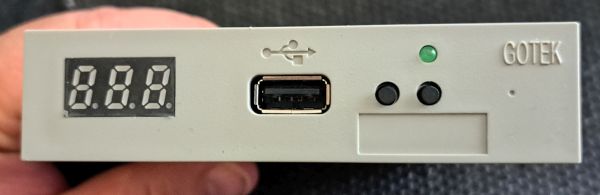
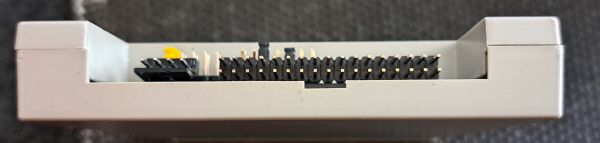
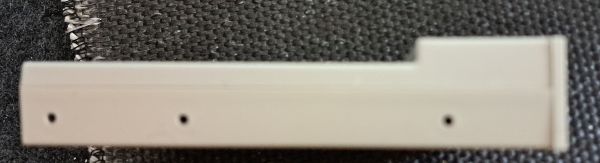
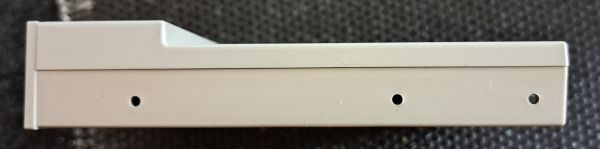
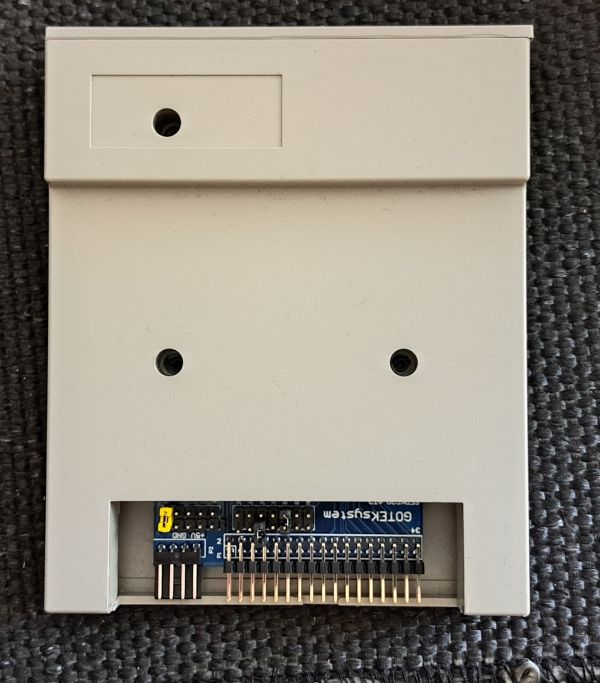
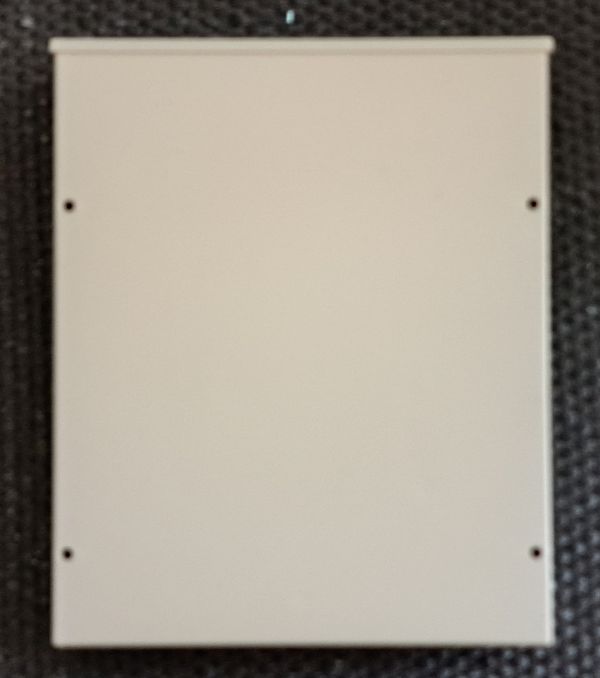
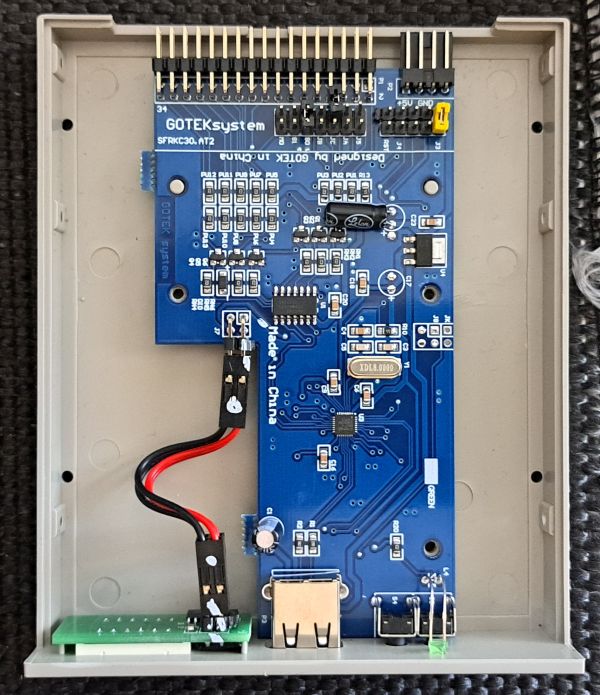
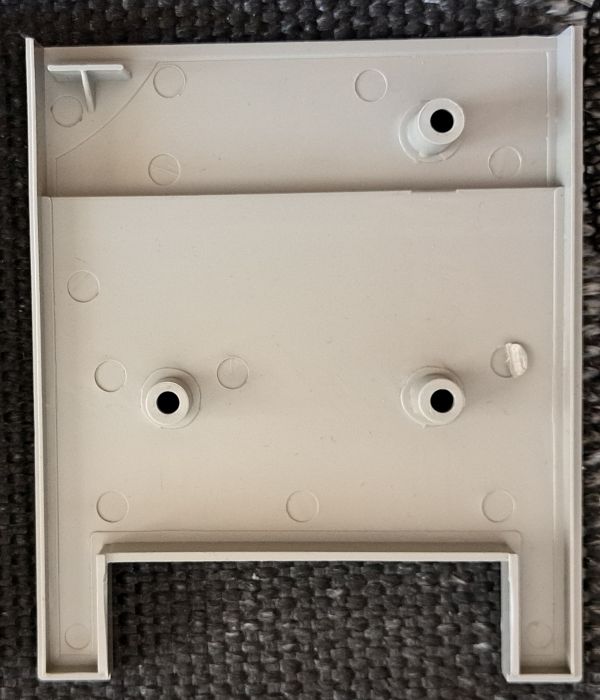
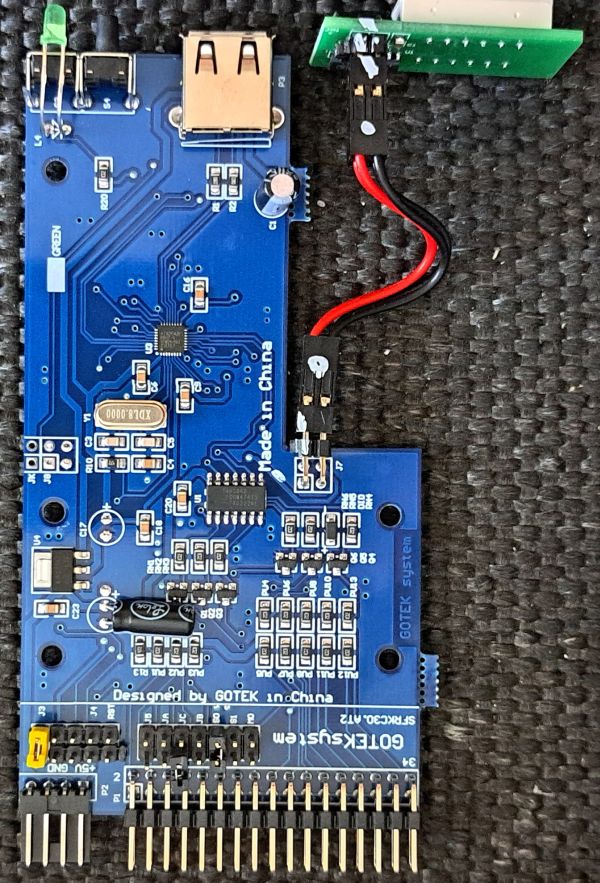
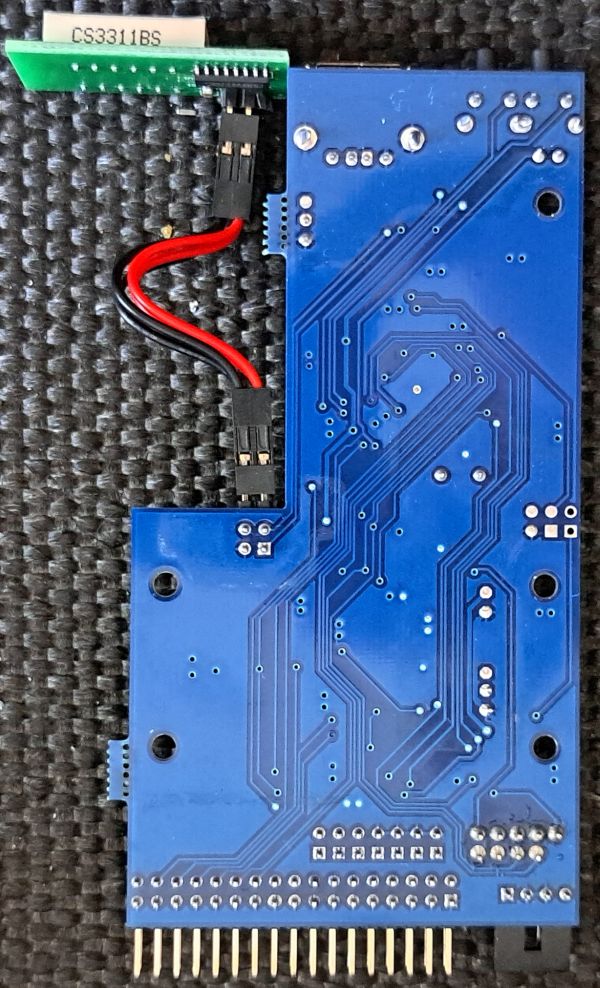
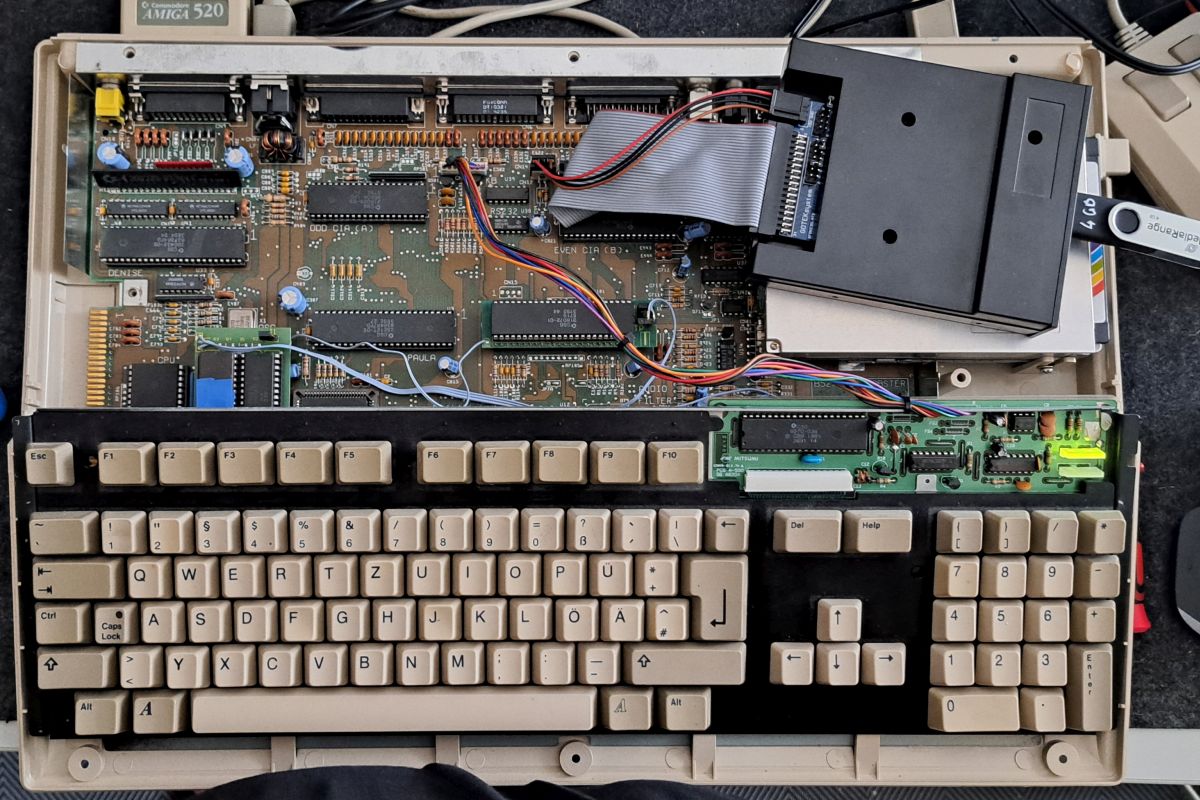
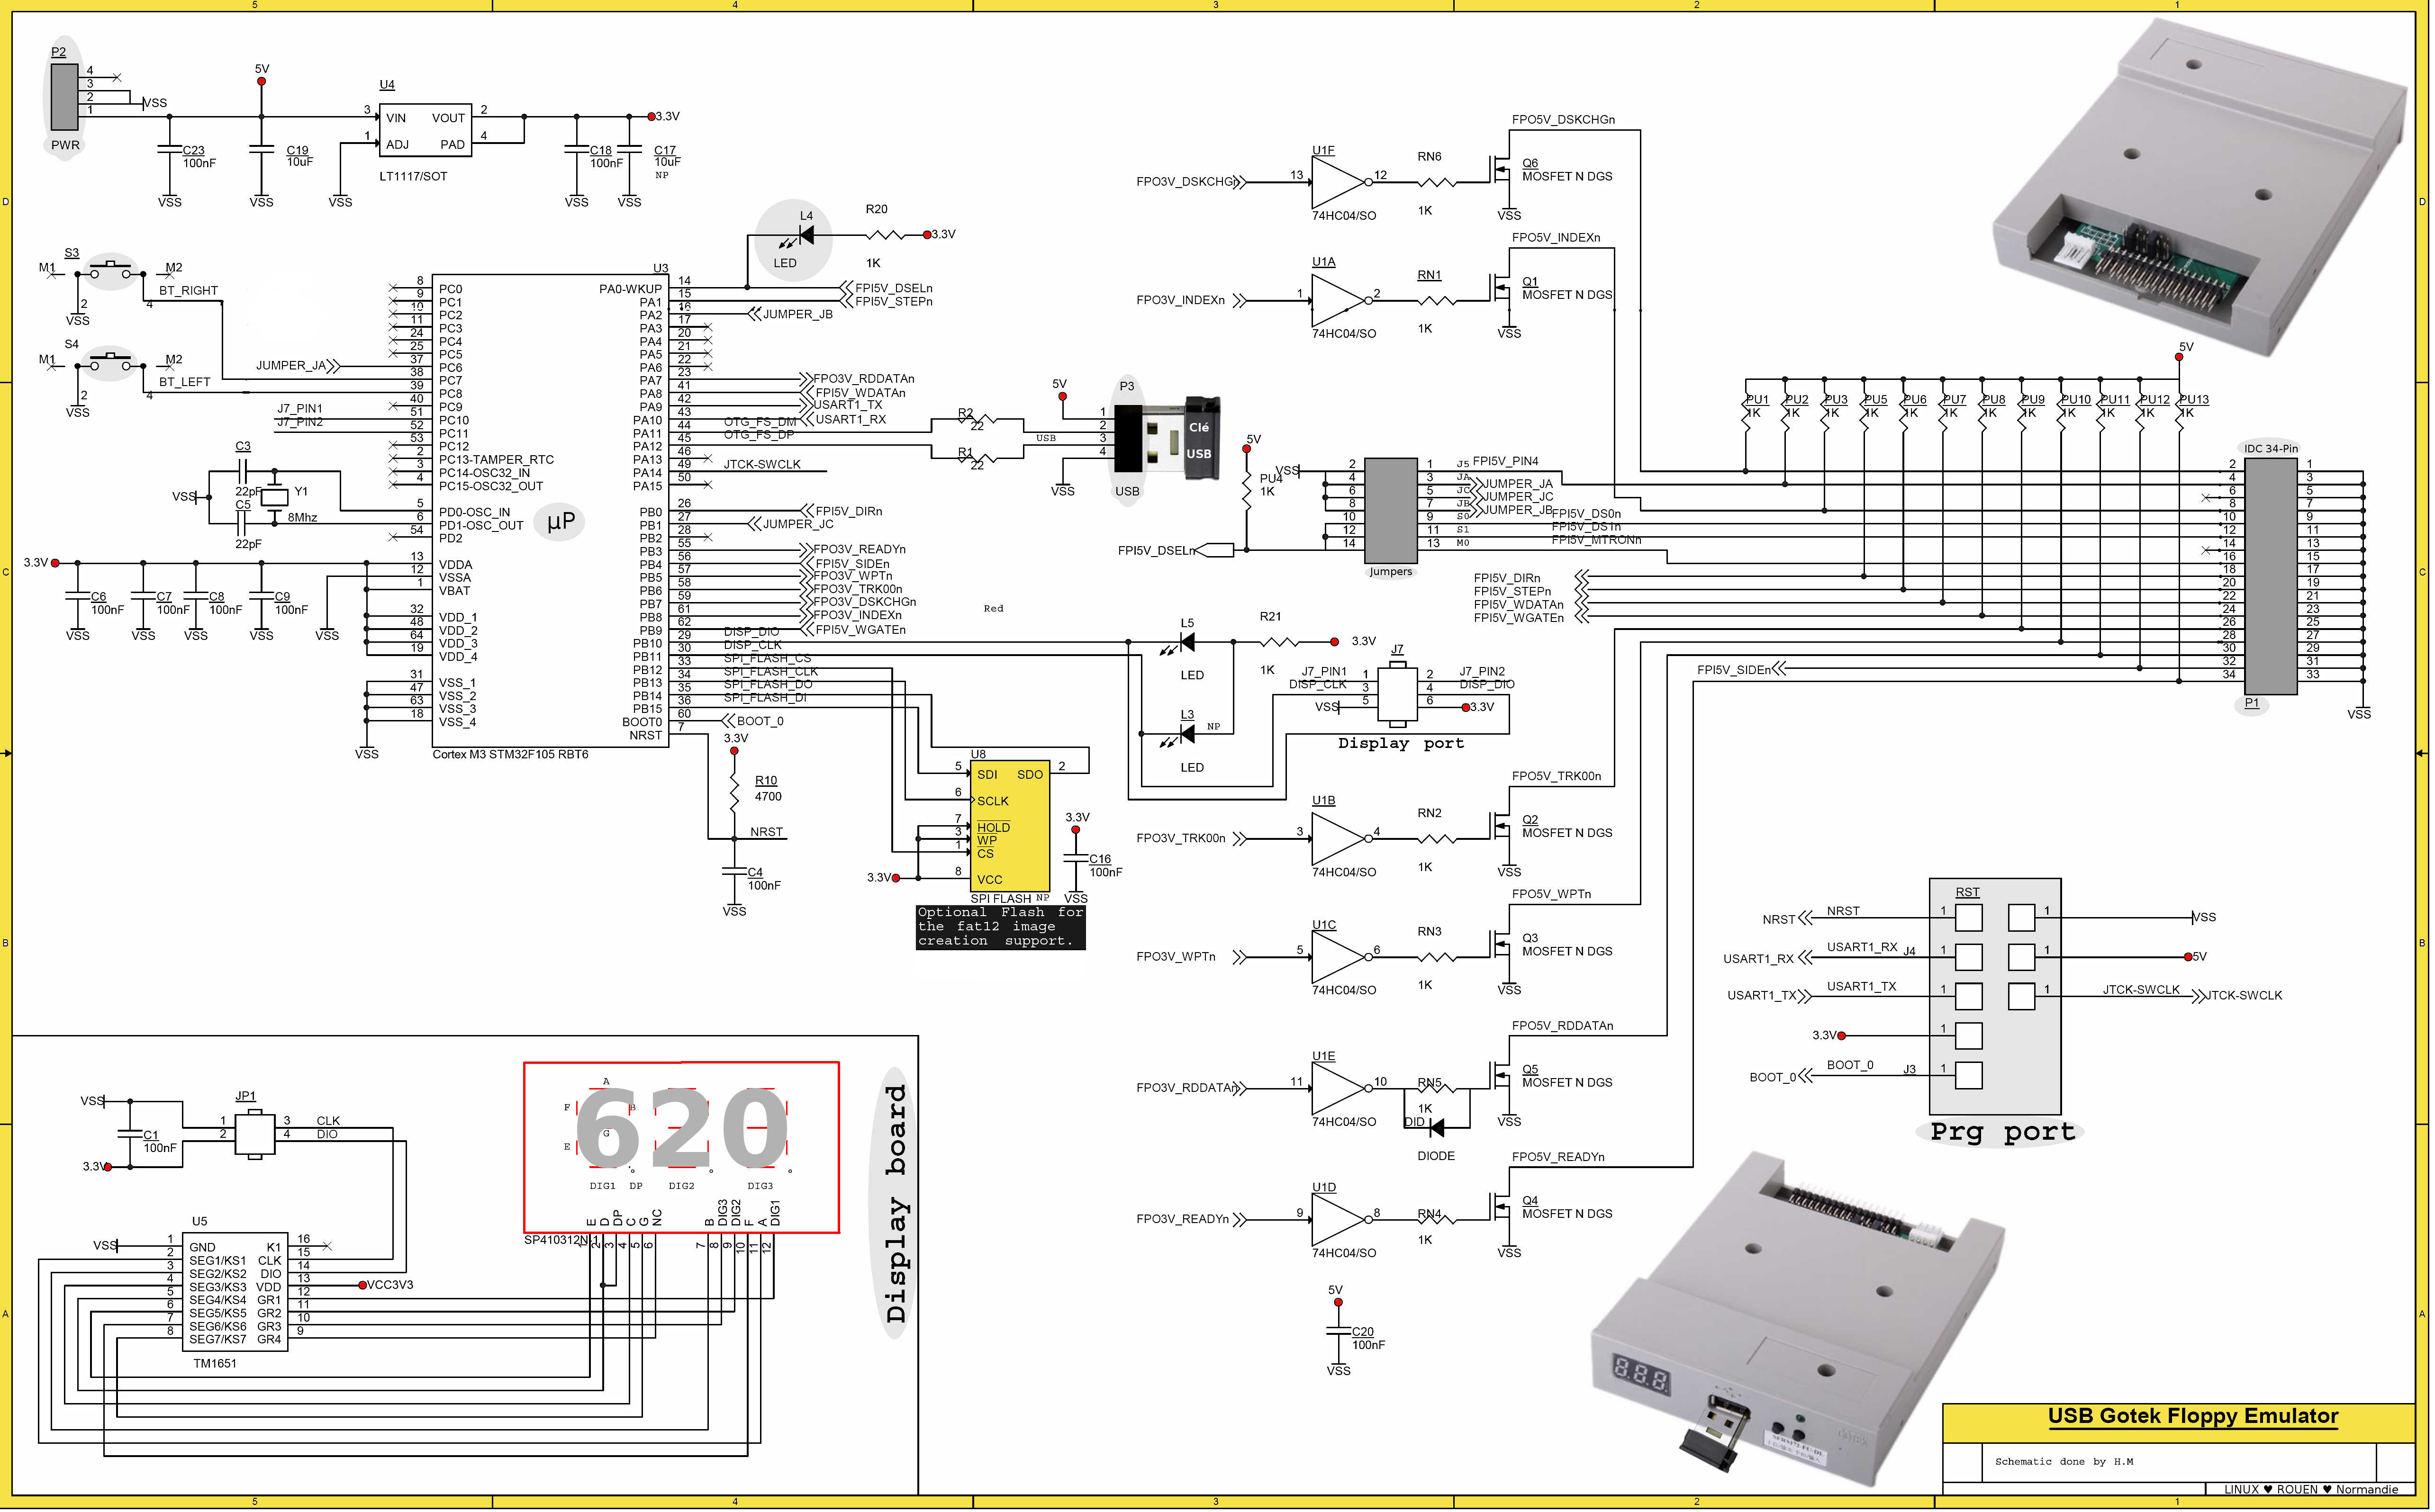
Schematic
Die Schaltpläne scheinen sowohl für die STM (STM32F105R) Version wie auch für den Atery zu gelten da diese Pinkompatibel ist (AT32F415R-Serie (LQFP64)).
Source: https://github.com/SukkoPera/OpenFlops/blob/master/doc/schematics.pdf

Commissioning
Firmware
Ich kann hier nur die Prozedure für den Artery beschreiben da ich die STM32 Version nicht besitze. Ist aber auch sehr gut auf anderen Webseiten beschrieben siehe Quellenverzeichnis.
Was wird benötig
| Position | Description | Quantity |
|---|---|---|
| 1 | Gotek with Atari Controller | 1 |
| 2 | USB A to USB A cable | 1 |
| 3.1 | Jumperkabel oder siehe nächste postion | 1 |
| 3.2.1 | [Optional] Pins zum einlöten | 9 |
| 3.2.2 | [Optional] Jumper | 1 |
Flashtool
Can be downloaded from the manufacturer's website, I am using version 2.0.14 here.
Direct link or Homepage Under Tools -> ISP
Simply unpack and start the program ArteryISPProgrammer.exe.
Firmware
The current version can be downloaded from Github; I am using version 3.42 here.
https://github.com/keirf/flashfloppy/releases/tag/v3.42
The firmware is in the „dfu“ folder.
Prepare Gotek
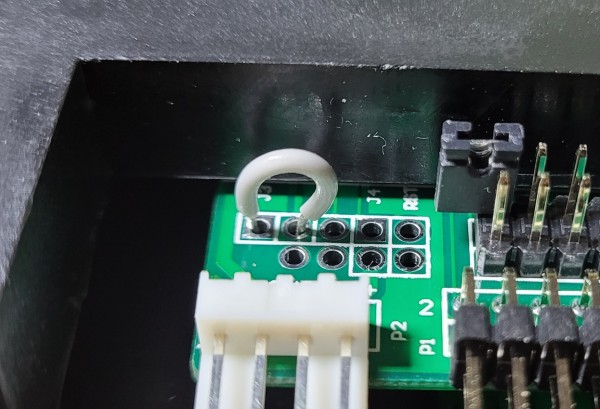
Zum Flashen muss eine Verbindung auf der Platine gebrückt werden. Dies kann entweder durch einen einfachen Draht erfolgen:
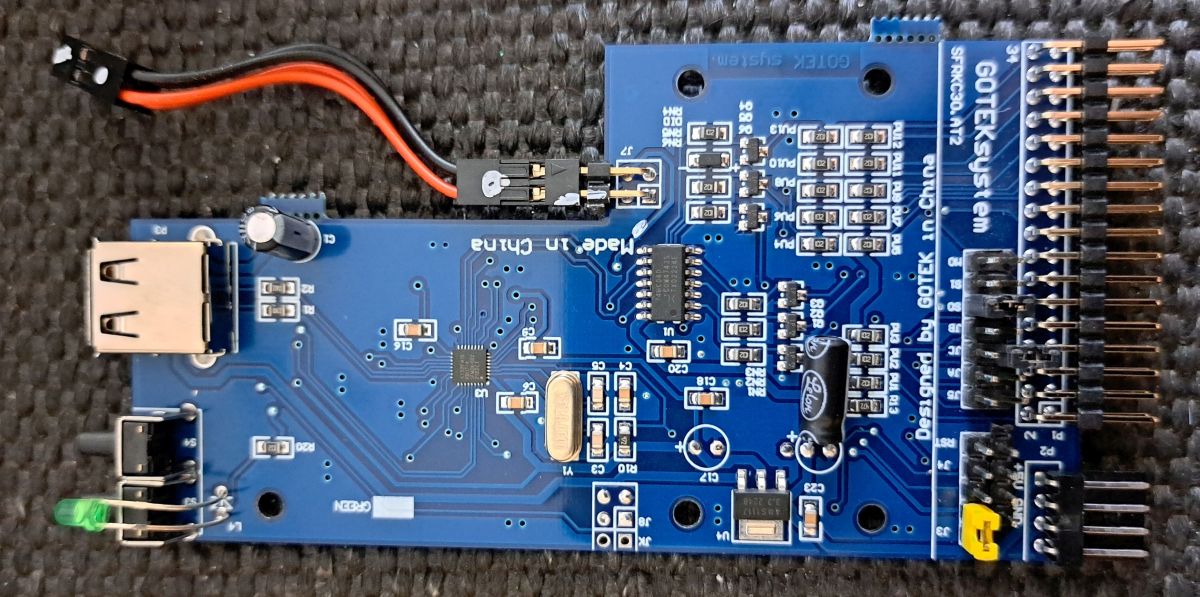
Oder man macht sich die Arbeit und lötet Pins ein, um die Verbindung dann mit deinem Jumper herzustellen.
Upload
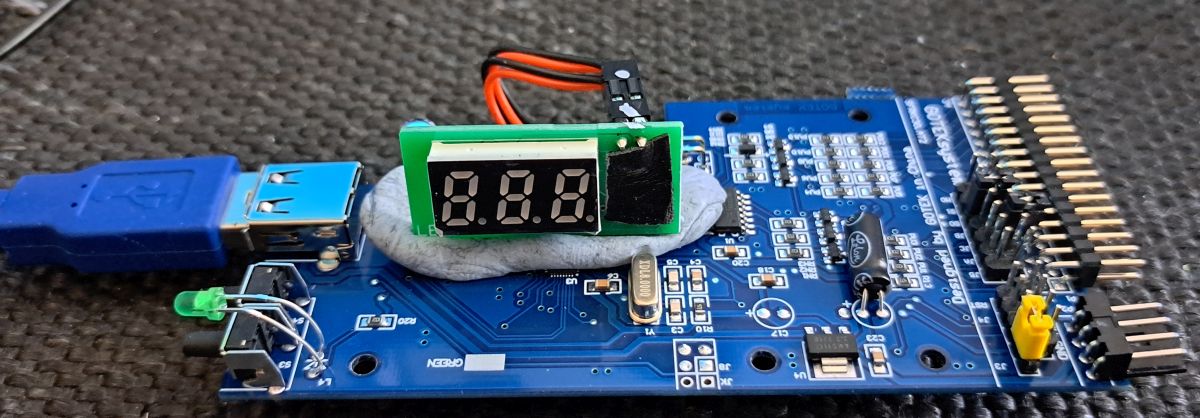
Connecting the Gotek with the USB A to USB A cable. The display and LED do not light up for me.
Start flash software
- Compiled files are in the hex folder
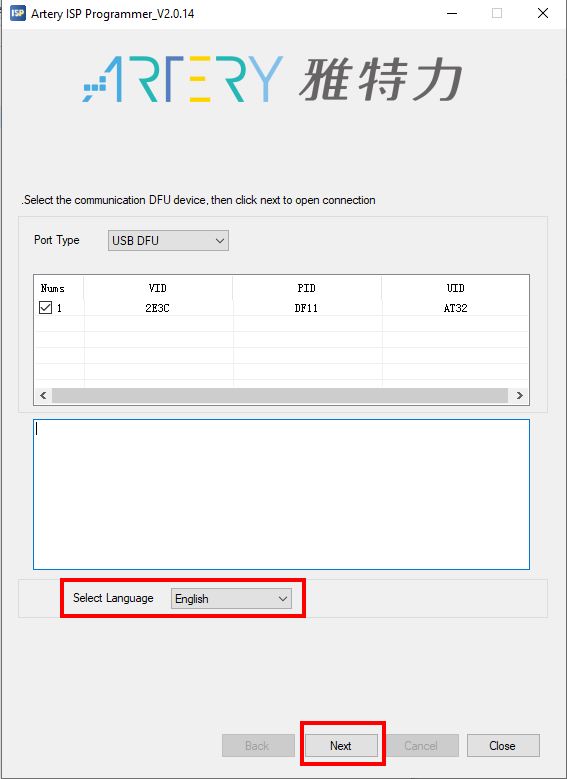
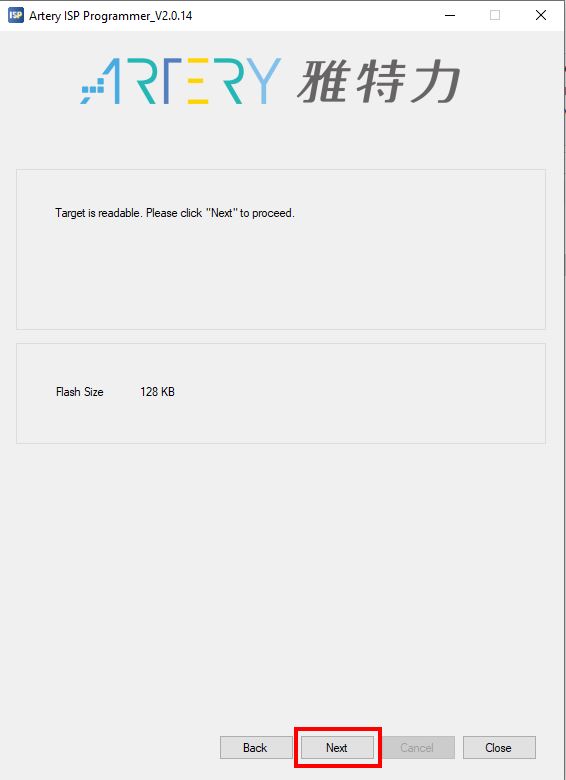
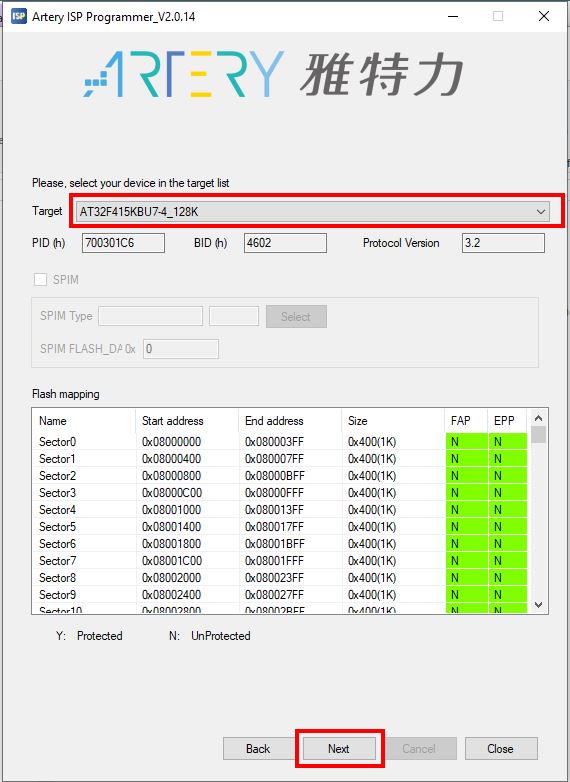
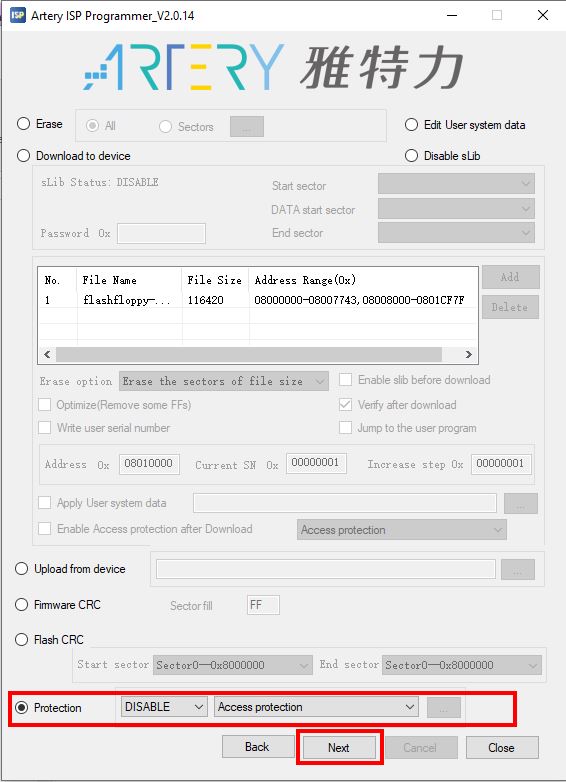
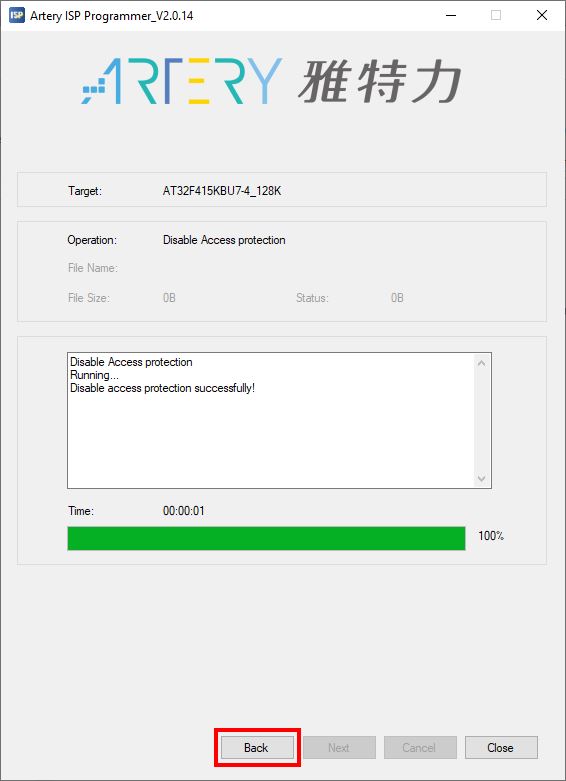
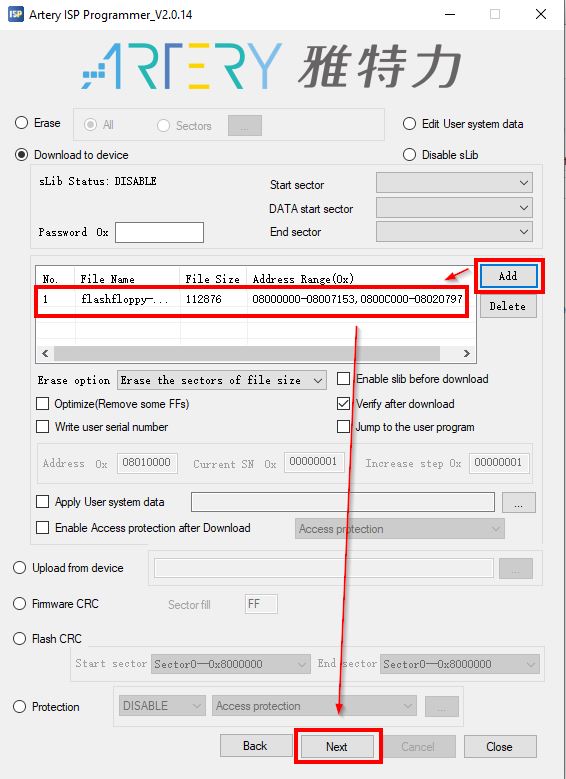
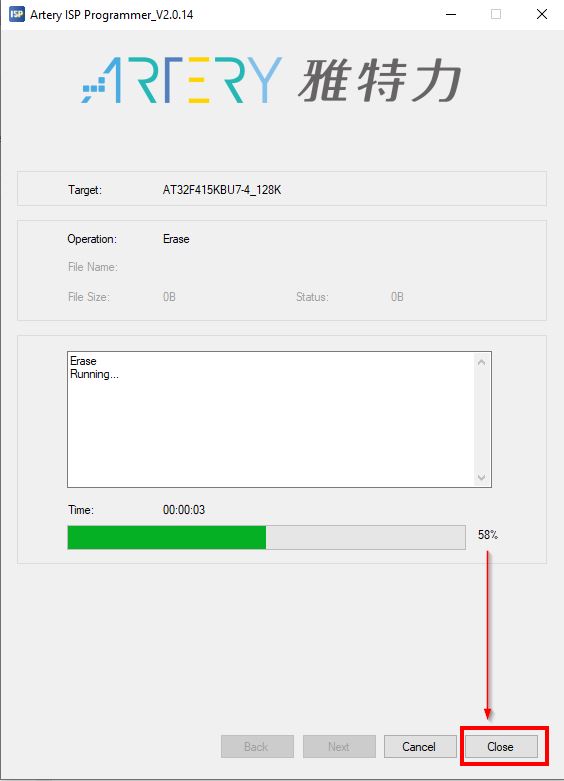
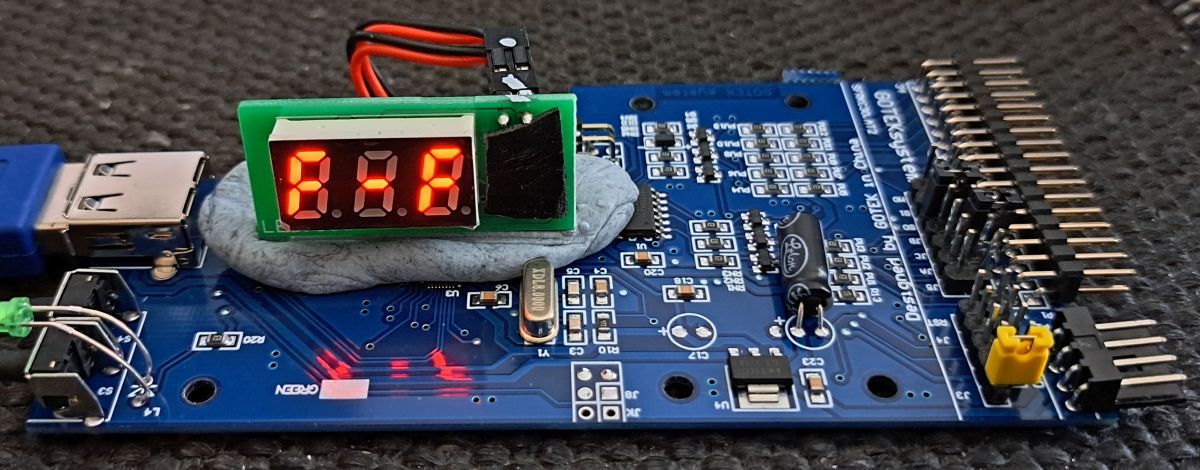
Wenn alles geklappt hat, Gotek vom USB trennen, Brücke entfernen und Gotek wieder anklemmen. Das Display sollte F-F zeigen.
Configuration
Hardware
| # | Jumper | Description |
|---|---|---|
| J5 | ? | |
| Yes | ? | |
| JB | ? | |
| JC | 2.8-inch „Quick Disk“ replaces M0 | |
| S0 | Drive 1 unspun cable | |
| S1 | Drive 2 un-terminated cable | |
| M0 | Drive 1 twisted cable | |
Software
The Gotek configuration is saved in an FF.CFG file. It can be placed on the USB stick either in the root directory or in the FF/ subdirectory. If the FF directory exists, the file must be located within it.
Optionally, the file IMG.CFG can also be created, which determines how the data in the images is to be read. I have not yet used this file and therefore cannot contribute to it.
The setting is under
https://github.com/keirf/flashfloppy/wiki/Initial-Setup
sehr gut beschrieben. Als Basis für die eigene Konfiguration können die Beispieldateien im examples Ordner verwendet werden:
https://github.com/keirf/flashfloppy/tree/master/examples
Es gibt auch einige Beispiel Konfigurationen die als Basis verwendet werden können. diese befinden sich im examples/Host Ordner:
https://github.com/keirf/flashfloppy/tree/master/examples/Host
The wiki also has special sections about the many calculators; if something doesn't work, just have a look there.
PC
Hier die Einstellungen für meine PCs.
## DRIVE EMULATION
interface = JC
host = pc-dos
pin02 = auto
pin34 = auto
write-protect = no
max-cyl = 255

## START-UP / INITIALISATION
ejected-on-startup = no
image-on-startup = last
Für die Einstellunge mit OLED Display siehe im entsprechenden Kapitel nach. Der Rest ist mehr oder minder Standard.
Here is the corresponding chapter in the FlashFloppy Wiki:
https://github.com/keirf/flashfloppy/wiki/Host-Platforms#ibm-pc
Amiga 500
## DRIVE EMULATION
interface = Amiga
host = unspecified
### for Amiga: P2=CHG, P34=RDY
pin02 = auto
pin34 = auto
write-protect = no
max-cyl = 255

## START-UP / INITIALISATION
ejected-on-startup = no
image-on-startup = last
Den Rest der Datei habe ich nicht verändert. Hier noch das ensprechende Kapitel im Wiki von FlashFloppy:
https://github.com/keirf/flashfloppy/wiki/Host-Platforms#commodore-amiga
Hier noch die Info zum OSD (On Screen Display), ein nettes feature unteranderem für den Amiga. Ist es aktiviert, wurde DiskImage 0 ausgewählt dann wird ein kleines Programm gestartet welches auf dem Angeschlossenen Montior ein Menü anbietet. Es erlaubt ein paar Einstellungen für die Gotek und es die Reichenfolge der Disk Images kann eingestellt werden.
https://github.com/keirf/flashfloppy-osd/wiki
Problems
Auto settings don't always seem to work
Ich hatte seltsame Probleme die mit ein- und wieder ausschalten gelöst waren. Ich kann den Finger nicht direkt in die Wunde legen aber ich vermute es kommt von den automatischen Einstellungen die nicht immer die optimale Konfiguration zu finden scheinen.
Solltet ihr also Probleme haben, versucht möglichst alle Einstellungen in der FF.CFG auf einen definierten Wert zu setzen, dies könnte helfen.
Miscellaneous
Replacing a seven-segment display with an OLED display
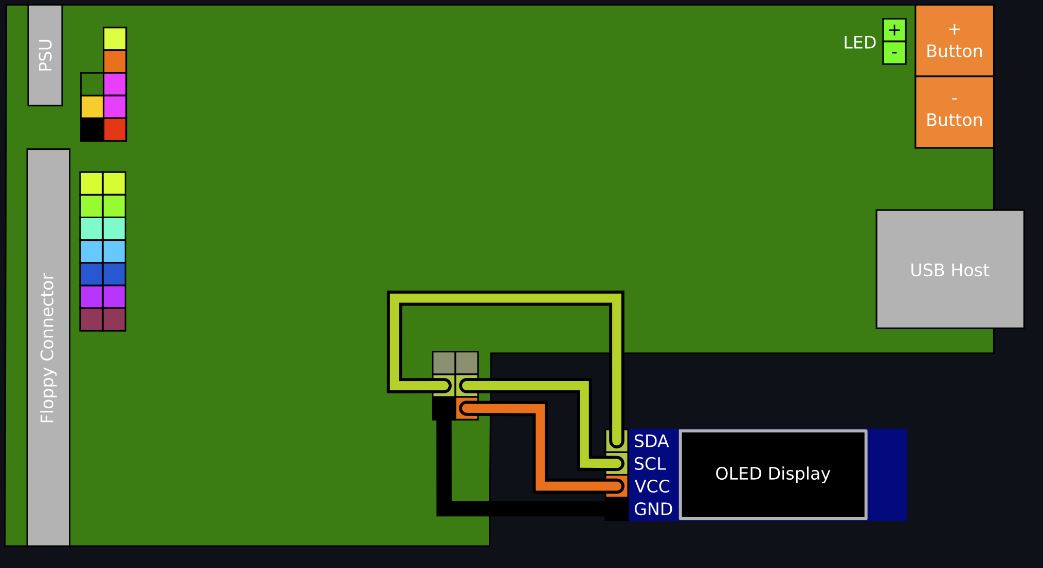
Unfortunately, the 2x2 pin header connector does not fit the OLED display; it has a 1x4 pin header connection.
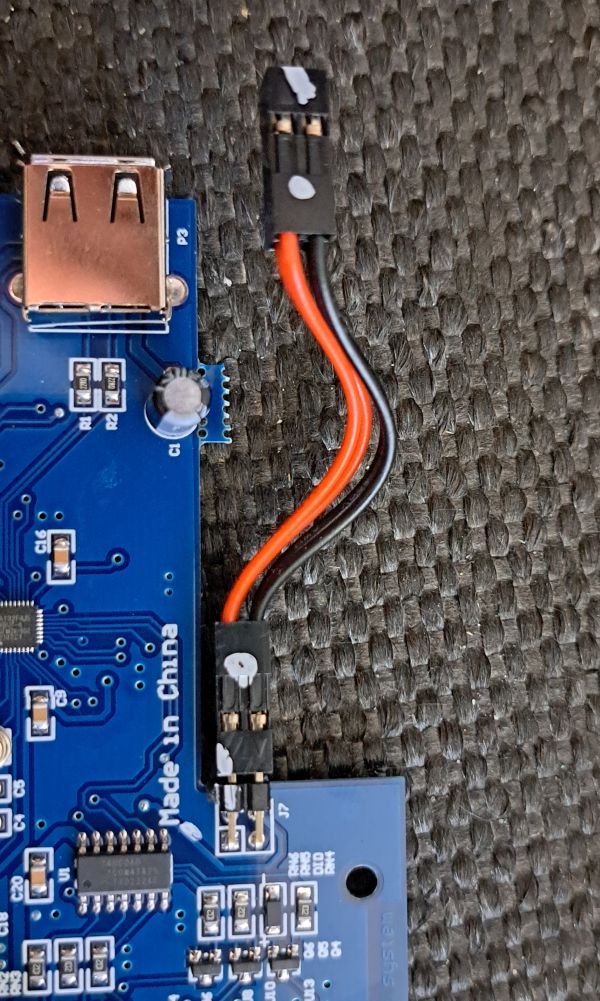
Das Kunstoffgehäuse kann man entfernen, indem man Kontakt für Kontakt aus dem Gehäuse zieht. Hierfür muss man mit einer Nadel oder feinen Pinzette die Kunstofflippe die den Kontakt in Position hält vorsichtig und nur leich nach oben biegen. Dann kann der Kontakt von hinten am Kabel herausgezogen werden. Und so sieht der nackige Stecker dann aus.
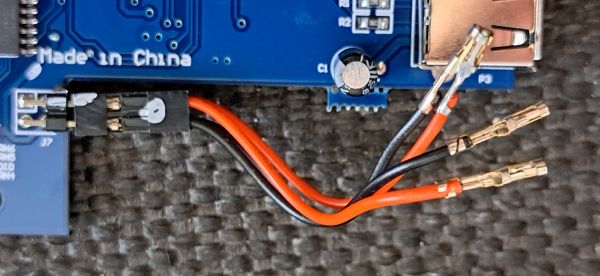
Das gehäuse habe ich auf die Rückseite des alten Displays geklebt man weiss ja nie wann man es nochmal braucht.
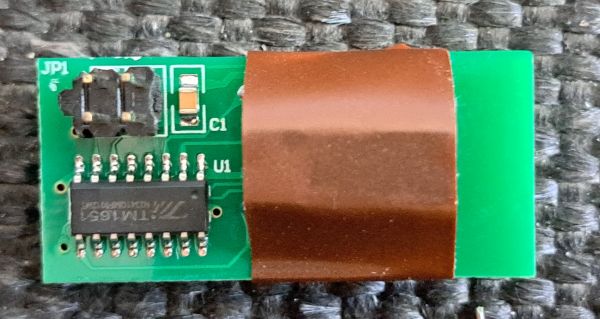
Now pull out the 1x4 connector, please pay attention to the correct polarity.
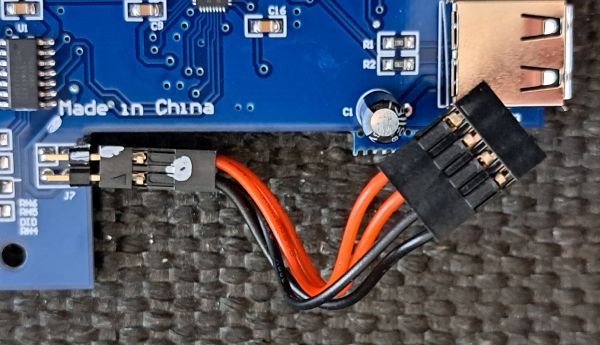
Glück gehabt es geht und ich werde hier auch nicht verraten dass ich ein anderes Display wegen flascher Polung geschrottet habe. Keine Angest es wird der Imagename angezeigt, das erste Image heisst bei mir Disk1 (war so von MS DOS 6.22 benannt).
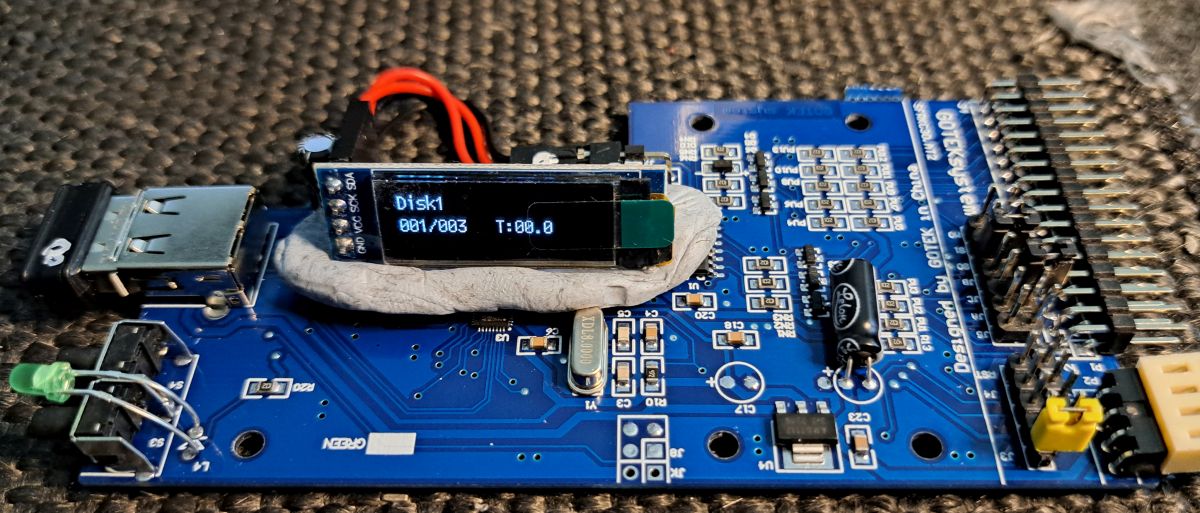
Nun kann das Ganze wieder zusammengebaut werden, Ich habe es hier mal mit Bluetec befestigt weil ich zu faul war die Heißklebepistole herauszusuchen. Werde das bei Gelegenheit aber noch ersetzten.
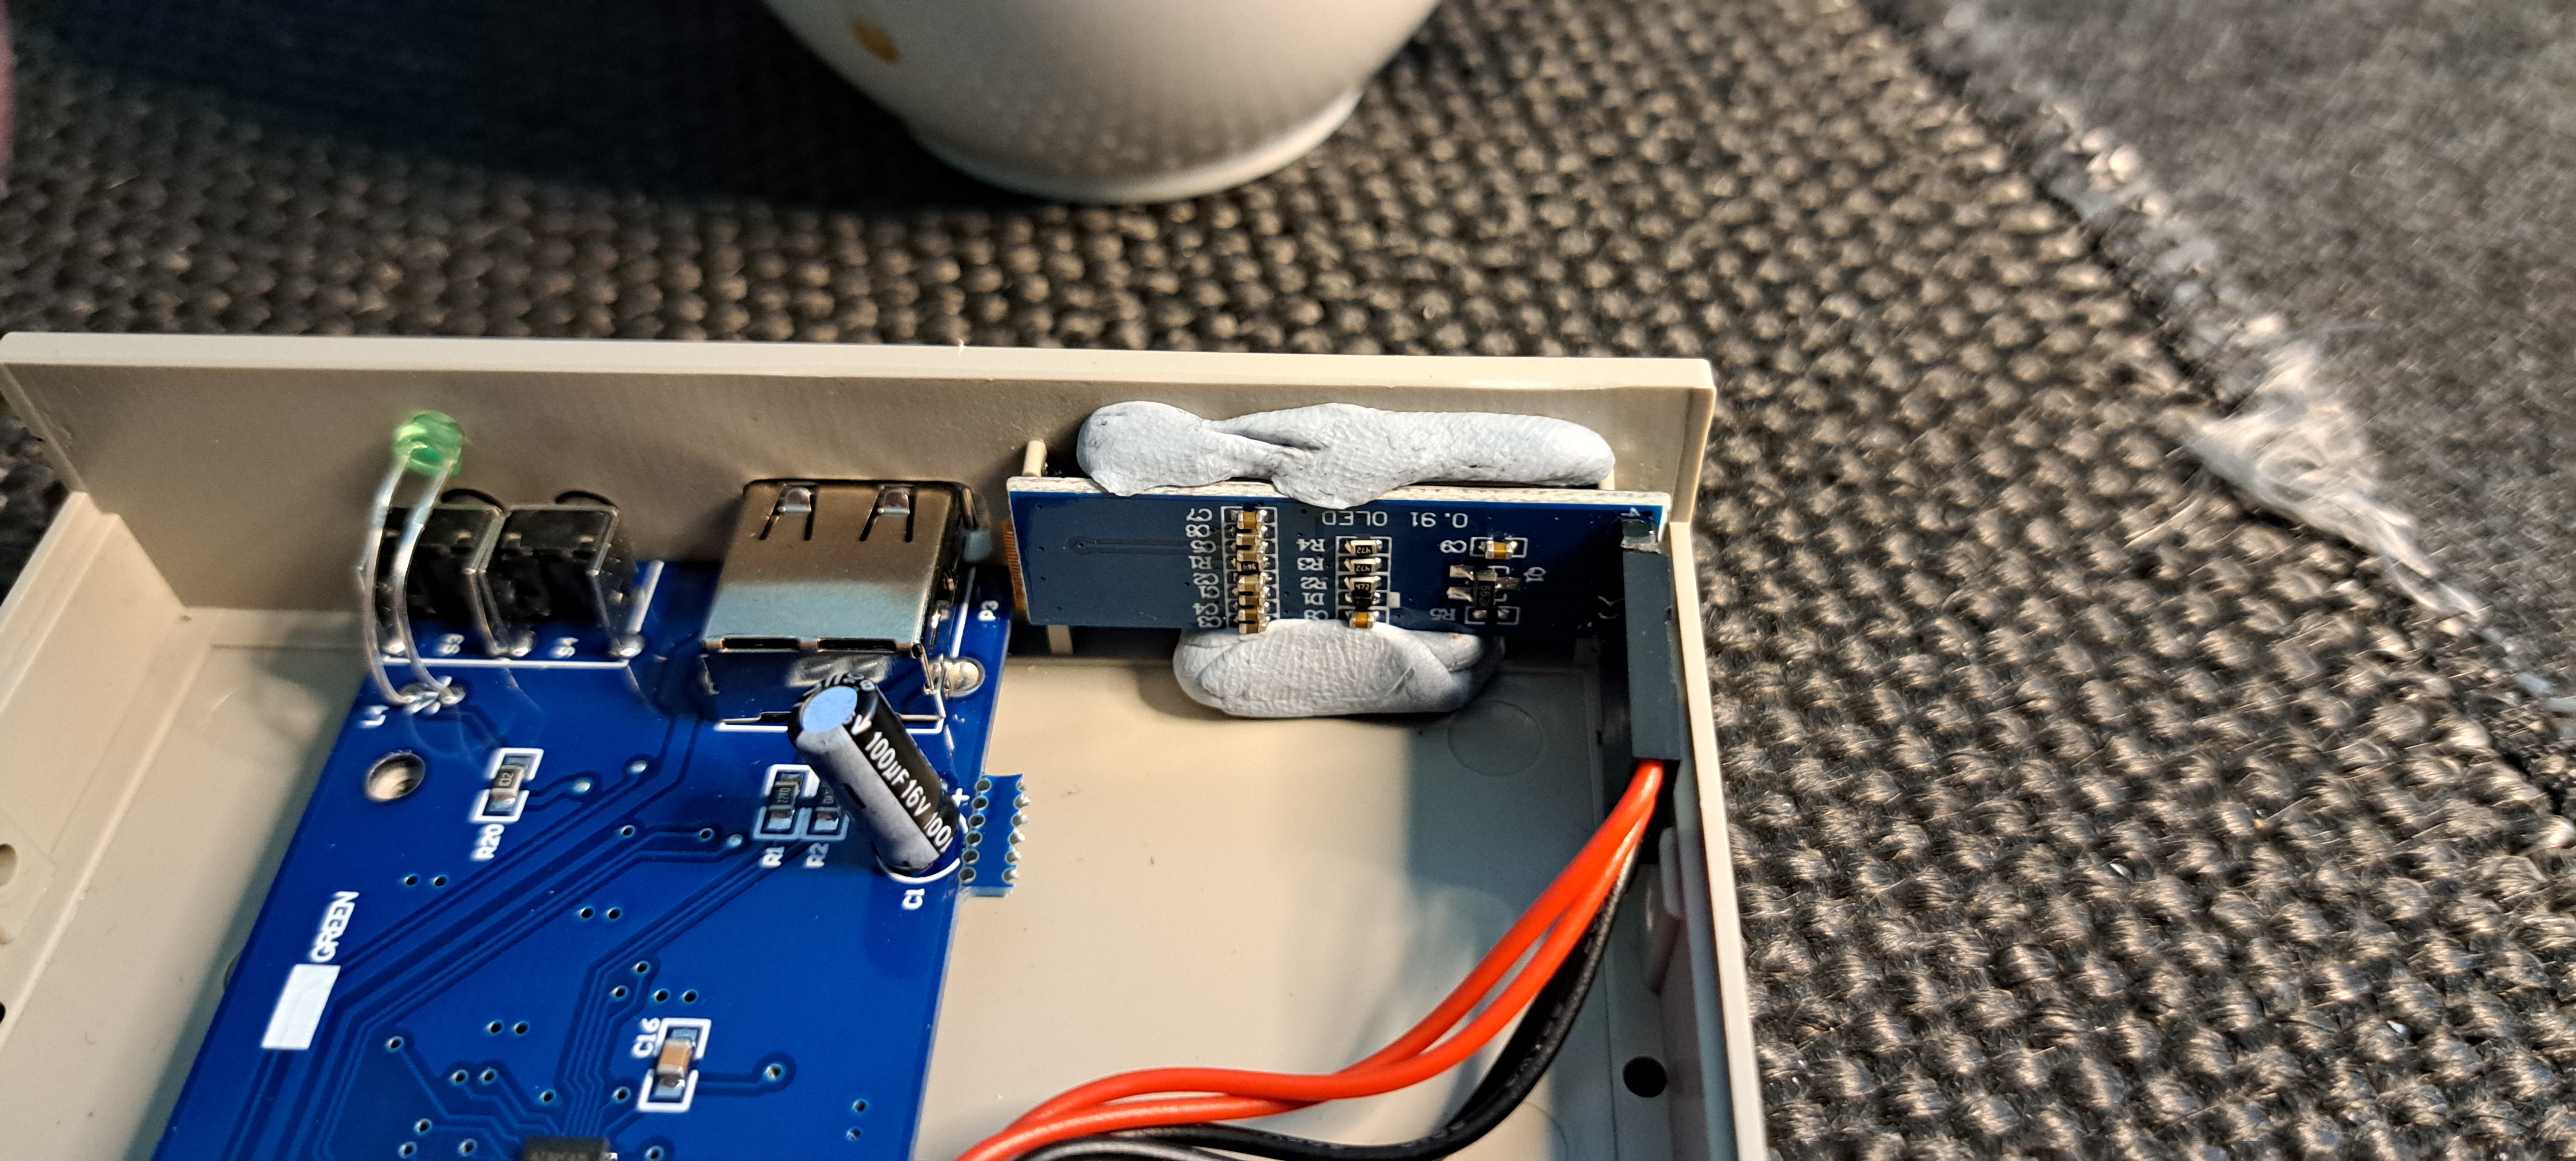
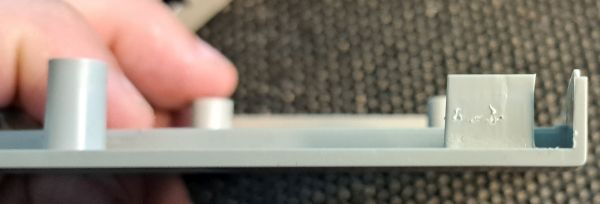
The lid didn't quite fit for me anymore, so I quickly trimmed a bit of plastic with a scalpel.
This is what it looks like when it's finished.
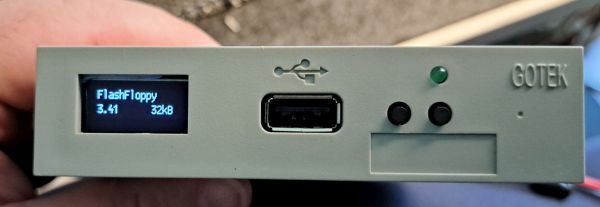
Here are my FF.CFG settings. Most of the settings are standard.
## DISPLAY
display-type = oled-128x32
oled-font = 6x13
oled-contrast = 143
display-order = default
osd-display-order = default
osd-columns = 40
display-off-secs = 60
display-on-activity = yes
display-scroll-rate = 200
display-scroll-pause = 2000
nav-scroll-rate = 80
nav-scroll-pause = 300
Install rotary encoder
Perhaps in the future, I am happy with the keys for now, here is the link on how to do it:
https://github.com/keirf/flashfloppy/wiki/Hardware-Mods#rotary-encoder
Gotek nachbauten
GitHub – SukkoPera/OpenFlops: Open-Hardware Floppy Drive Simulator · GitHub
GitHub – konkotgit/Mini-Floppy-Emulator: Mini Floppy Emulator based on gotek. · GitHub
GitHub – OlegMishin/GotekFlashFloppy: A Gotek based compact PCB for Amiga · GitHub
Conclusion
Tolles und günstiges Teil, manchmal ist die Fehlersuche etwas nervig, wenn man dann aber die richtige Konfiguration hat, funktioniert das Ding einwanfrei.
Verwandte Beiträge
Sources
An gegebener Stelle im Beitrag sind noch weitere Links die zu spezielleren Seiten führen.
https://github.com/keirf/flashfloppy/wiki
https://github.com/keirf/flashfloppy/releases/tag/v3.42
https://github.com/keirf/flashfloppy/wiki/Hardware-Mods
https://www.arterychip.com/file/download/1831
https://github.com/OlegMishin/GotekFlashFloppy/tree/main
https://github.com/RichardRozehnal/Gotek-Floppy-Disk-Emulator-V2
https://github.com/konkotgit/Mini-Floppy-Emulator/tree/main
https://www.arterychip.com/file/download/1682
https://github.com/keirf/flashfloppy/wiki/Hardware-Mods#rotary-encoder
Log
| Date | Description |
|---|---|
| 14.07.2024 | Beitrag Erstellt, und Gotek bei Amazon für rund 30€ bestellt und zwei vom schnellen Ali für zusammen 34€. |
| 15.07.2024 | The Gotek from Amazon has arrived. |
| 16.07.2024 | Gotek connected to an Amiga and started first attempts |
| 17.07.2024 | Automatic settings don't always seem to work. |
| 27.07.2024 | Goteks from Fast Ali have arrived. |
| 11.08.2024 | Beitrag vervollständigt, live gesetzt. |
| 12.08..2024 | Korrekturgelesen, kleine Verbesserungen und Bildunterschriften ergänzt. |
| 29.06.2026 | Kapitel nachbauten hinzugefügt |
| 30.06.2026 | Schaltplan und Blockdiagram hinzugefügt und Verzeichnisstruktur auf H2 ebene geändert. |
| Date | Change | Author |
|---|---|---|
| 14.07.2024 | Post created | Suffocation |