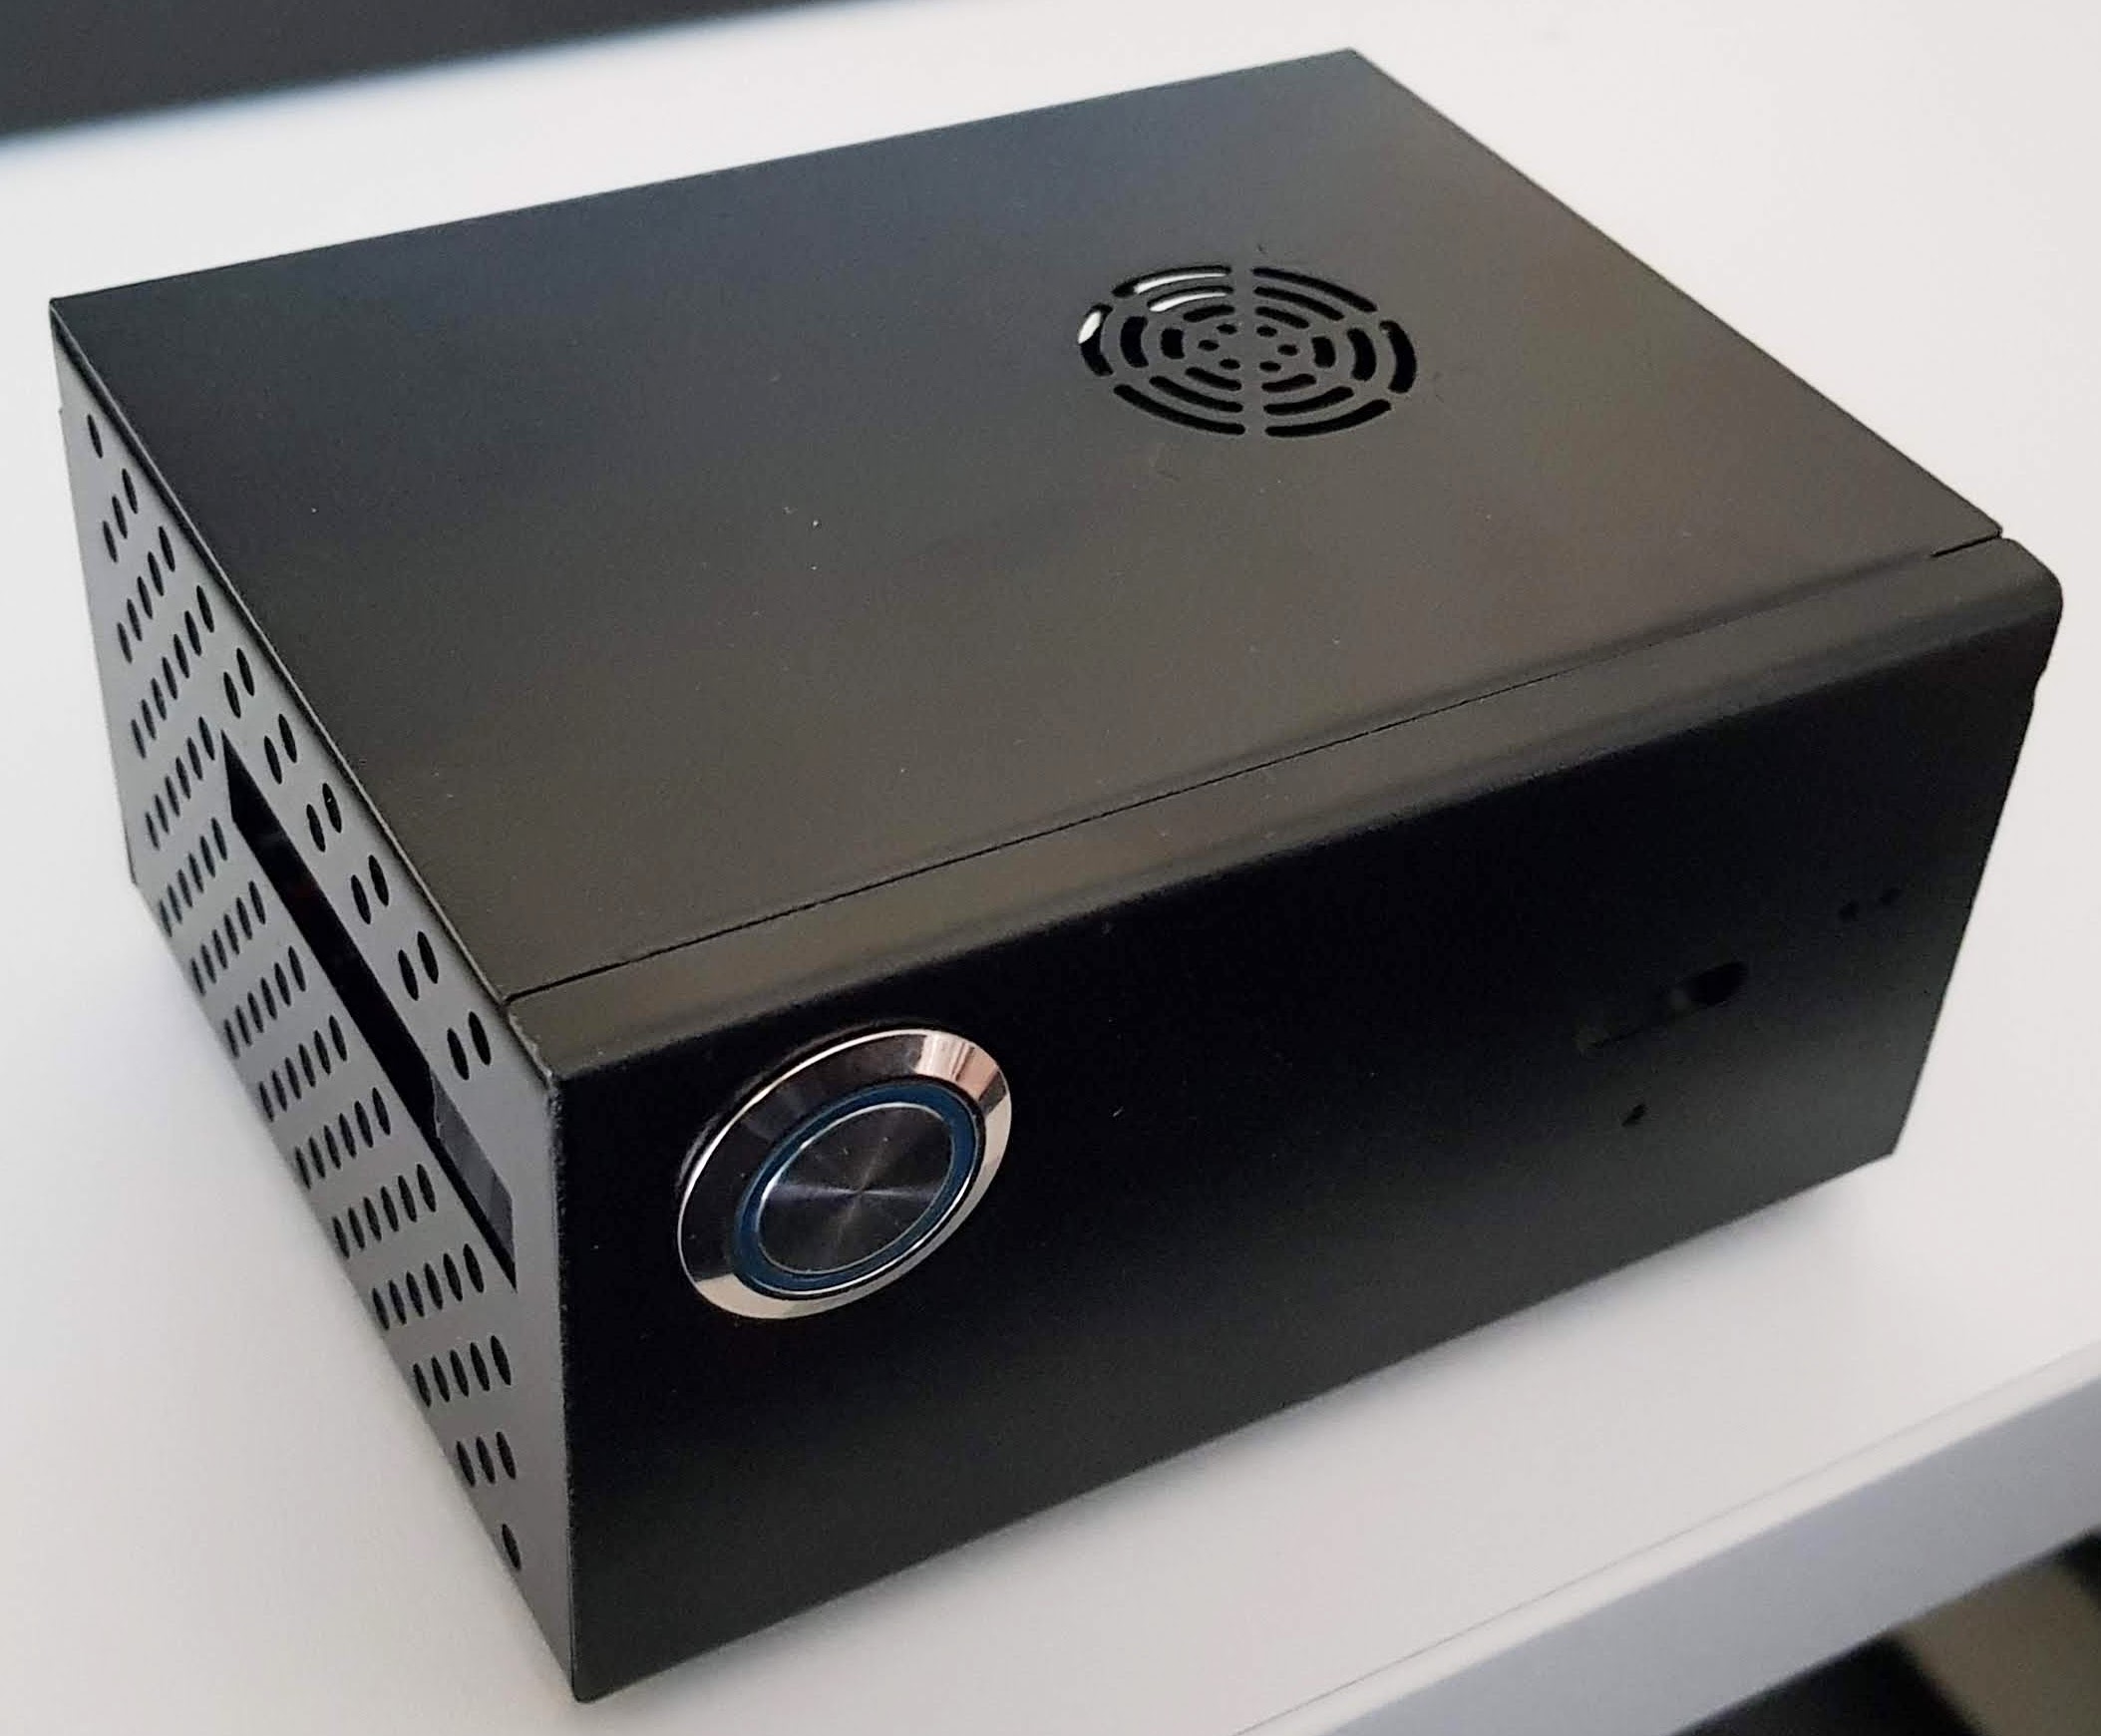
Raspberry Pi with SATA in a case

Ich habe mir mal wieder was zum Basteln bestellt. Einen Raspberry PI 3B, eine Zusatzplatinen mit einem SATA Anschluss und ein passendes Gehäuse. Diese Kombi soll den PI im Keller ablösen, den ich als Entwicklungsserver verwende.  Komponenten Ich verwende folgende Komponenten: Raspberry PI 3 B MakerHawk Raspberry Pi X820 2.5 Inch SATA HDD/SSD USB3.0 Storage …

Continue reading "Raspberry PI mit SATA im Gehäuse"

Welcome to my blog

I have already successfully completed a few projects with microcontrollers. Since work and family commitments sometimes mean I can't progress for weeks or even months at a time, I usually have to start again afterwards. At some point, I got tired of this, so I decided to write down or at least link to the knowledge I’ve gained from the internet. …

Continue reading "Willkommen auf meinem Blog"

Menu classes for LCD displays

As creating a menu on the display is a recurring task, I have encapsulated some of the functionalities into classes. Hardware Components: * Arduino Uno * LCD Shield Software: * Arduino IDE * LiquidCrystal Lib (can be installed via the library manager, see also here) * My Menu Lib (see below) Goals: Step-by-step simple header with classes that in...

Continue reading "Menü Klassen für LCD Displays"

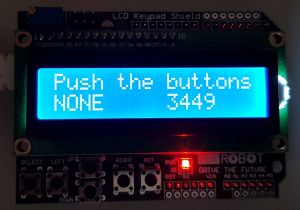
Arduino LCD Keypad Shield

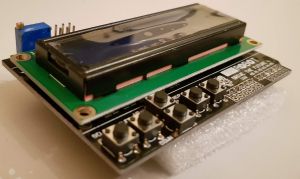
The LCD Keypad add-on board fits the Arduino Uno and compatible boards. As the name suggests, it has a 2x16 character LCD display (blue) and 6 buttons. In the top left is a knob for contrast, and there is a solder pad for each analogue port. Facts Pin assignment Pin Function Analogue 0 Headers (select, up, …

Continue reading "Arduino LCD Keypad Shield"

Arduino SSD1306 Monochromatic OLED 128×64 I2C

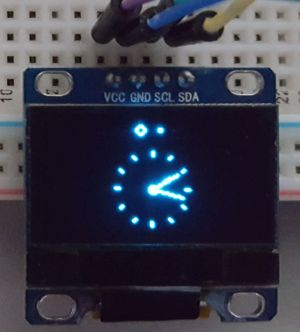
I would like to connect a small 128x64 pixel OLED display for a small project. For this purpose, I have developed a small prototype which I would like to present here. I am operating the display on an Arduino Uno via the I2C bus. Components Hardware Software Test Setup I am using the prototype add-on board (see here). The display is connected via the…

Continue reading "Arduino SSD1306 Monochrom OLED 128×64 I2C"

SSD1306 Monochrome OLED with Arduino

I would like to connect a small 128×64-pixel OLED display for a small project. For this, I have developed a small prototype which I would like to present here. I am operating the display on an Arduino Uno via the Wire bus. Components Hardware Software Experimental setup I am using the prototype add-on board (see here). The display is connected via the…

Continue reading "SSD1306 Monochrom OLED am Arduino"

Arduino IDE

Ich habe festgestellt, dass sich in meinen Beiträgen, Anleitungen welche die Arduino IDE betreffen, wiederholen. Diese möchte ich hier sammeln. Es wird hier keine kommplette Beschreibung der IDE geben, ich werde den Artikel aber bei Bedarf ergänzen um due Bestandteile zu verlinken. Die Arduino IDE wurde ursprünglich zur Programmierung der Arduino Boards (Uno, Mega, Leonardo …

Continue reading "Arduino IDE"

KY-018 Photoresistor Sensor

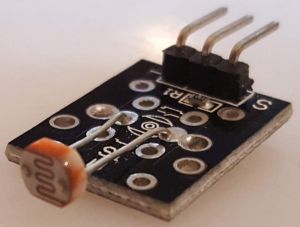
The KY-018 board is equipped with a light-dependent resistor and a corresponding current-limiting resistor. Data: Voltage: 3V-5V (other voltages are conceivable) Output: analogue voltage value I suspect that a GL5528 has been installed here. Facts: Connection designation – Ground + V+ (3V-5V) S Signal KY-018 – Pin assignment View Application areas: Brightness measurement As a sensor for aligning solar cells Light barrier as...

Continue reading "Sensor KY-018 Photowiderstand"

Raspberry Pi Mirror OS

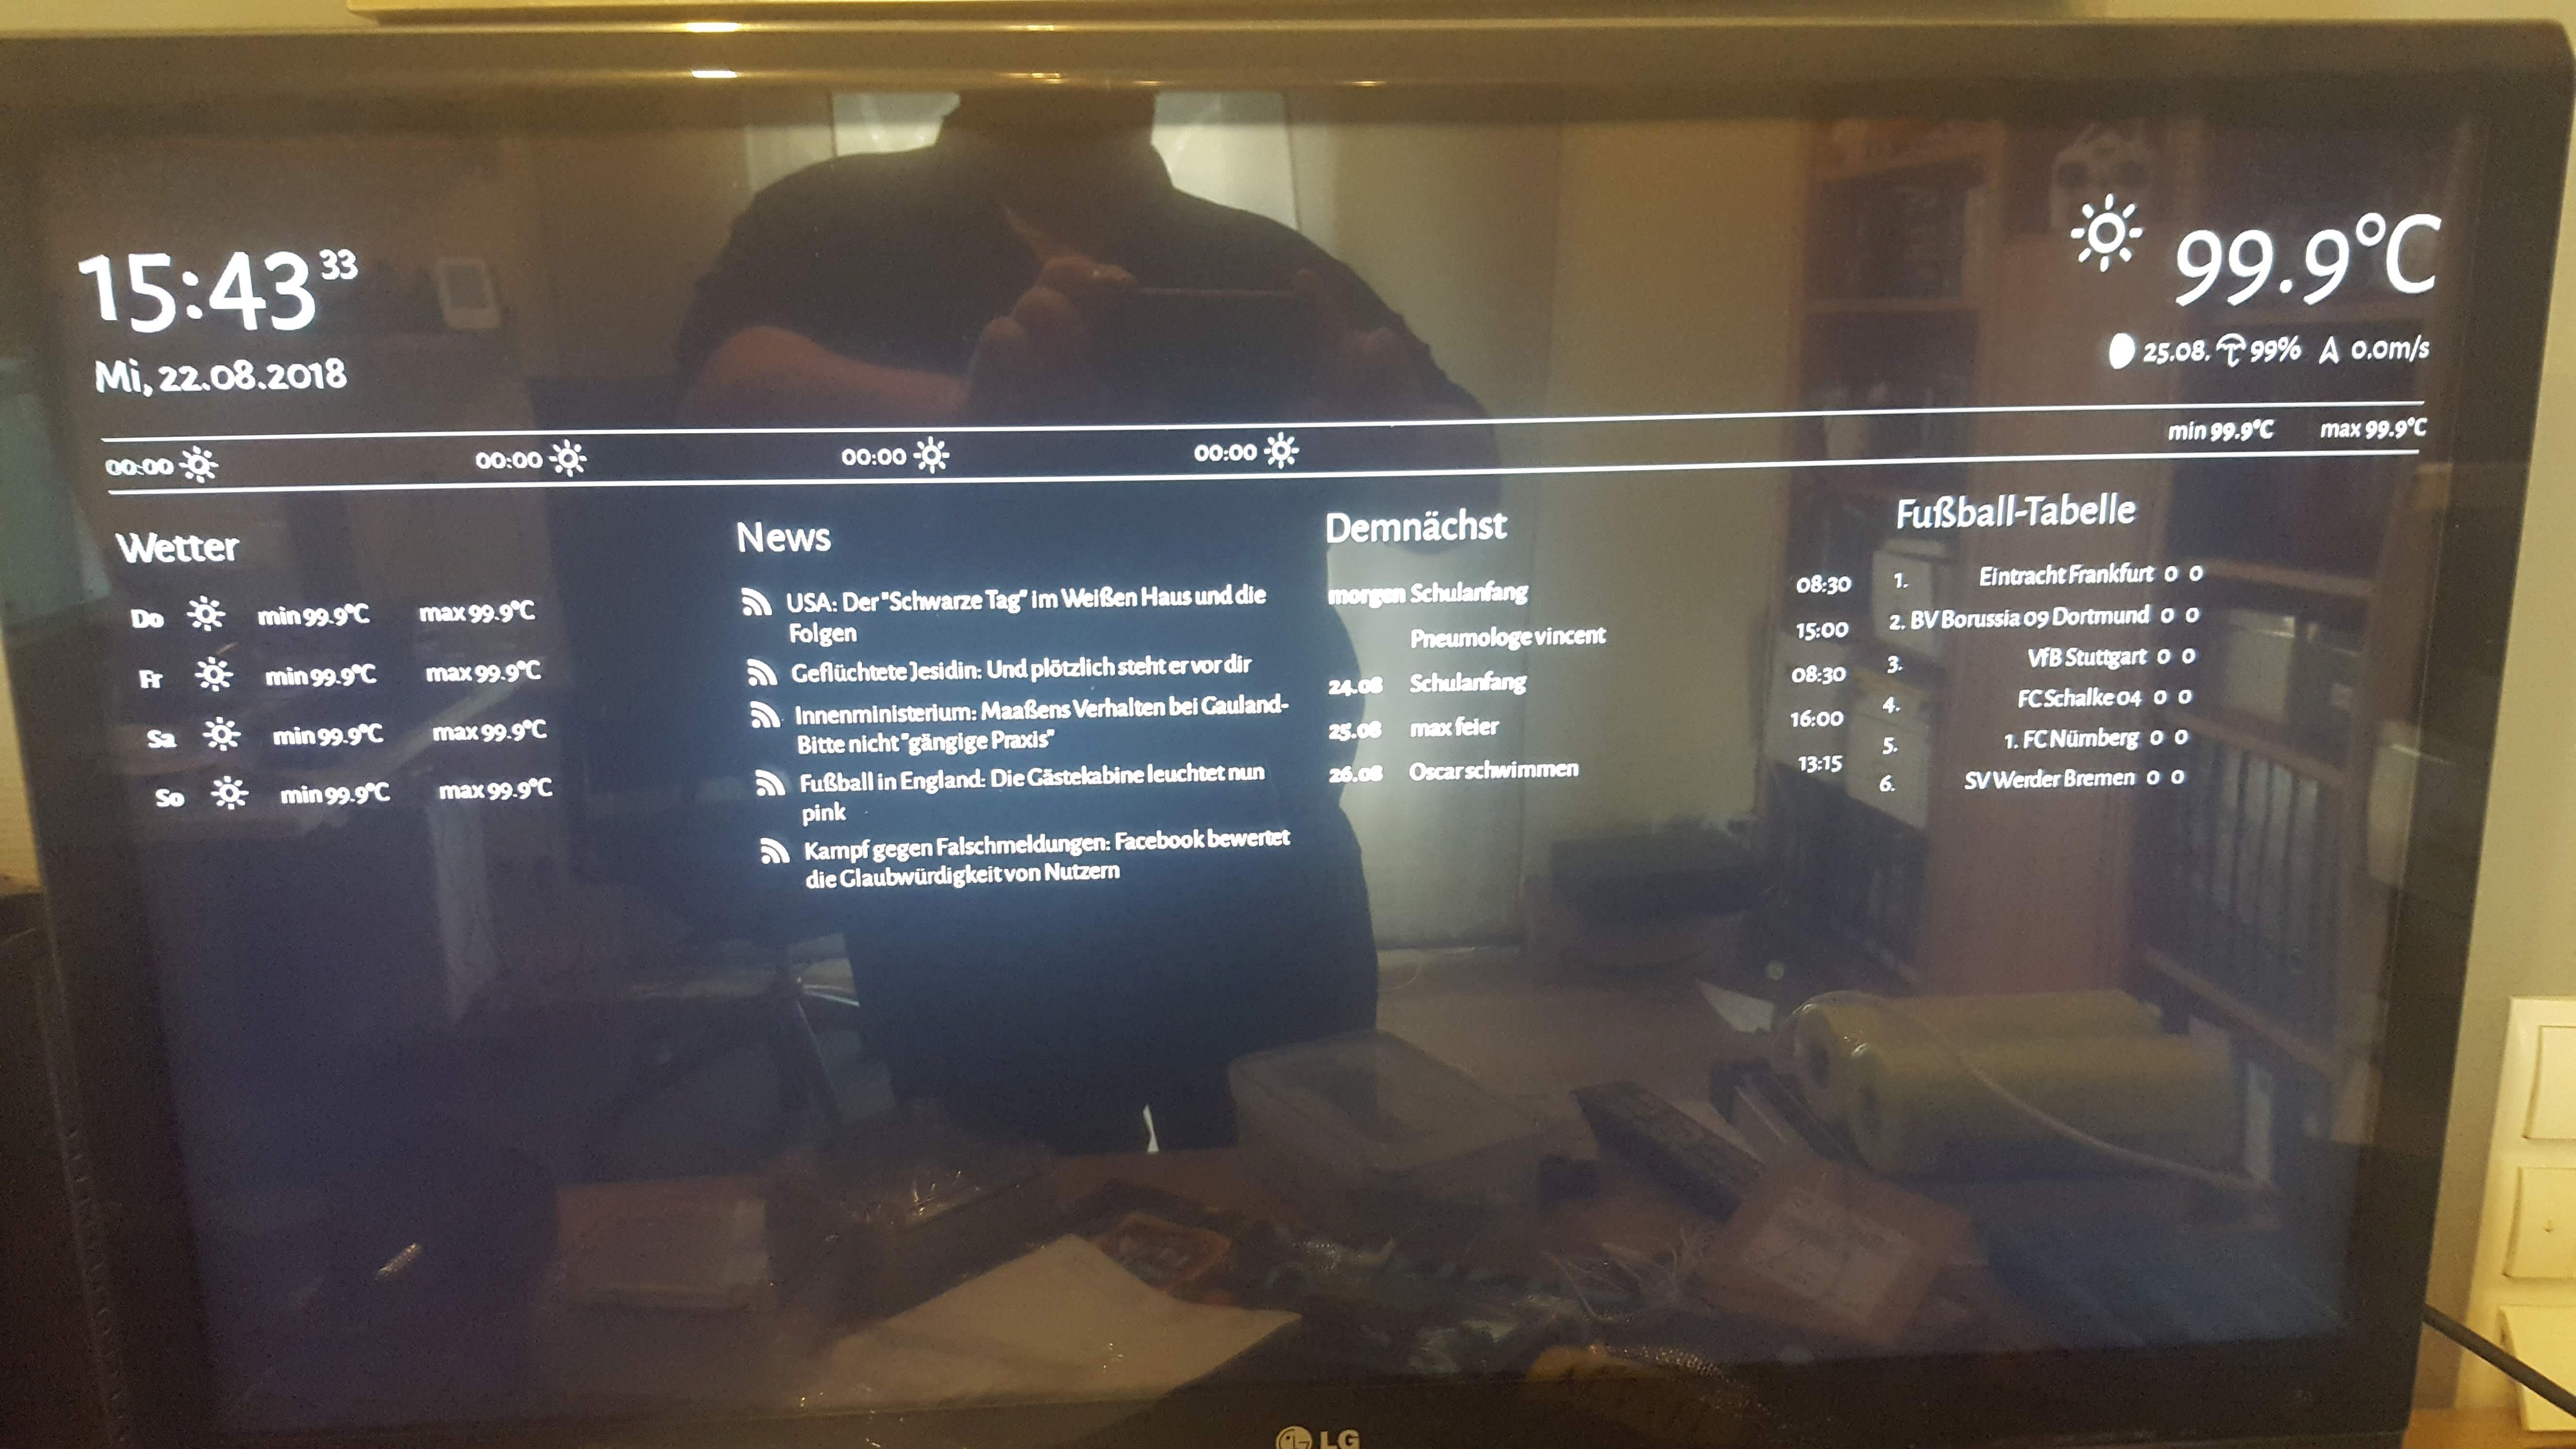
Kurzbeschreibung Mirror OS ist ein Betriebssystem, entwicket für smarte Spiegel. Dies sind Spiegel die eine Art Handy Funktionaltität bieten. Was wird gebraucht Vorkenntnisse mit dem Raspberry Pi und Linux können nicht schaden ;). Auch hilft es sicherlich schon mal SSH verwendet zu haben.  Ansonsten braucht ihr folgendes. Hardware Ich habe noch einen Pi B+ V1.2 …

Continue reading "Raspberry Pi Mirror OS"

Put the ESP8266 to sleep

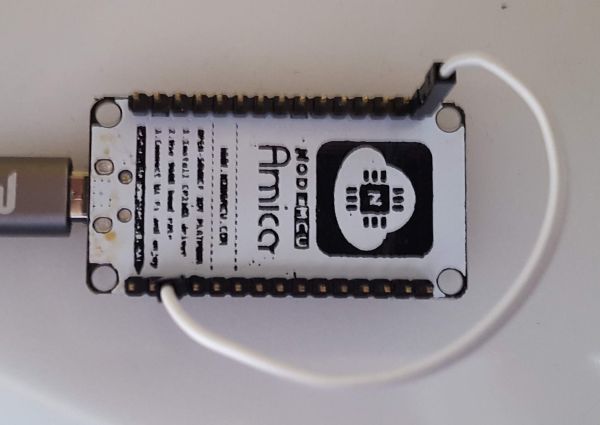
Sensorknoten sollen möglichst lange und unabhängig arbeiten können. Dennoch benötigen sie Strom, um mit der vorhandenen Energie möglichst effizient umgehen zu können, hat der ESP8266 und andere Controller die Möglichkeit in den Tiefschlaf zu gehen. Das schöne ist er kann sich nach fast beliebiger Zeit selbst wieder aufwecken. Ein Nachteil beim ESP8266 ist das er …

Continue reading "Den ESP8266 schlafen legen"