Last Updated on 4. October 2026 by SuffocationLink status: OK
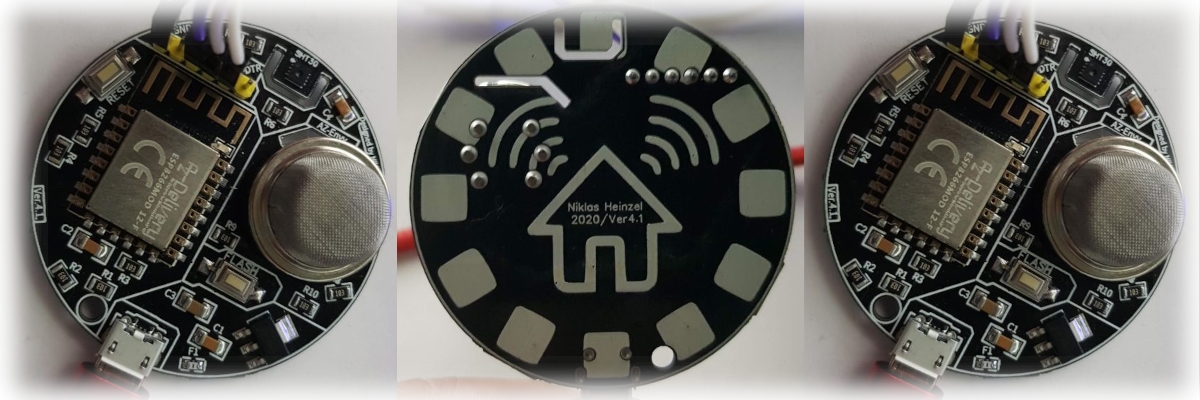
Das kleine runde Board habe ich bei AZ-Delivery über Amazon gefunden. Auf den ersten Blick fand ich das Design und die verbauten Sensoren interessant. Beim näheren Hinschauen bin ich jedoch mit dem Board nicht mehr ganz so zufrieden.
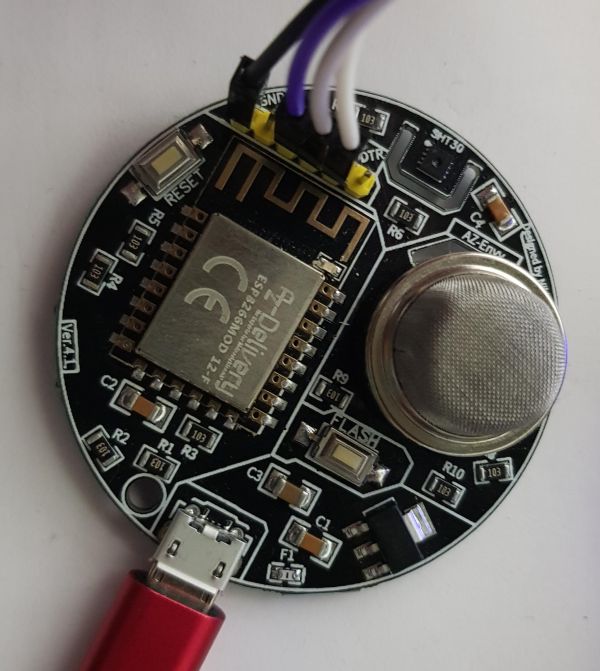
Facts
- ESP8266
- Micro USB – nur zur Stromversorgung
- 6 connection pins for programming
- SHT30 Sensor (Temperatur und Luftfeuchte)
- MQ2 gas sensor
- Reset and Flash button
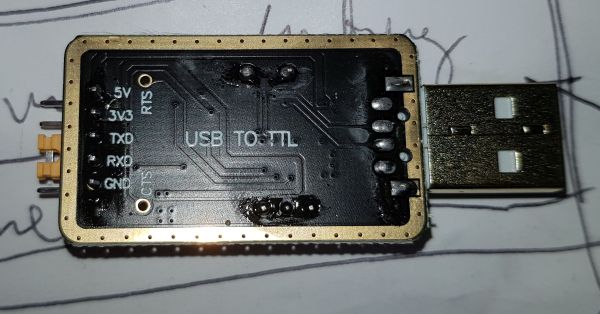
The board does not have its own IS programmer despite the USB connection; this must be connected externally via the pin headers.
SHT30
| Sensor | Spanish |
|---|---|
| Seventh-day Adventist | SDA = GPIO 4 |
| SCL | SCL = GPIO 5 |
MQ-2 Gas Sensor
| Sensor | Spanish |
|---|---|
| Output | A0 |
Areas of application
- Wireless sensor node
- MQTT Sensor
- Google Firebase Sensor
- Indoor air monitoring?
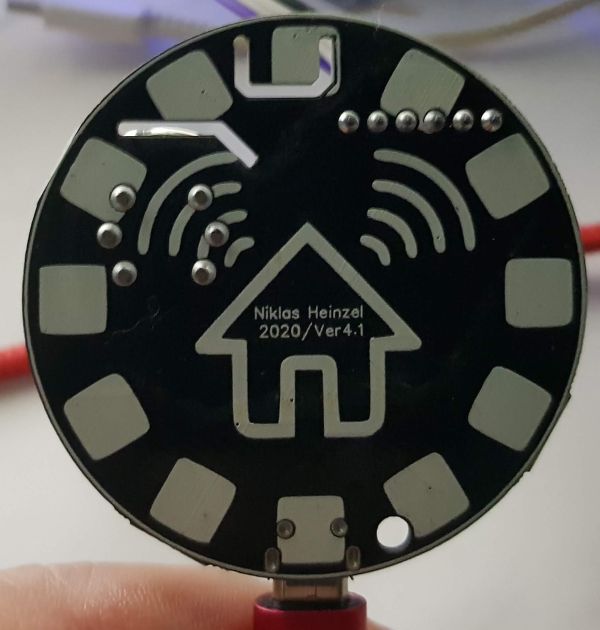
Views
Programming
Libraries
MQ-2 LibraryLink status: OK
Alternatively this MQx LibraryLink status: OK
SHT30 LibraryLink status: OK
Test programme
The latest from Projects nach, mein Beispiel ist nur eine Replik von schon bestehendem Code.
Problems
None
Miscellaneous
3D print enclosure
AZ Delivery offer a case on their website.
LinkLink status: Broken
GitHub linkLink status: OK
Der Deckel passt gut auf das leere Gehäuse. Mit dem ESPenvy passte es dann nicht mehr so ganz. Vielleicht liegt es ja an dem aufgelöteten MQ2 Sensor oder das Gehäuse war für eine andere Version angedacht.
Pressure
- PLA 215°C
- Infill 25%
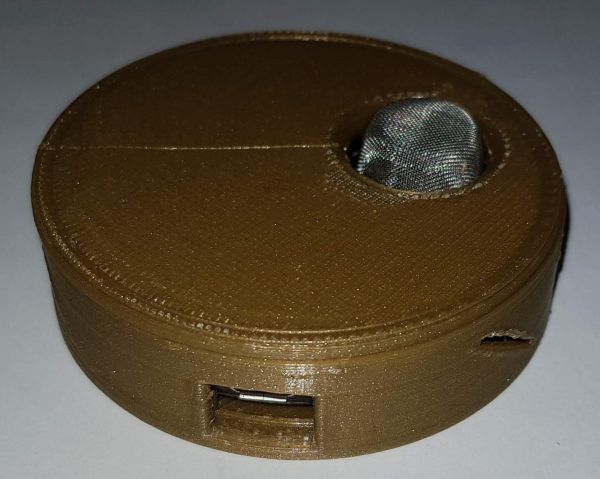
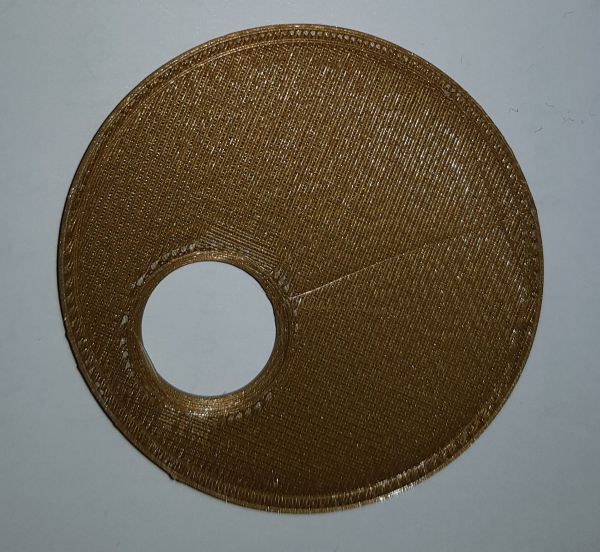
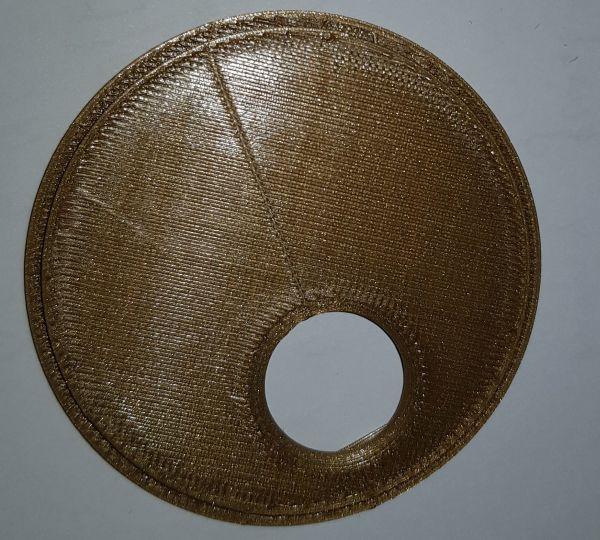
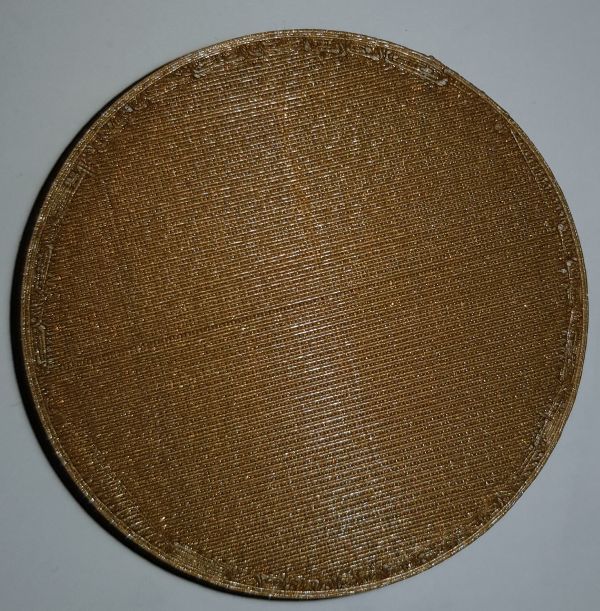
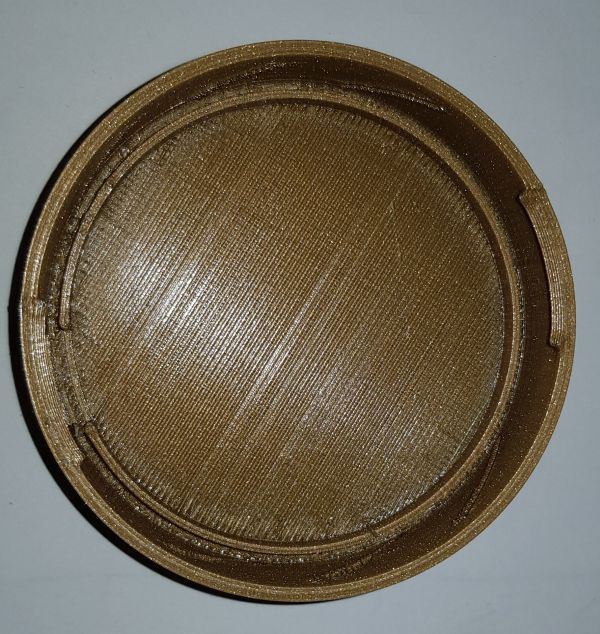
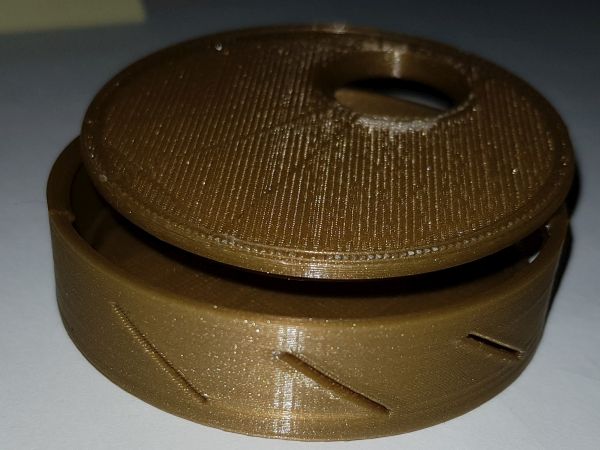
Another 3D case
Vielen Dank an Heppi, er hat dieses Gehäuse schon gedruckt und in den Kommentaren (siehe unten) gepostet.
GitHub linkLink status: OK
Notes:
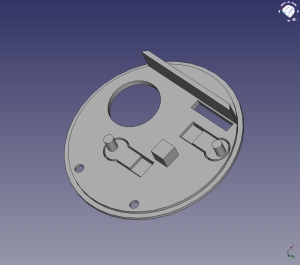
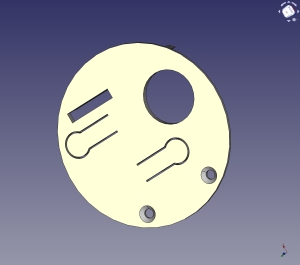
- Turn the cover over
- Das Gehäuse besitzt einen Trennsteg, der im Prinzip den Temperatursensor abschirmen soll.
- Top edge of the floor section possibly needs a bit of sanding.
- Lid holds without screws
Pressure
- 50% Infill
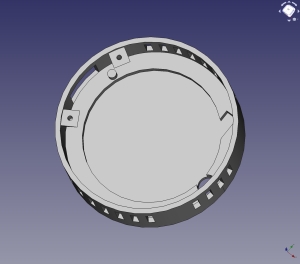
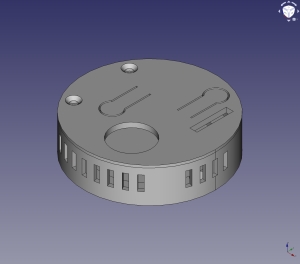
Nice projects
KNX IP ProjectLink status: OK
Envy WebserverLink status: OK
Another web server projectLink status: OK
Conclusion
Der Envy ist günstig in Kombination mit dem MQ2 Sensor. Das Board ist nicht sonderlich gut durchdacht, der MQ2 ist beheizt und beeinflusst die Werte des Temperatursensors. Auch ist wie bei der ESPCam ein externer Programmer nicht mehr zeitgemäß. Für ein paar Cent mehr wäre hier ein USB Chip möglich. Für mich ist das Board ein Reinfall. Ich schaue mir die Boards meist nur kurz an und evtl. gibt es sinnvolle Einsatzzwecke. Wer mit dem MQ2 spielen möchte und kein Problem mit der Verdrahtung eines externen Programmers hat, wird evtl. etwas Nutzen aus dem geringen Preis ziehen.
Wenn ihr anderer Meinung seid oder einen guten Verwendungszweck wisst, schreibt mir, ich arbeite dies dann gerne in den Beitrag ein.
Related Posts
- ESP01 – DHT11 Temperatur und Feuchte Sensor PlatinenLink status: OK
- ESP01 Relay BoardsLink status: OK
- ESP8266/32 WiFi Manager.Link status: OK
- ESP01 – Relais PlatineLink status: OK
- Preview – 7x9CM Prototyp Platine zum Löten für ESP8266, ESP-12E, ESP-12F, ESP32Link status: OK
- Wemos C3 MiniLink status: OK
- (Wemos) D1 ESP32Link status: OK
- Wemos D1 Mini Pro (V1.1.0)Link status: OK
- ESP01 – neoPixel RingLink status: OK
- ESP8266 RTOS SDKLink status: OK
Sources
http://sandboxelectronics.com/?p=165Link status: OK
https://www.letscontrolit.com/wiki/index.php/ESPEasyLink status: OK
https://www.sensirion.com/de/umweltsensoren/feuchtesensoren/digitale-feuchtesensoren-fuer-diverse-anwendungen/Link status: Unknown
https://www.az-delivery.de/blogs/azdelivery-blog-fur-arduino-und-raspberry-pi/az-envy-das-etwas-andere-micro-controller-boardLink status: OK
https://github.com/thorsten-l/ESP8266-AZ-EnvyLink status: OK
| Date | Change | Author |
|---|---|---|
| 04.10.2026 | Rechtschreibung korrigiert: Tippfehler, Kommas, Groß-/Kleinschreibung, Grammatik | Suffocation |
| 03.10.2026 | Log-Liste eingefügt | Suffocation |
| 01.06.2021 | Post created | Suffocation |
Addendum to housing according to the Github link [https://github.com/thorsten-l/ESP8266-AZ-Envy/tree/main/3d-print] :
There is a hole (5 mm) on the back of the case. You can hang the case onto a countersunk screw or nail protruding a maximum of 3 mm from the wall; the USB power socket will then point vertically downwards! When slicing, naturally rotate the cover part by 180° and place it face down. I only selected support for the case itself; it was only needed for the USB cut-out. No extra adhesion. 50% infill – less would certainly work too.
Thanks Heppi for your contribution, I will include the case in the post.
I have printed the case from [https://www.az-delivery.de/products/az-envy] – it's okay as a simple version (bend or shorten pins for programming). As of 22.01.2022, I have printed the case from the Github link [https://github.com/thorsten-l/ESP8266-AZ-Envy/tree/main/3d-print] – I've rarely had such good printing results. The case is smaller, both buttons can be operated from the outside, and there is also a recess for the pin headers. The lid also holds without the intended screws (with the PCB inserted). Sand down the top edge of the case inside a bit (45°) and you'll have a snap-in effect. There is also a dividing web inside, which is presumably intended to mitigate the influence of the heated gas sensor on the temperature sensor. However, there is (as yet) no information on this. Grade 1 for the case.
Hello Heppi, I'm relatively new here and have found the ENVY to be a useful addition for my motorhome. Since I don't have a 3D printer, my question is whether it would be possible to purchase this casing?
Sorry for the late reply.
For everyone who needs a case like this but doesn't own a printer:
Google the keyword „3D printing service“ and choose an affordable one. The creator of the STL files (az-envy-case.stl and az-envy-cover.stl), Thorsten Ludewig, has very generously approved this with the Apache License 2.0.