Last Updated on 1 April 2022 by Suffocation
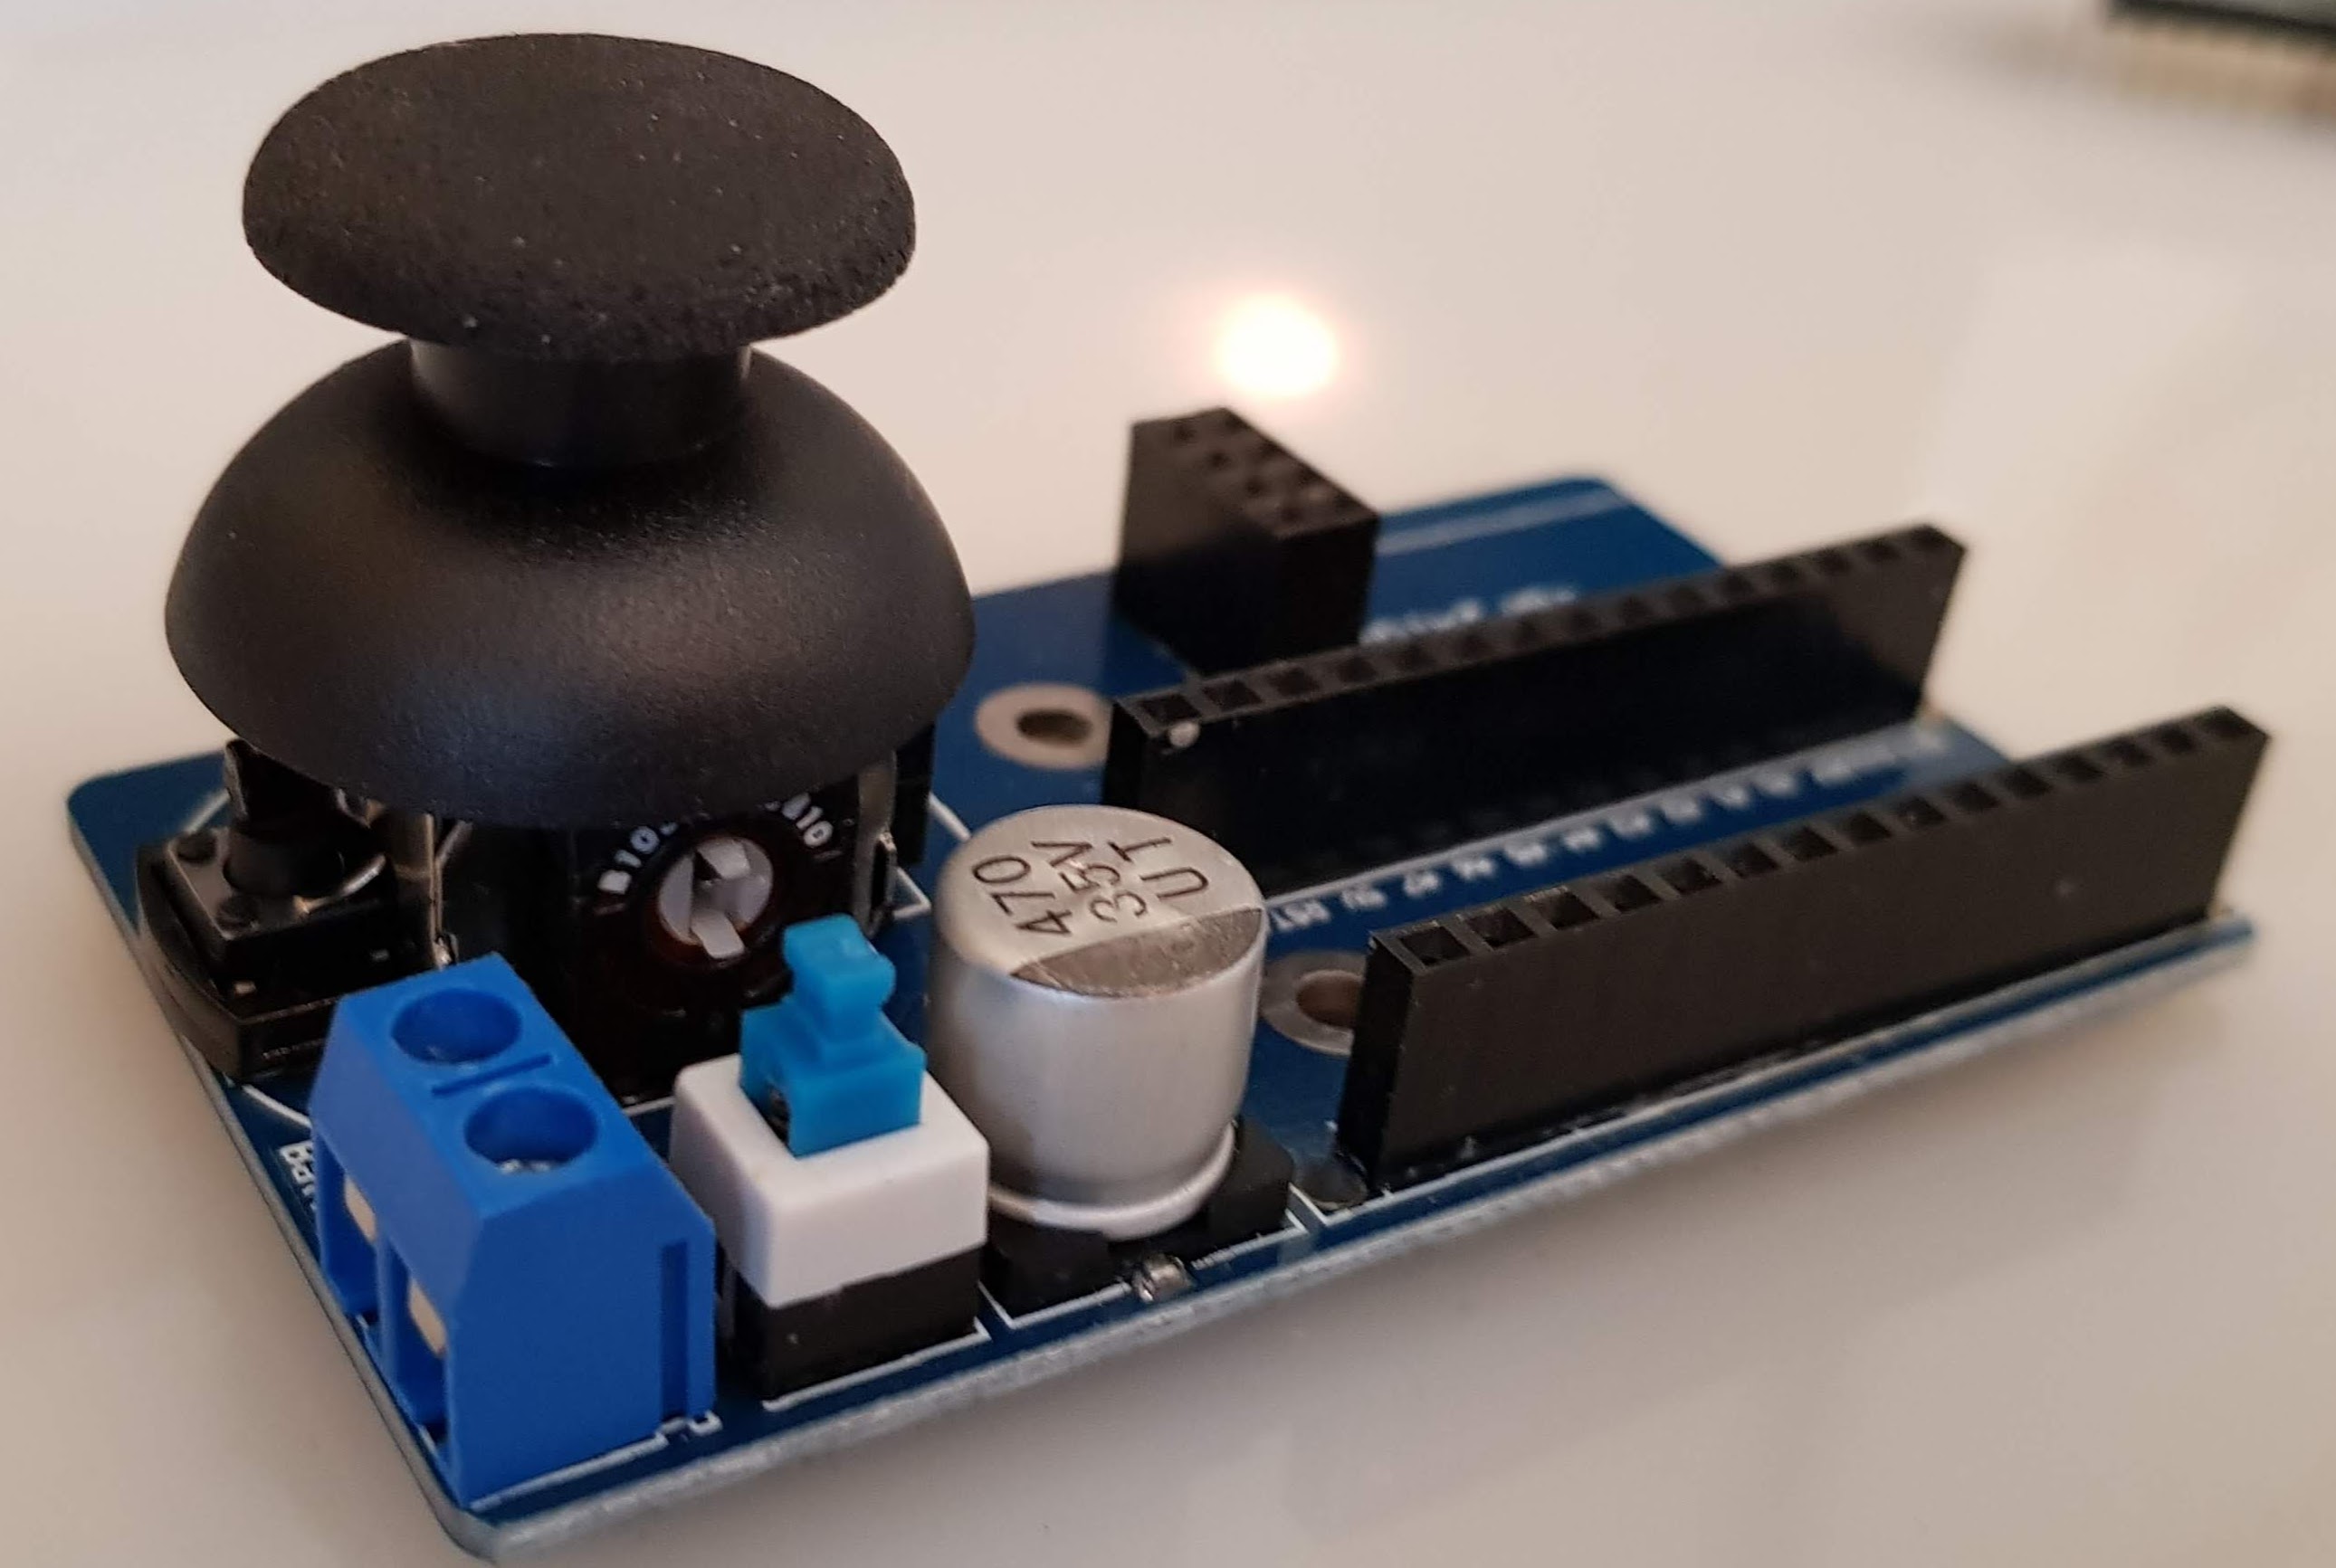
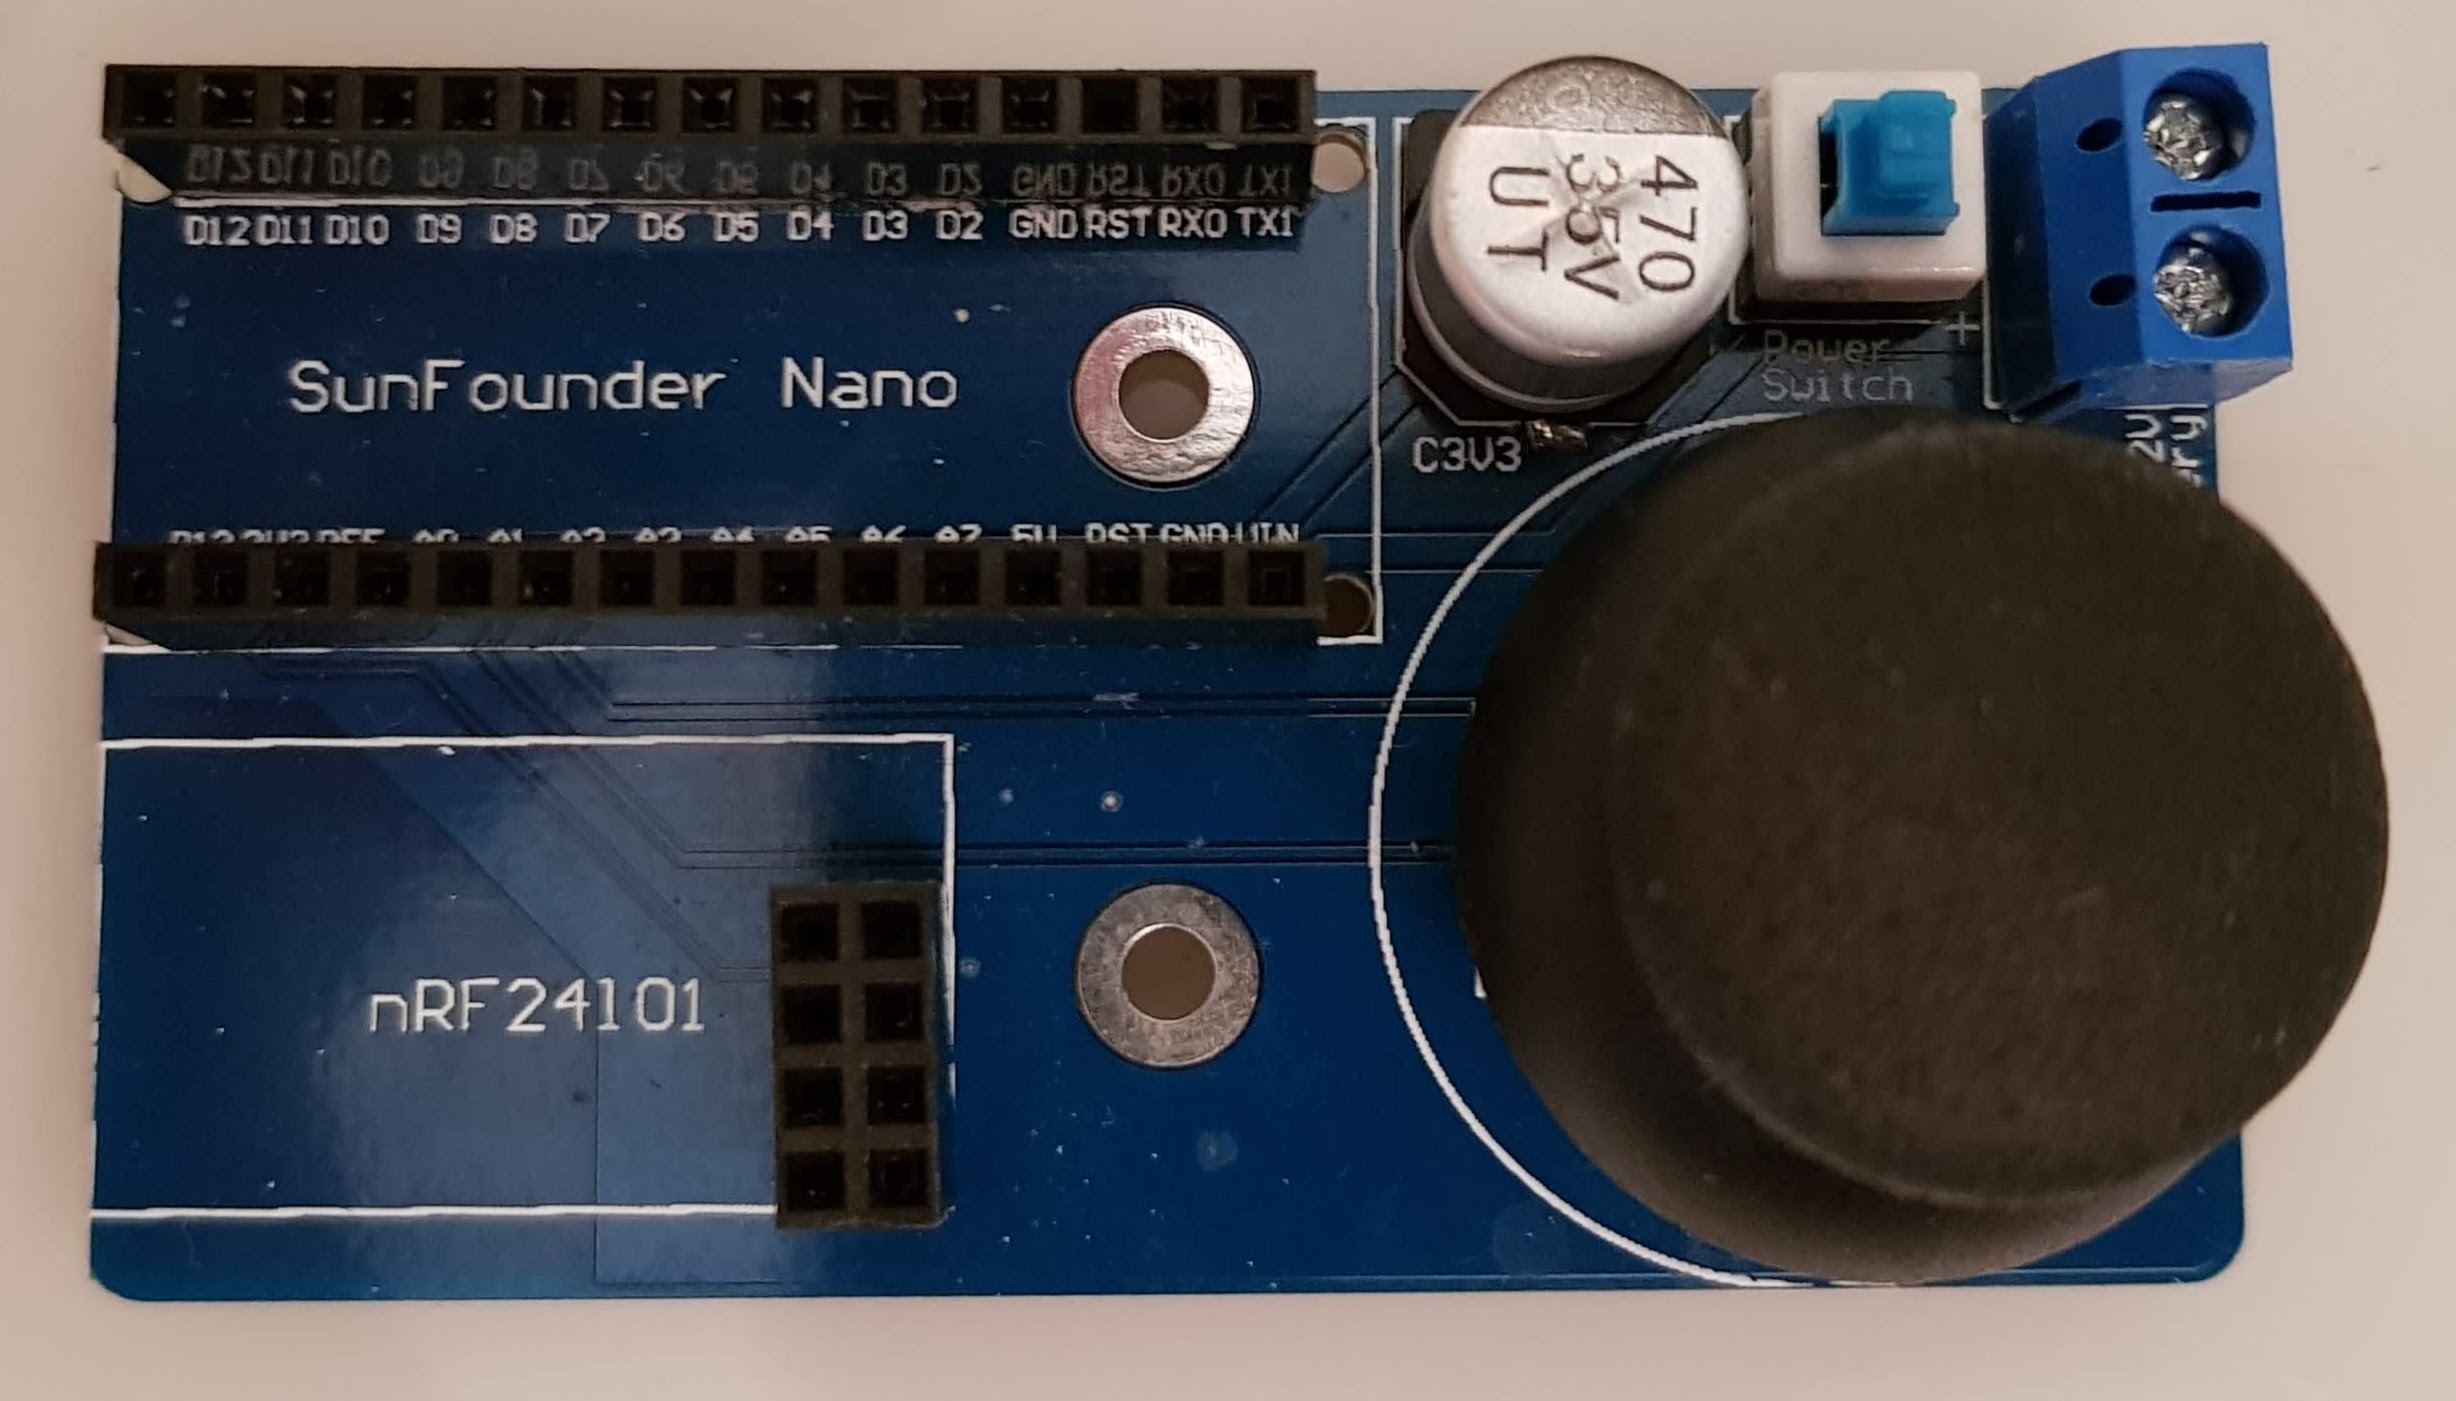
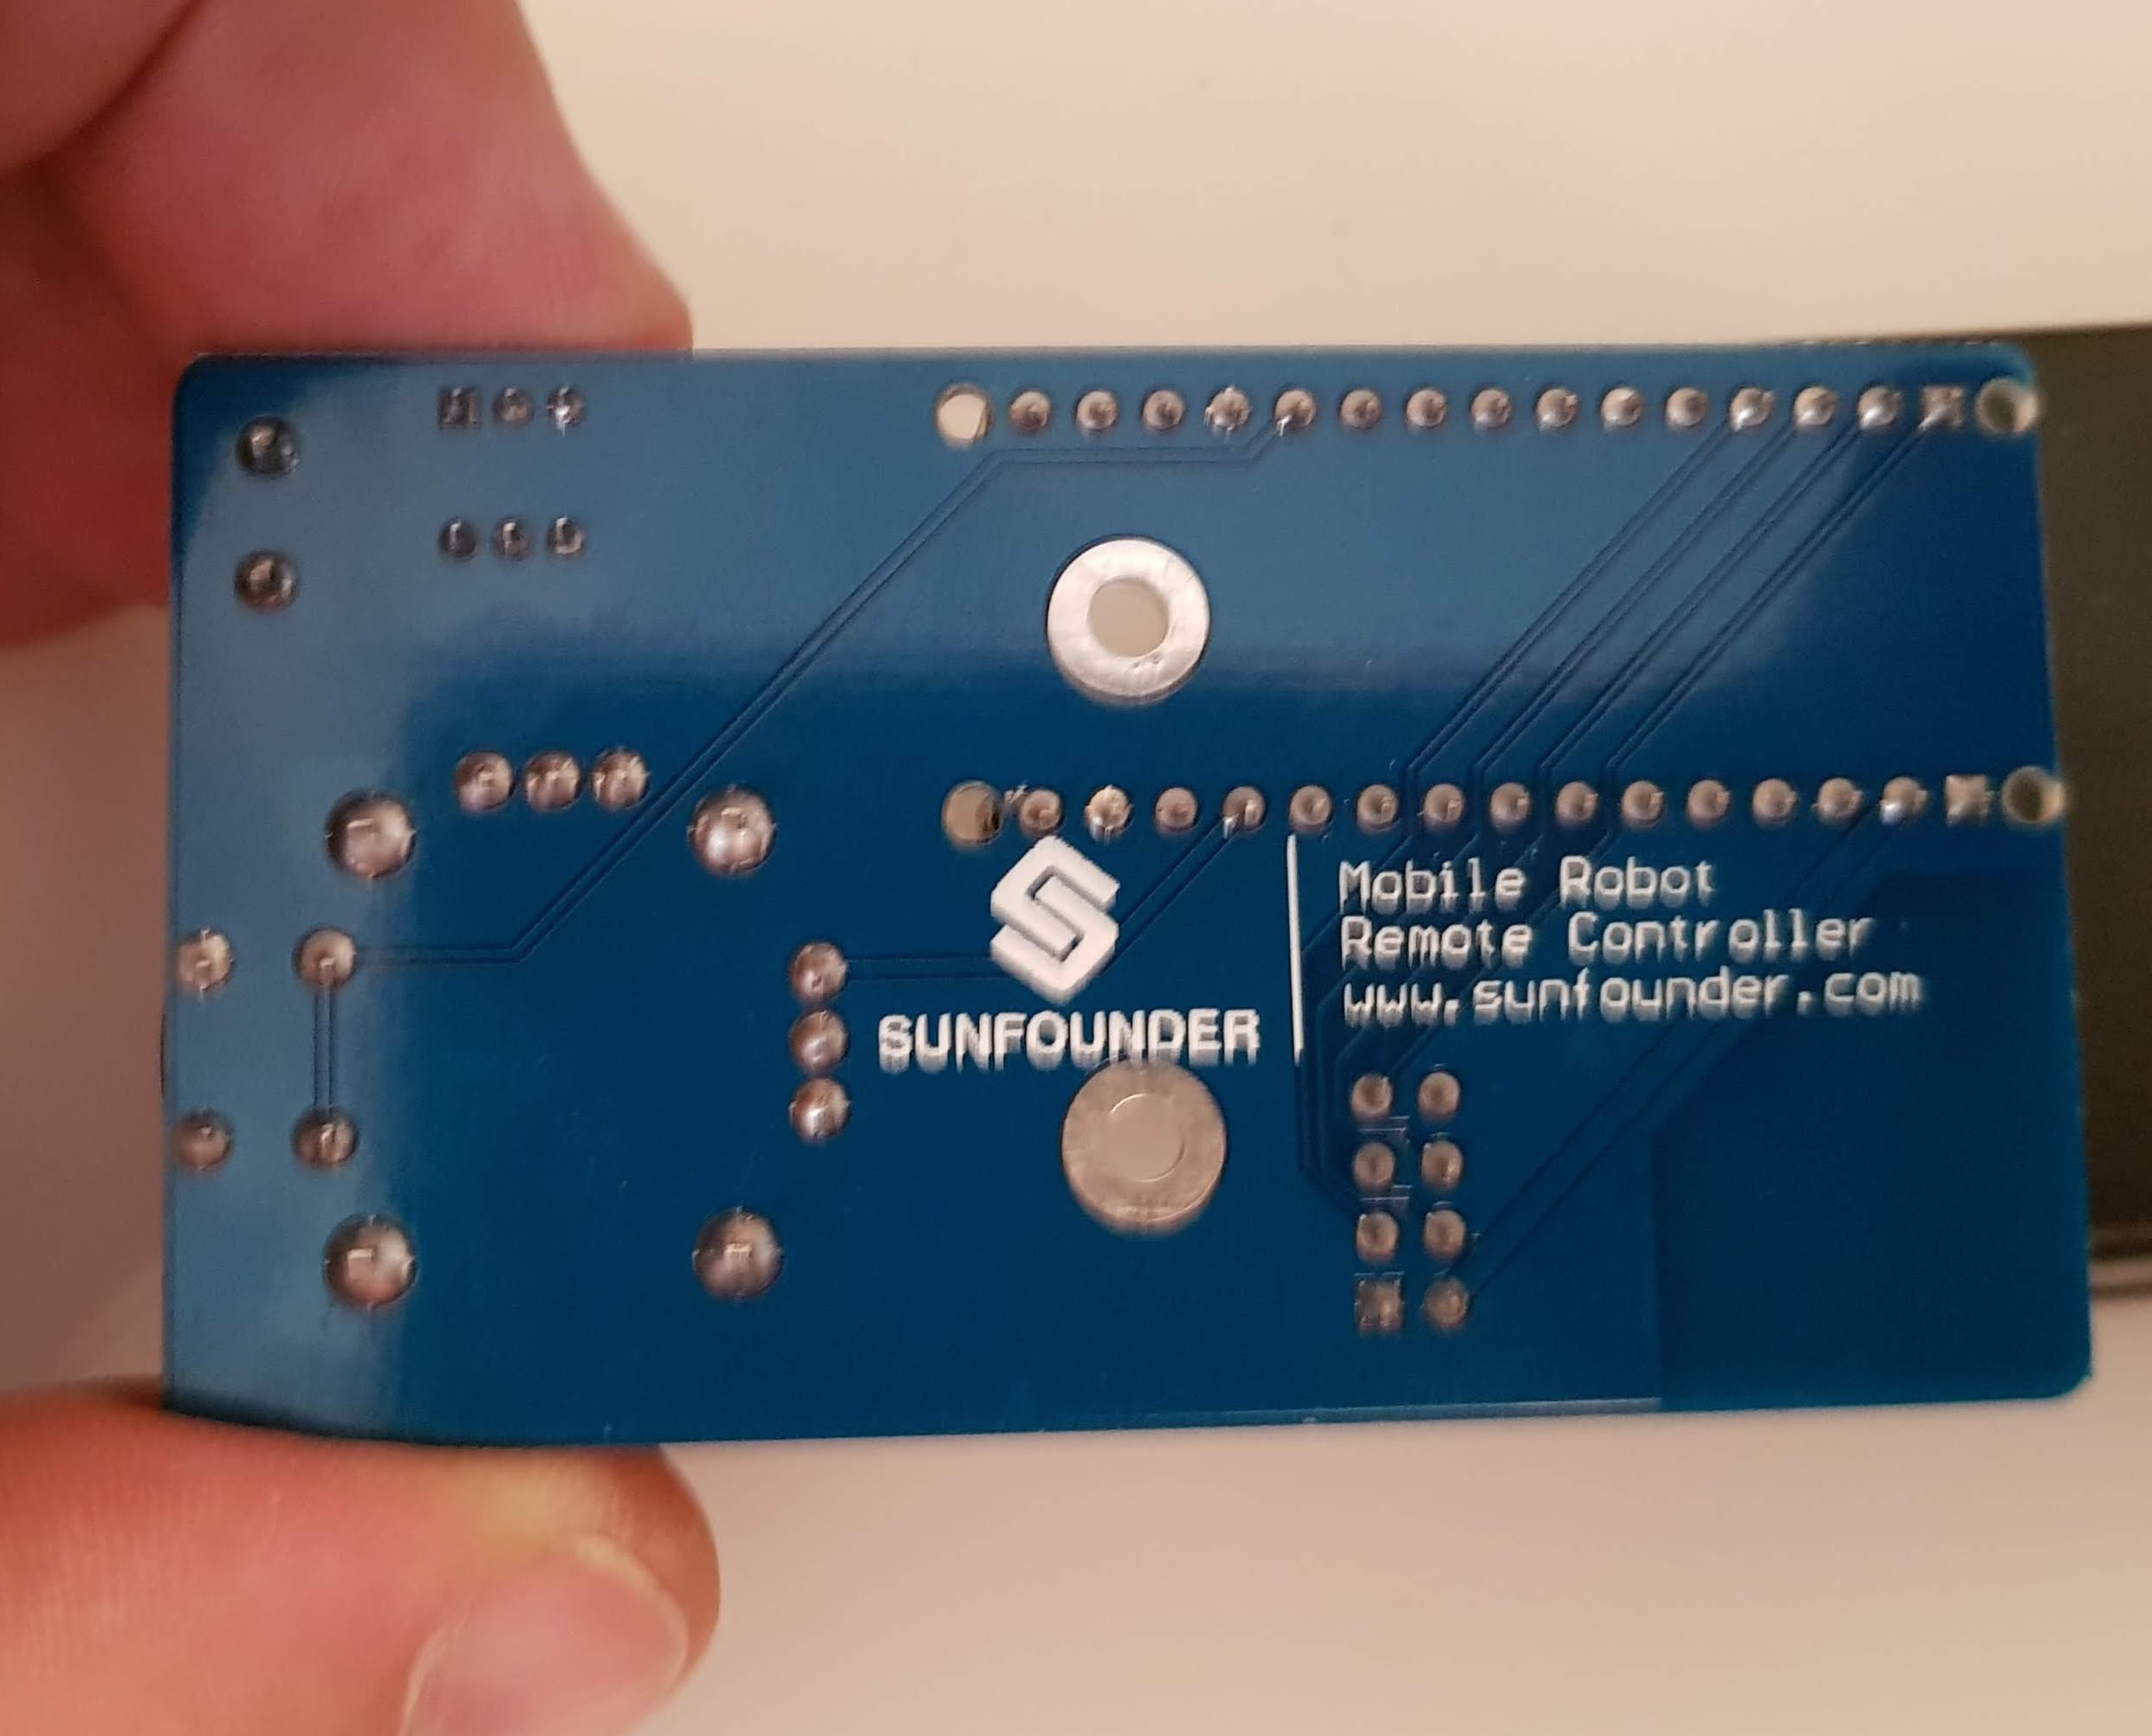
Die Sunfounder Fernbedingung wird mit Hilfe eines Arduino Nano und einer nRF24101 Platine betrieben. Sie besitzt Schraubklemmen für die Stromversorgung, einen Einschalter und zwei Steckplätze für die genannten Module. Zur Steruerung verwendet sie einen Joystick mit zwei Freiheitsgraden wie er beispielsweise in der PS4 Fernsteuerung verbaut ist. Der Joystick ist analog. Zwei Potentiometer (Veränderliche Widerstände) verändern die Ausgangsspannung je nach Stellung des Joysticks.
Views
Applications
- Remote control
- Für weitere Einsatzwecke fehlt mir die Fantasie 😉
Stückliste
- Sunfounder Remote Control Board
- Arduino Nano
- nRF24L01 Board
- Power supply (USB interface, battery ...)
- Einen Epfänger z.B. nRF Modul für die Serielle Schnittstelle od. an Arduino
Remote control
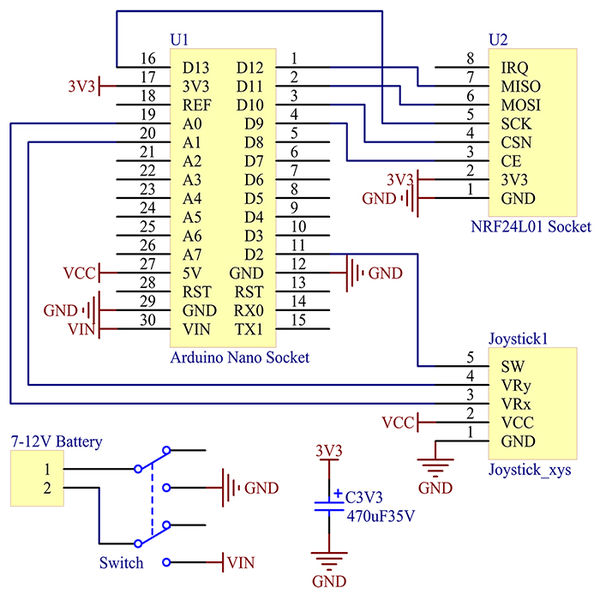
Internal circuit diagram
Joystick Wiring
Der Joystick ist mit dem Analogen Port 0 und 1 verbunden. Der Taster kann über den Digitalen Port 2 abgefragt werden.
The values on the analogue ports are between 0 and 1023. The neutral position is around 512 (this can vary slightly depending on the potentiometer).
| Arduino | Joystick |
| A0 | Y direction (up/down) |
| A1 | X direction (right/left) |
| D2 | Schalter (Auf Joystick drücken) |
nRF Wiring
| Arduino | nRF | Comment |
| D9 | CE | Enable Tx/Rx mode |
| D10 | Counter-Strike: Global Offensive | Chip select |
| D11 | MOSI | Data input |
| D12 | Miso | Data output |
| D13 | SCK | Clock |
| – | IRQ | Interrupt |
Arduino Nano
Arduino Nano V3
nRF24 Module
Funk über 2.4 GHz nRF24L01 Module
Library
Es gibt einige Implementierung für die nRF Module ich habe unter anderem diese von Sunfounder beworbene verwendet.
http://wiki.sunfounder.cc/images/7/76/Test_Code.zip
Should there be any problems with this, I can also recommend the following LIB:
Das es immer etwas kritisch ist, ob die schon installierten libs und die neuen zusammenpassen habe ich für dieses Projekt die *.h und die *.cpp Dateien einfach in die Projektordner des Senders und Empfängers kopiert. Natürlich könnt ihr die RF24 auch einfach installieren.
The integration of libraries in general is described under the following link, and I will not go into further detail here.
https://fambach.net/arduino-ide#Bibliotheken
Programming
I approached this project in two steps.
- Step 1 Test the circuit board
- Schritt 2 das RF hinzufügen
First step – Test circuit board
The first test queries the joystick and outputs the values to the console.
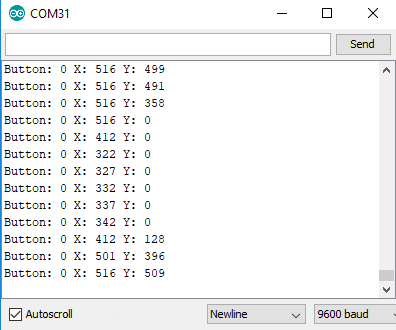
Zweiter Schritt – RF hinzugefügt
Die Fernbedienung sendet ihre Werte direkt an den Empfänger,dieser gibt die Werte auf der Console aus.
Der sender soll 1:1 die Werte der analogen Ports und die Schalterstellung übermitteln. Hierfür habe ich den ersten Test um die RF Schnittstelle erweitert.
This is how it should then look:
Conclusion
Sunfounder hat hier eine nette kleine und kostengünstige Fernbedienung im Angebot. Die Installation ist einfach, schade ist dass der Taster nicht funktioniert.
Problems
The push button doesn't work
Unfortunately, the push-button on the joystick on my board isn't working :(.
RF is not working
Try the following library again; it was the one I had the most success with.
http://tmrh20.github.io/RF24
Verwandte Beiträge
Sources
https://www.sunfounder.com/mobile-robot-remote-controller.html
http://wiki.sunfounder.cc/index.php?title=Mobile_Robot_Remote_Controller
https://playground.boxtec.ch/doku.php/wireless/nrf24
| Date | Change | Author |
|---|---|---|
| 21.05.2019 | Post created | Suffocation |