Last Updated on 18 September 2023 by Suffocation
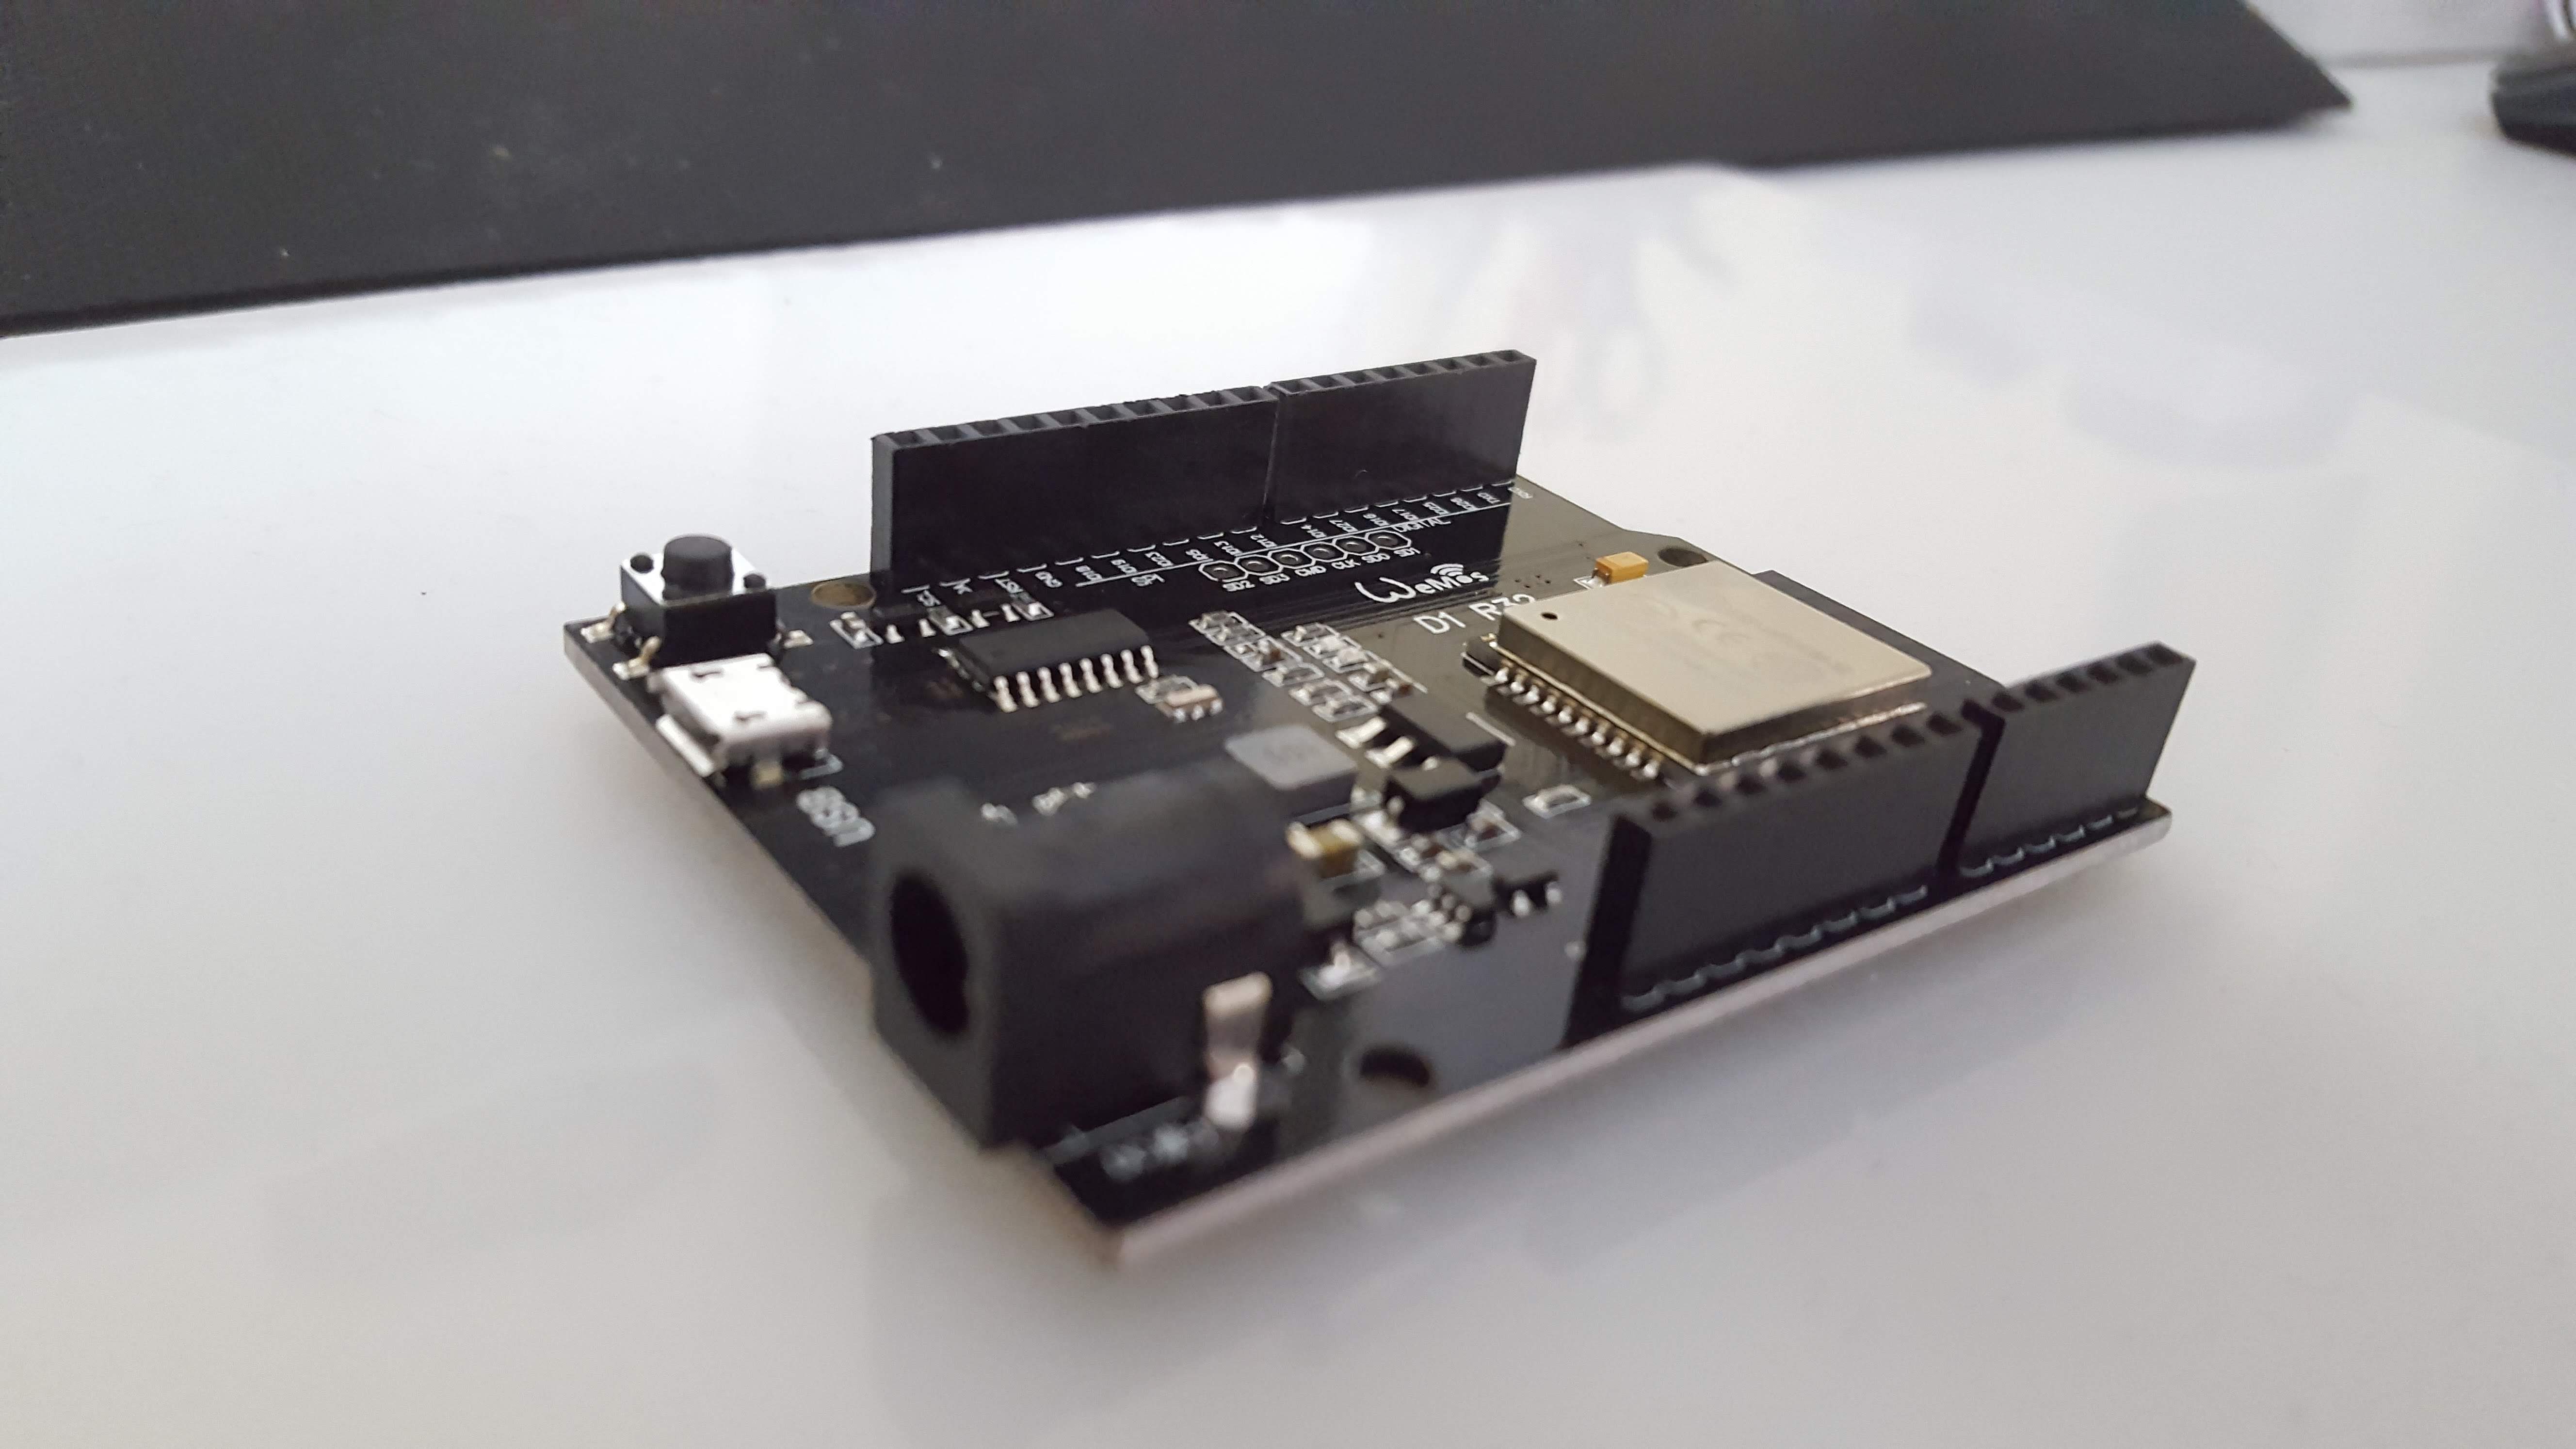
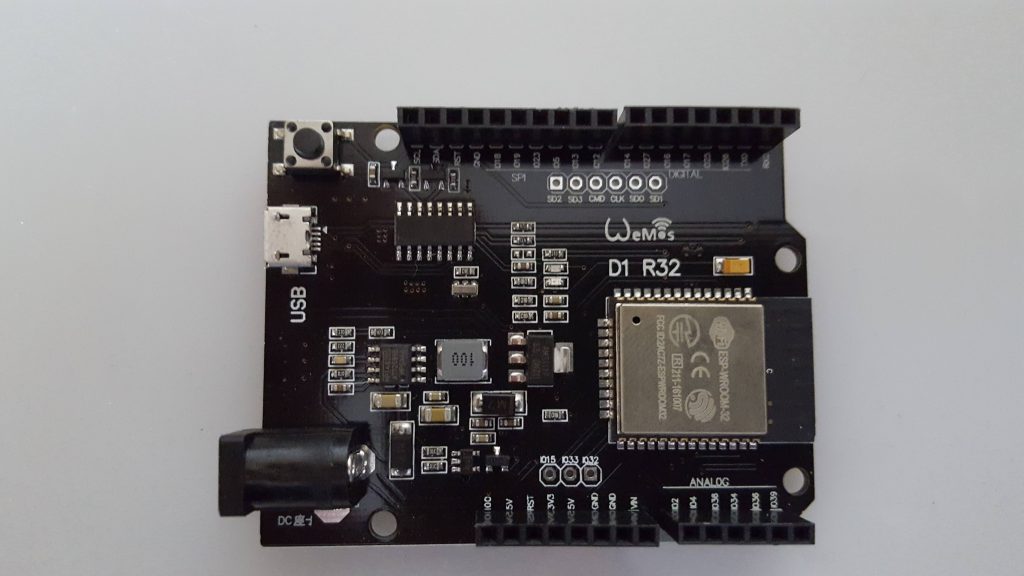
The WeMos D1 R32 is an ESP32 in an Arduino Uno form factor. It looks like an Arduino, its
IOs arbeiten jedoch nur mit 3V anstatt mit den gewohnten 5V. Dies kann zu Inkompatibilitäten bei Erweiterungsplatinen (Shields) führen. Der Preis liegt beim schnellen Ali unter 5 Euro.
Das Board verfügt über alle Vorszütge des ESP32 Prozessor wie beispielsweise WLan und Bluetooth. Aber auch die Nachteile zum Beispiel kann der zweite ADC bei eingeschaltetem WLAN nicht sicher betrieben werden.
In diesem Beitrag widme ich nur der Inbetriebnahme, andere Aspekte wie Funktionsumfang des ESP32 usw. können bereits erschienen oder noch folgenden Artikeln entnommen werden.
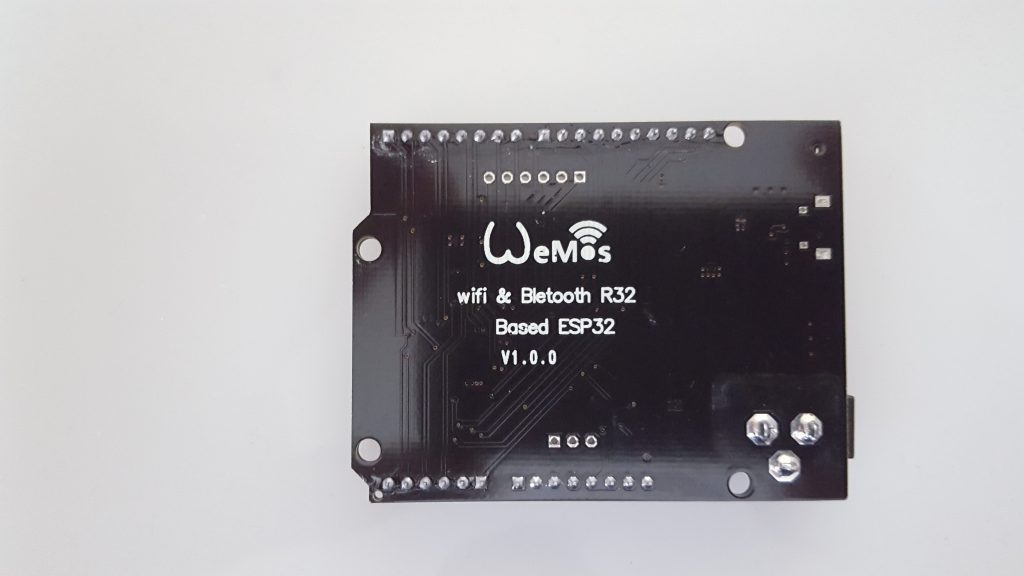
Nachtrag: Bei einer späteren Bestellung habe ich Nachbauten erstanden ESPDUINO-32. Diese scheinen weniger gut verarbeitet zu sein … wer billig kauft!!! Zumindest ist mir bei der vorliegenden Charge zweimal der USB Anschluss abgerissen. Mein Tip wäre entweder den USB-Anschluss seitlich vor Gebrauch nach zu löten, Boards mit dem alten USB Typ-B Anschluss zu kaufen oder evtl. die original Wemos Boards zu besorgen.
Views
Überblick
Here are the technical specifications for the Arduino Uno and Leonardo for comparison.
| Name | Arduino Uno | Arduino Leonardo | WeMos D1 R32 ESP32 |
Arduino Nano 33 BLE |
|---|---|---|---|---|
| Number/CPU | ATmega328P | ATmega32u4 | 1/ESP WROOM 32 Module | 1 / 64 MHz Arm® Cortex-M4F (with FPU) |
| Clock speed (MHz) | 16 | 16 | 240 | 64 |
| Kernel | 1 | 1 | 2 | 1 |
| Digital IOs / Pins | 14 | 20 | 36/28 | 14 |
| Analog inputs | 6 | 12 | 18 | 8 |
| Interrupt Pins | 2 | 2 | ? | 14 |
| Pulse Width Modulation | 6 | 7 | 16 | 14 |
| SPI | 1 | 1 | 4 | 1 |
| Flash memory | 32 KB | 32 KB | 1 megabyte | |
| RAM (KB) | 2 | 2,5 | 520 | 256KB |
| EEPROM (KB) | 1 | 1 | 4 KB | – |
| WiFi | – | – | 802.11 b/g/n Bluetooth |
– |
| Encryption | – | – | WEB / WPA2 / TKIP / AES | – |
| Bluetooth | – | – | 4.1 | NINA-B306 Module Bluetooth® Low Energy 5.0 Module Bluetooth® 5 Multiprotocol / Zigbee |
| UART | 1 | 1 | 3 | 1 |
| I2C | 1 | 1 | 2 | 1 |
| Ethernet | – | – | – | – |
| Video | – | – | – | – |
| Sound | – | – | – | – |
| Miscellaneous | – | – | – | LSM9DS1 (9-axis IMU) MPM3610 DC regulator NFC-A tag Nina B306 |
| USB | 1 normal | 1 micro | 1 Micro | 1 Micro |
| Operating voltage [V] | 5 | 5 | 3,3 | 3,3 |
| Input voltage | 7-12 | 7-12 | 3,3 – 9 | 21 |
| Current (mA) / Standby (mA) | 30 | |||
| Size L x W x H | 68,6 x 53,3 | 68,6 x 53,3 | 68,6 x 53,3 | 43,16 x 17,7 |
| Weight [g] | 25 | 20 | < 25 | 5 |
Pins
Wire / I²C
2 Wire Kontoller sind auf dem ESP Verfügbar, an folgenden Pins kann einer von ihnen Verwendet werden. (Welcher weiss ich nicht).
| Designation | Pin |
|---|---|
| SCL | 22 |
| Seventh-day Adventist | 21 |
ADC
Der ESP32 besitzt zwei ADCs mit 18 Kanälen. 6 sind hier auf die regulären ADC Pins herausgeführt. Weitere 4 könnten über, beim Arduino eigentlich Digitale Pins, abgefragt werden. Die Kanäle des ADC 2 sind nicht mit eingeschalteten WIFI nutzbar.
| Pin | GPIO | ADC | Channel | |
|---|---|---|---|---|
| A0 | 2 | 2 | 1 | Not usable with Wi-Fi |
| A1 | 4 | 2 | 0 | Not usable with Wi-Fi |
| A2 | 36 | 1 | 7 | |
| A3 | 34 | 1 | 6 | |
| A4 | 38 | 1 | 0 | |
| A5 | 39 | 1 | 3 | |
| 12 | 12 | 2 | 5 | Not usable with Wi-Fi |
| 13 | 13 | 2 | 4 | Not usable with Wi-Fi |
| 14 | 14 | 2 | 6 | Not usable with Wi-Fi |
| 25 | 25 | 2 | 8 | Not usable with Wi-Fi |
Ich hatte die ADC Kanäle einzeln durchgetestet, immer einer belegt die anderen jeweils unbelegt. Hierbei ist mir ein gewisser Einfluss des Belegten ADC Kanals auf die anderen aufgefallen. Evtl. müsste man dies untersuchen wenn die Werte der ADC Kanäle all zu sehr schwanken.
Die GPIOs 6, 7, 8, 9, 10 und 11 werden beim Wroom Modul für den internen Flash benötigt, sind bei diesem Board aber auch nicht nach aussen geführt.
Arduino Links D1R32 Links Arduino Rechts D1R32 Rechts
SCL SCL
SDA SDA
ARef Reset
GND Gnd
Not connected IO0 13 IO18
IORef 5V 12 IO19
Reset Reset 11 IO23
3.3V 3.3V 10 IO5
5V 5V 9 IO13
GND GND 8 IO12
GND GND 7 IO14
Vin Vin 6 IO27
A0 IO2
IO Comparison Arduino Uno and D1R32
| Arduino Links | D1R32 Links | Arduino Right | D1R32 Right | |
|---|---|---|---|---|
| SCL | SCL | |||
| Seventh-day Adventist | Seventh-day Adventist | |||
| ARef | Reset | |||
| Ground | Ground | |||
| Not connected | IO0 | 13 | IO18 | |
| IORef | 5V | 12 | IO19 | |
| Reset | Reset | 11 | IO23 | |
| 3.3V | 3.3V | 10 | IO5 | |
| 5V | 5V | 9 | IO13 | |
| Ground | Ground | 8 | IO12 | |
| Ground | Ground | 7 | IO14 | |
| Wine | Wine | 6 | IO27 | |
| A0 | IO2 | 5 | IO16 | |
| A1 | IO4 | 4 | IO17 | |
| A2 | IO36 | 3 | IO25 | |
| A3 | IO34 | 2 | IO26 | |
| A4 | Iodate | 1 (TX) | TX0 | |
| A5 | IO39 | 0 (RX) | RX0 |
Interrupts
In principle, any GPIO of the ESP32 can be used as an external interrupt. However, not all are equally suitable as they might be used for other functions.
| Arduino Pin | GPIO | Usable | Additional function |
|---|---|---|---|
| A0 | 2 | Könnte gehen | ADC2 |
| A1 | 4 | Könnte gehen | ADC2 |
| A2 | 36 | Yes | ADC1 |
| A3 | 34 | Yes | ADC1 |
| A4 | 38 | Yes | ADC1 |
| A5 | 39 | Yes | ADC1 |
| 1/0 | TX0/RX0 | No | |
| 2 | 26 | Könnte gehen | ADC |
| 3 | 25 | Könnte gehen | ADC2 |
| 4 | 17 | Yes | U2TXD |
| 5 | 16 | Yes | U2RXD |
| 6 | 27 | Könnte gehen | ADC2 |
| 7 | 14 | Könnte gehen | ADC2 |
| 8 | 12 | Könnte gehen | ADC2 |
| 9 | 13 | Könnte gehen | ADC2 |
| 10 | 5 | Yes | TOUCH0 |
| 11 | 23 | Yes | MOSI |
| 12 | 19 | Yes | Miso |
| 13 | 18 | Yes | SCLK |
Programming
Arduino programming environment
If the ESP32 has not been used before, the Arduino IDE still needs to be adjusted. As described in the linked article below.
Setting up ESP32 with the Arduino GUI
Information is also available at GITHUB.
Test programme
Als Testprogramm habe ich das WiFiClient Beispielprogramm herangezogen und etwas angepasst. Bitte die WLAN Daten entsprechend auf die Lokalen Umstände anpassen.
Nicht schön aber so sieht es bei mir aus:
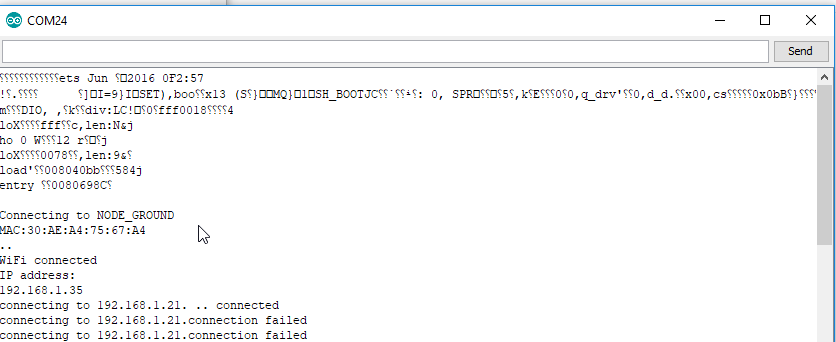
Für das Programm braucht ihr eine Gegenstelle. Hierfür könnt ihr das kleine Java Tool nehmen, dass ich bereits in anderen Projekten verwendet habe. Beim Starten den port 88 angeben und/oder im Programm ändern.
Hello,
Thank you for your contribution. From many years of experience with Arduino, the design of the D1 R32 appealed to me and I have also bought one.
I am very disappointed with the range of the WLAN and Bluetooth modules. With both, I have to be right next to the router or stand with the smartphone in front of the ESP for it to connect. Do you have any tips on how to increase the range of the D1 R32? Thanks!
Hello Jonas,
I've taken my D1 R32 out of the box. For me, the access point is on the ceiling and about 10m away.
I have -56 dbm reception despite walls. With the addon board mounted, I still have -60 dbm. So, I can't complain about the range.
However, the ESP's antenna also points upwards. Therefore, I turned the ESP upside down for this, which is mounted on a metal plate which should also provide additional shielding.
The RSSI value on the ESP was -70 dbm, which is still okay.
(Access point is a Netlink EAP265 HD)
With the ESP32, there's an issue where it sometimes won't connect; this is described in the Problems chapter here: https://www.fambach.net/esp32-nuetzliche-infos/.
Additionally, you can include an ESP.restart(); after the loop has run multiple times.
Otherwise, that's all I can think of. https://www.youtube.com/watch?v=wP9YMNj_E7Y 😉
Hello
Stefan
Addendum, I've uploaded my test program to Git:
https://github.com/sfambach/esp32/tree/master/project/Test_WifiEsp32
Hello Jonas,
As a new user (well, until yesterday!) I was also struggling with an extremely weak Wi-Fi signal. My mistake was using pins from ADC2. I used GPIO2 & GPIO4 as I2C SDA & SDC. After switching to GPIO18 & 19, the Wi-Fi signal had full strength. Greetings from Austria, Bert
Hello Angelbert,
Thank you for your contribution and feedback. It's a bit of a design flaw with the ADC2, but of course, that's due to the ESP32 and not the board.
Greetings from Germany to Austria
Stefan
Thank you very much for this very informative article!
I realise that most existing expansion boards won't work. However, this board is very easy to combine with the Arduino prototyping boards available from well-known suppliers in China for around 1 to 2 Euros. This makes it much easier to work with than wobbly breadboards.
Greetings
Fred
Hello Fred,
Thank you for your contribution. You are of course correct, the prototype board fits and offers some advantages, I also like using it. I've also thought of the sensor board; for example, it offers direct connections for servos and other sensors.
Link to quick Ali
Hello
Stefan
Thank you for updating the page and for your reply. I suppose I'll *have* to get one of those then... 😉
Kind regards,
Migusch
Hello Migusch,
if that works for you. Personally, I don't think the board is that good because most expansion boards don't work, making the format pointless. There are cheaper ESP32 boards with more pins that can also be programmed with the Arduino GUI.
Hello
SteFam
Hello Migusch,
Thank you for your contribution. My response took a moment, as I wanted to update the post and correct a few errors first. As the articles are constantly evolving, it's unfortunately sometimes unavoidable that some information is incomplete or the post, as in the case above, is forgotten. I hope the content is no longer contradictory now. The Arduino Uno has 6 ADC inputs, which are also conditionally available here. ADC Pins 0/1, however, cannot be operated in parallel with Wi-Fi. 4 further inputs of ADC 2 are available on digital pins of the Arduino Uno.
I also tested the basic OTA straight away, it works even though I sometimes have interruptions.
Regards, SteFam
Lovely website with lots of useful information!
Yes, the WeMos D1 R32 can be programmed wirelessly via „OTA“ (Over-the-Air).
I didn't understand how many analogue connections can actually be used now. The chip could actually have 18, but how many are brought out to the Arduino GPIO? The silkscreen printing labels 6 connections as „Analog“. Above, you draw a line between A2 and A4, does that mean the connections are unusable?
Thank you for your reply