Last Updated on 4. October 2026 by SuffocationLink status: OK
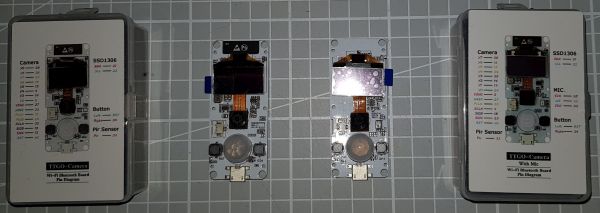
Many who engage with the ESP32 CamLink status: OK have been occupied with, thought about an expansion with a PIRLink status: OK oder andere Sensoren nach. LiLyGo hat eine Serie von mehreren Kameras herausgebracht, unter anderem die beiden vorliegenden Modelle mit einem PIR Sensor und einigen anderen interessanten Zusätzen.
Es gibt mehr als zwei Varianten, hier möchte ich die folgenden vorstellen:
- Version 1.62 with microphone (called 162 by the manufacturer)
- Version 1.7 ohne Mikrophon (beim Hersteller 17 genannt)
Diese gibt es zudem noch mit zwei unterschiedlichen Linsen. Eine normale und eine Fischaugen-Linse.
Als Zubehör gibt es einen Drucksensor, der an den Steckverbinder angeschlossen werden kann und ein Gehäuse. Für das Gehäuse gibts noch eine Gummi-Stoßsicherung.
Pins sind bis auf die Schnittstelle unten keine nach außen geführt. Über diese kann mittels I²C Bus mehr Peripherie angeschlossen werden.
Facts
- ESP32
- OV2640 2 Megapixel Camera (optional fisheye lens)
- SSD1306Link status: OK Monochrom Oled Display 128×64 Pixel
- PIR SensorLink status: OK AS312
- Micro USB port for programming
- Microphone (optional)
- 2-button reset + freely assignable
- Battery connection Japan Standard TimeLink status: OK 1.25mm with charger IP5306 with I²C connection
- Antenna connector IPEXLink status: Unknown
- Connector for I²C devices
Pin assignment
Camera
| Description | Pin Without Mic (V170) | Pin with mic (V162) |
| DVP Y9 | 39 | 36 |
| DVP Y8 | 36 | 37 |
| DVP Y7 | 23 | 38 |
| DVP Y6 | 18 | 39 |
| DVP Y5 | 15 | 35 |
| DVP Y4 | 4 | 14 |
| DVP Y3 | 14 | 13 |
| DVP Y2 | 5 | 34 |
| Variable speed drive (VSD) | 27 | 5 |
| DVP HREF | 25 | 27 |
| DVP PCLK | 19 | 25 |
| DVP PWD | N/A | N/A |
| DVP XCLK | 32 | 4 |
| DVP SIOD | 13 | 18 |
| DVP SIOC | 12 | 23 |
| DVP RESET | N/A | N/A |
Other
| Description | Pin |
| PIR Sensor (with mic/without mic) | 19/33 |
| Right button | 34 |
| Microphone | |
| SCK | 28 |
| SDO | 33 |
| WS | 32 |
| SSD | |
| I²C SDA | 21 |
| I2C SCL | 22 |
| Connector | |
| 5V | 1 |
| Mass GND | 2 |
| 3.3V | 3 |
| IO22 (I²C SCL) | 4 |
| IO21 (I²C SDA) | 5 |
Areas of application
- Surveillance
- Model making
- Spycam
- Spyhole
Views
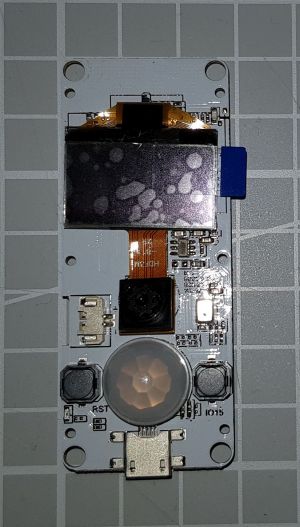
TTGOT-KameraESP32 V163 Vorderseite 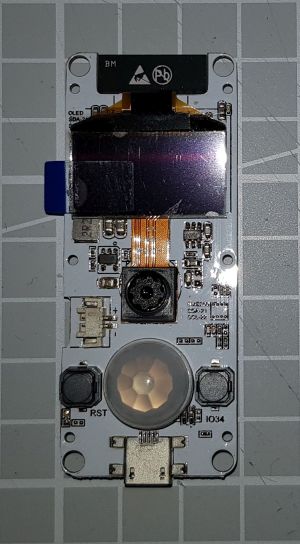
TTGOT-KameraESP32 V17 Front 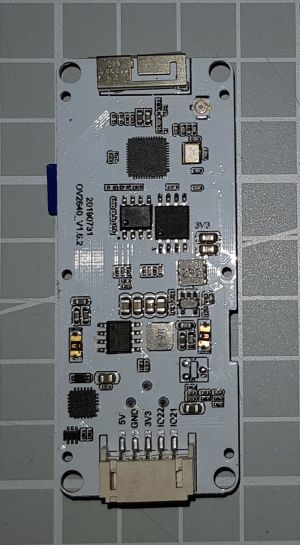
TTGOT-CameraESP32 V163 Back TTGOT-CameraESP32 V163 Back 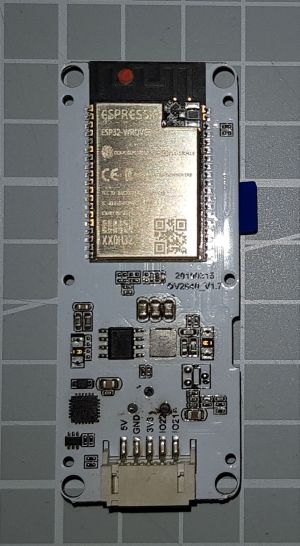
TTGOT-KameraESP32 V17 Rear 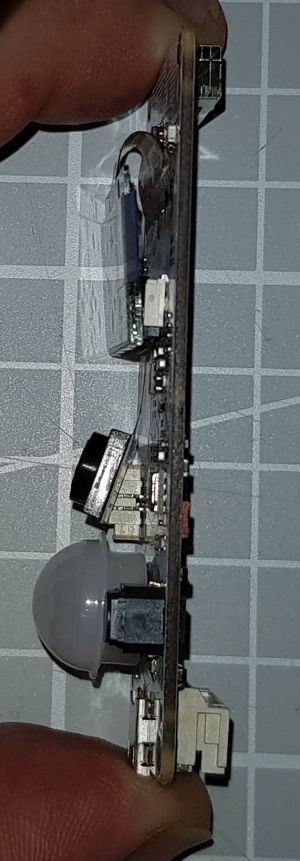
TTGOT-Camera ESP32 V163 Right Side 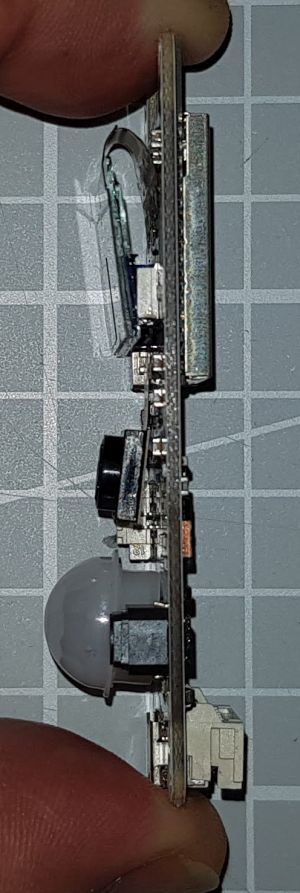
TTGOT-CameraESP32 V17 Right 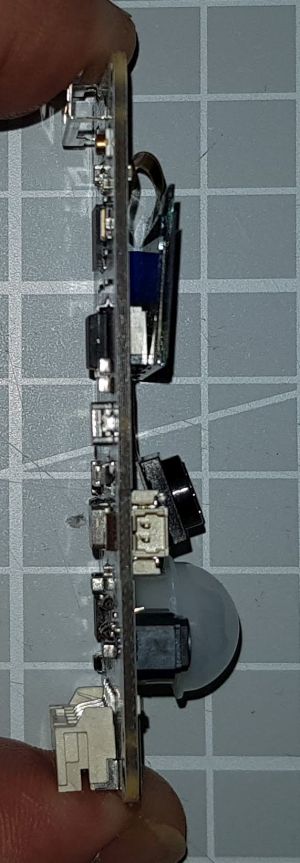
TTGOT-Camera ESP32 V163 left side 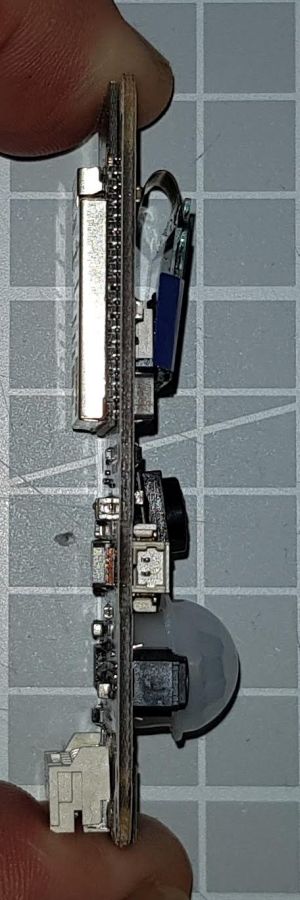
TTGOT-KameraESP32 V17 links 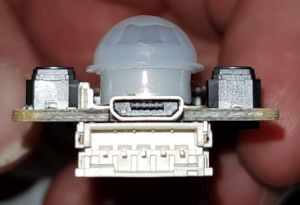
TTGOT-Kamera ESP32 V163 Anschlüsse 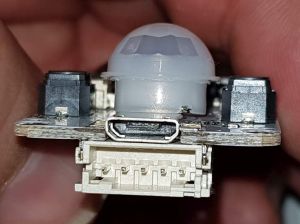
TTGOT-ESP32 Camera V17 Connections
Analyse

Source: LinkLink status: Unknown

Source: LinkLink status: Unknown
Programming
Libraries
Camera
Die Bibliothek ist mittlerweile beim ESP32 Board dabei, wer es aktuell mag, hier der Link zum Git Projekt.
https://github.com/espressif/arduino-esp32Link status: OK
SSD1306
LiLyGo verwendet per se nicht die Adafruit Bibliotheken, somit wird für das SSD1306 Display die folgende Bibliothek verwendet:
https://github.com/ThingPulse/esp8266-oled-ssd1306Link status: OK
Taster
The following library is used for the button:
https://github.com/mathertel/OneButtonLink status: OK
Optional IP5306 charger
Der Akkulader hat einen I²C Anschluss, mit Hilfe dessen einige Informationen wie Batterieladestatus usw. ausgelesen werden können.
Hier eine Bibliothek, die dabei unterstützt:
https://github.com/shaap/IP5306-arduino/blob/master/IP5306.hLink status: OK
Test programme
Preliminary work
- Download the example program LinkLink status: OK.
- Clone the repository or download as a Zip.
- The test program is in the sketch folder.
- Install the above libraries or place copies in the Sketch folder.
Code anpassen
Changes in the Sketch.ino file
Document the correct board version
/***************************************
 *  Board selection
 **************************************/
/* Select your board here; see the board list in the README for details*/
// #define T_Camera_JORNAL_VERSION
// #define T_Camera_MINI_VERSION
// #define T_Camera_PLUS_VERSION
// #define T_Camera_V05_VERSION
// #define T_Camera_V16_VERSION
#define T_Camera_V162_VERSION
// #define T_Camera_V17_VERSION
// #define ESPRESSIF_ESP_EYE
Enter WLAN data
/***************************************
 *  Wi-Fi
 **************************************/
#define WIFI_SSID   "TEST"
#define WIFI_PASSWD "TEST123456789""
Stir everything together, heat gently, compile, and play to the board. Here are my board settings:
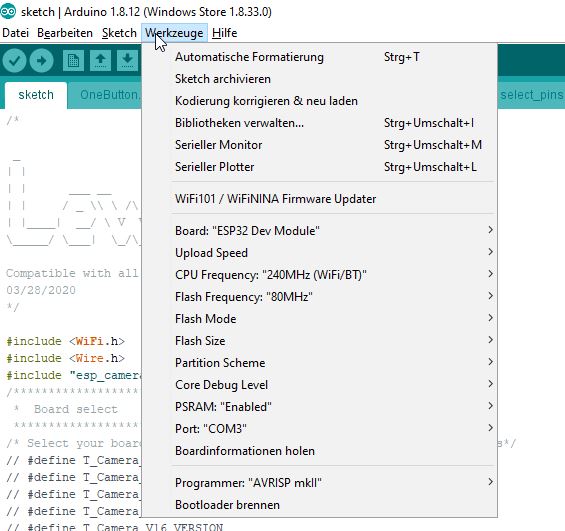
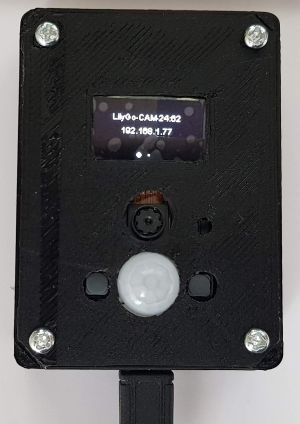
An IP address should be displayed on the screen after a short time. You might try pressing the left (Reset) button.
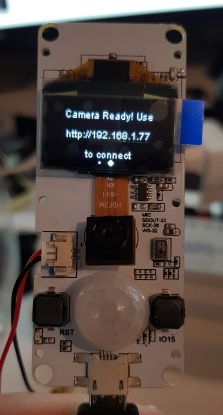
With the help of this IP, the camera's website can be accessed in the browser.
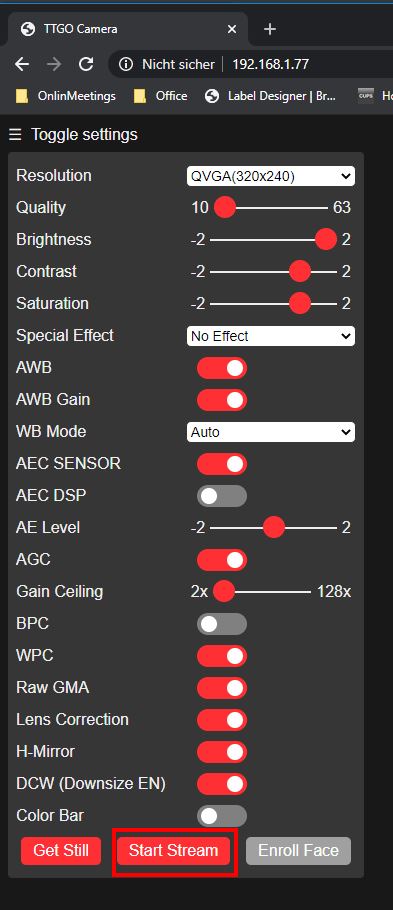
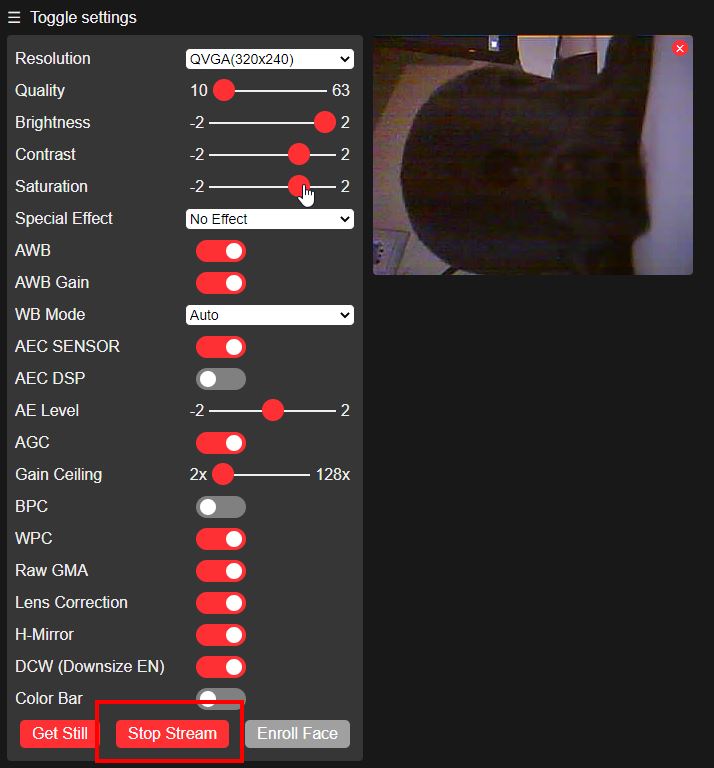
Start the stream now, and a somewhat dark camera image should appear.
Problems
The IP address is not displayed
WLan Einstellungen nochmal überprüfen, evtl. externe Antenne anschließen.
Website not reachable
Check firewall. Ping the camera if possible.
Weitere Probleme
The ESP32 Cam post lists further problem cases that might help.
https://www.fambach.net/esp32-cam-modul/Link status: OK
Miscellaneous
Battery operation
Das Kameraboard verfügt über eine Japan Standard TimeLink status: OK 1,25mm Akkuanschlussbuchse, die mit dem Laderbaustein IP5306 verbunden ist.
Mit einem Lipo 3.7V 1500mAh konnte ich die Kamera im Dauerbetrieb rund >3 Stunden betreiben.
Interessanter wäre es, die Kamera in den Schlafmodus zu versetzen und nur auf Signale vom PIRLink status: OK to wait.
In addition to the class already linked above:
https://github.com/shaap/IP5306-arduino/blob/master/IP5306.hLink status: OK
habe ich noch diese vom M5 Stack gefunden, sie erscheint mir etwas komfortabler.
https://github.com/m5stack/M5Stack/blob/master/src/utility/Power.hLink status: OK
3D housing
https://www.thingiverse.com/search?q=t-camera&type=things&sort=relevantLink status: Unknown
This also looks smart:
https://www.thingiverse.com/thing:3704769Link status: Unknown
I printed this case myself.
https://www.thingiverse.com/thing:3440888Link status: Unknown
Mein Druck ist auf Druckgeschwindigkeit ausgelegt. Mit besseren Druckern oder langsameren Druckoptionen ist sicherlich eine bessere Qualität möglich.
Requirement
- 12 Metre Filament Print Time
- 2.5 hours printing time
- 4th M3 * 16 Countersunk Screw (I only had pan head, which also worked)
- 1st M3 *20 Countersunk Screw
- 1st M3 * 8 Senkkopfschraube
- 3 M3 Muttern evtl. Unterlegscheiben
Print settings:
| Printer | CTC Bizzer |
| Material | PLA |
| Adhesion | Here without / aber besser mit, siehe Ecken |
| Hotplate | 0°C |
| Print mat | Blue tape |
| Printing temperature | 220°C |
| Shell thickness | 1mm |
| Layer height | 0.2mm |
| Druckgeschwindigkeit | 60mm/s |
| Retraction-Geschwindigkeit | 50 mm/s |
Die Teile sehen auf den ersten Blick ganz gut aus. Die Halterung passt perfekt auf die Kugel. Diese ist nicht zu klein, somit auch schön rund.
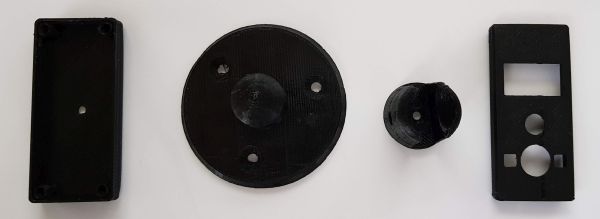
The housing doesn't fit together well for me, the tolerances are too small for my cheap printer. The strut in the middle is due to my print bed.
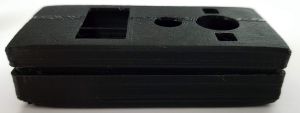
Dafür passt das Kameraboard mit sanfter Gewalt gut ins Gehäuse.
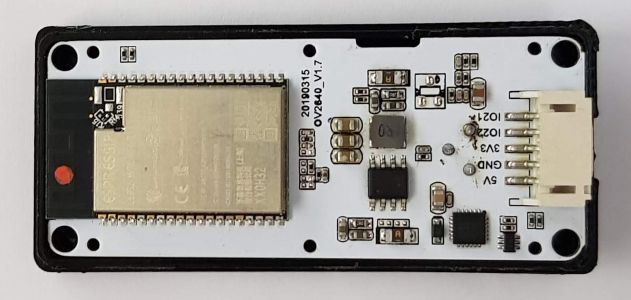
Alles in allem sieht ganz gut aus 😉
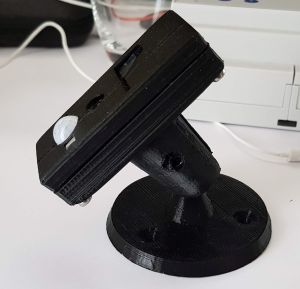
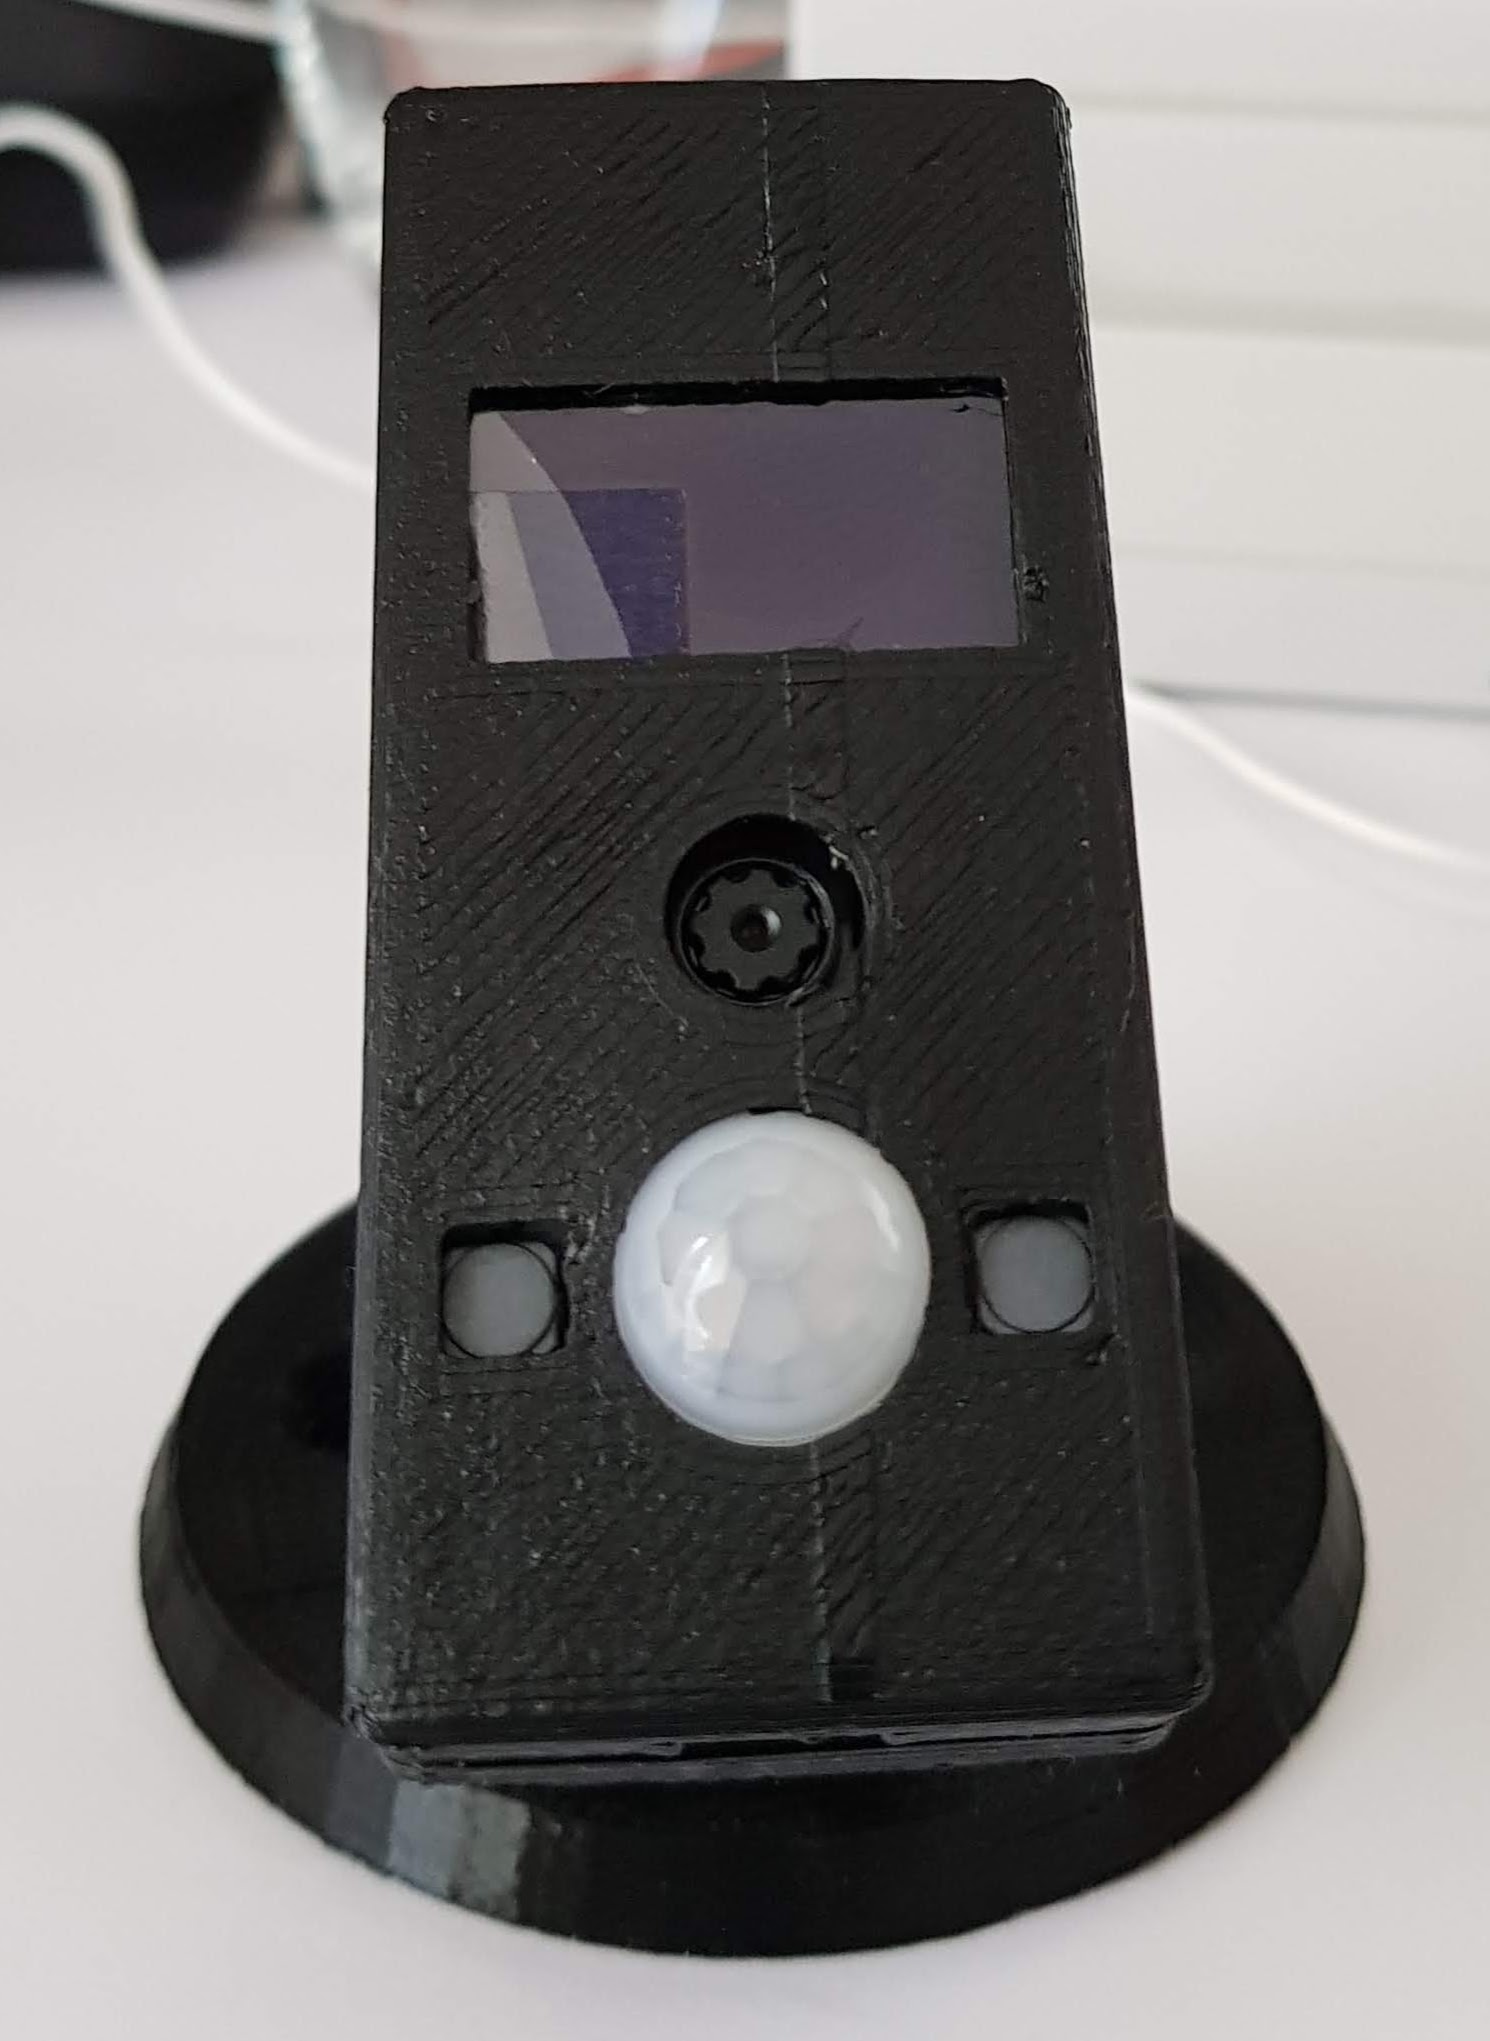
For a bit more space, I also tried the following casing.
https://www.thingiverse.com/thing:3414820Link status: Unknown
Requirement
- 8 metres filament print time
- 1.5 hours print duration
- 4 x M3 x 8 pan head screws
- 6St M1 Spax etc. or possibly hot glue or similar.
Print settings:
| Printer | CTC Bizer |
| Material | PLA |
| Adhesion | Rim/base plate |
| Hotplate | 0°C |
| Print mat | Blue tape |
| Printing temperature | 220°C |
| Shell thickness | 1mm |
| Layer height | 0.2mm |
| Druckgeschwindigkeit | 60mm/s |
| Retraction-Geschwindigkeit | 50 mm/s |
Das Gehäuse sieht schlicht aus, erfüllt aber seinen Zweck. Die kleinen Schrauben sind etwas friemelig aber halten das Board gut am Deckel.
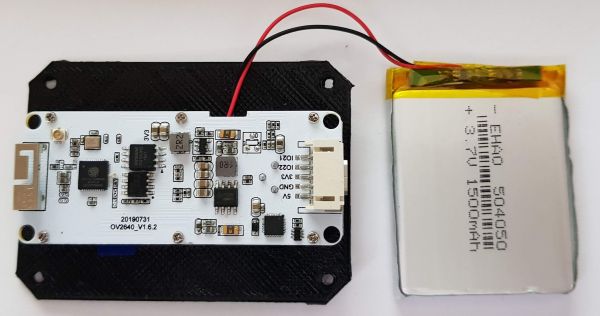
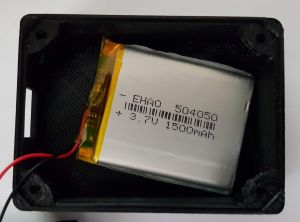
Auch für den Akku ist genügend Platz
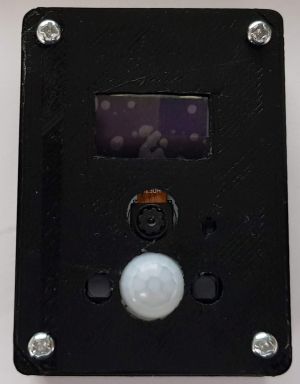
Even my thick micro USB plug fits.
Conclusion
Thanks to the manufacturer's website and some prior knowledge, the camera is quickly ready for use (approx. 30 minutes). One advantage is the existing Micro USB port. You don't need to connect a programmer first.
Die Helligkeit der Kamera ist mit den Standard Einstellungen nicht wirklich überzeugend. Hieran kann sicherlich noch etwas optimiert werden. Auch laufen die Bilder etwas nach. Das soll heißen, wenn sich die Szene ändert, werden noch, wie bei einem Wasserzeichen, Teile des alten Bildes angezeigt. Ich vermute, auch das dürfte mit etwas Tuning behoben werden.
Otherwise the camera reacts better than its little brother the ESP32 CamLink status: OK and also seems to work well with supply voltages under 5V.
Einem Dauertest habe ich die Kamera noch nicht unterzogen, allerdings lief sie bei mir mehrere Stunden am USB-Port ohne Abstürze. Der PIRLink status: OK and a few other features haven't been used by me yet.
If you have any further information or recommendations that I should include, please just leave me a comment.
Related Posts
- Raspberry Pi as NVR with ShinobiLink status: OK
Sources
Manufacturer's page on GITLink status: OK
Shopping on Ali ExpressLink status: Unknown
Facial recognitionLink status: Unknown
Circuit diagram V162Link status: Unknown
Circuit diagram V17Link status: Unknown
IP5306Link status: OK
https://www.thingiverse.com/search?q=t-camera&type=things&sort=relevantLink status: Unknown
https://www.thingiverse.com/thing:3440888Link status: Unknown
https://www.thingiverse.com/thing:3704769Link status: Unknown
fambach.net/esp32-cam-moduleLink status: OK
https://github.com/lewisxhe/esp32-camera-screenLink status: Unknown
| Date | Change | Author |
|---|---|---|
| 04.10.2026 | Rechtschreibung korrigiert: Tippfehler, Kommas, Groß-/Kleinschreibung, Grammatik | Suffocation |
| 03.10.2026 | Log-Liste eingefügt | Suffocation |
| 31.05.2020 | Post created | Suffocation |
Hello Stefan,
I still need a prompt for programming the PIR sensor.
A photo upon movement, then going back to sleep until the next motion detection.
I can't manage it on my own.
Thanks in advance.
LG
Hello,
This could work using interrupts and deep sleep. Here's a nice video on the topic:
https://www.youtube.com/watch?v=CJhWlfkf-5M
Hello
Stefan
Hello forum,
As often happened, the problem was sitting in front of the computer. I had only copied the ino file in the sketch and not all the others, such as the select_pins..h file.
Have a nice weekend
Hi, I've deleted your other posts...
You are missing the file with the pinout for the board, you can find it here:
https://github.com/lewisxhe/esp32-camera-series/tree/master/sketch
You still need to add a `define` for your camera before the `#include "select_pins.h"` in the .ino file – or it’s probably already there, so you just need to comment it out.
For version 1.7, that would then be:
#define T_Camera_V17_VERSION
For a V17 Plus version, I found nothing in the file.
But the pinout is described on the camera screen page in the same repository, so you just need to create a new section in select_pins.h or adapt the one for the 17.
Hello
Stefan
Hello forum, hopefully now in the right section!
I am a new owner of the TTGO t-camera esp32 board. The back has the definition ESP 32 Wrover-B.
I followed the instructions precisely, downloaded the test program, and installed version 17 plus the two libraries.
https://github.com/lewisxhe/esp32-cam...
Version 05 also tried without success, although recommended by Rui Santos (Random Nerd Tutorials)
[Blocked Graphic: https://makeradvisor.com/wp-content/uploads/2020/09/TTGO-T-Camera-ESP32-OLED-PIR-Sensor-Arduino-IDE-Settings.png%5D
Should the image not arrive!
Board: ESP32 Dev Module
Partition Scheme: Huge APP /3MB No OTA/1MB SPIFFS
PSRAM: Enabled
Compilation error
Exit status 1
select_pins.h: No such file or directory
Marking in the sketch
#include "select_pins.h"„
I would be grateful for suggestions for solutions 🙂
Greetings