Last Updated on 21 April 2021 by Suffocation
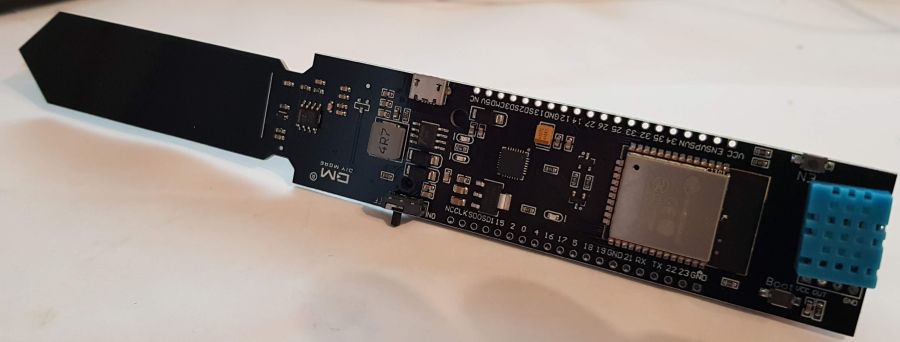
Das HiGrow (oder auch HighGrow) Board ist unter seinem vollem Name „ESP32 DHT11 WIFI Bluetooth Soil Temperature Humidity Sensor18650“ beim schnellen Ali erhältlich. Es soll zur Pflanzenüberwachung dienen und basiert auf einem ESP32 Wroom. Das Board kann Luftfeuchtigkeit, Temperatur, Licht sowie Erdfeuchte messen. Einige Pins sind nach aussen geführt, so dass weitere Sensoren hinzugefügt werden können. Der Lichtsensor scheint bei meiner Version nicht vorhanden zu sein. Es gibt noch andere ähnliche Boards, zum Beispiel von TTGO. Im weiteren Verlauf werde ich das Board auch als Stock oder Spiess bezeichnen, denn so sieht es aus ;).
Zum thema HighGrow ist auch dieser kurze Wikipediaeintrag ganz nett, den ich euch nicht vorenthalten möchte:
https://de.wikipedia.org/wiki/HighGrow
Facts
| Description | Worth |
| Processor | ESP32 Wroom |
| Taster | Reset / Boot |
| One switch | Slide switch |
| Battery compartment | 18650 (battery) |
| USB | Micro |
| LED Pin | Pin 16 |
| DHT11 Sensor | Pin 22 |
| Soil moisture sensor | Pin 32 |
| Power Pin (Not connected) | Pin 34 |
| Lipo charge controller | TP5400 (TP5410 in others) |
| Light Sensor (Not available) | Pin 33 |
| Größe L/B/B [cm] | 19,5/ 3 / 2,5 |
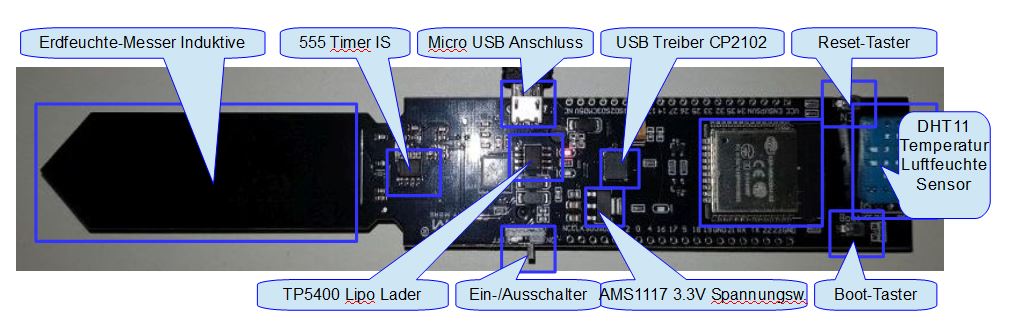
What is installed
When connected to the USB port, the blue LED flashes. At first glance, the terminal only displays the standard output from the ESP Wroom. The stick does not appear to have any programmed functions and has not been flashed with MicroPython.
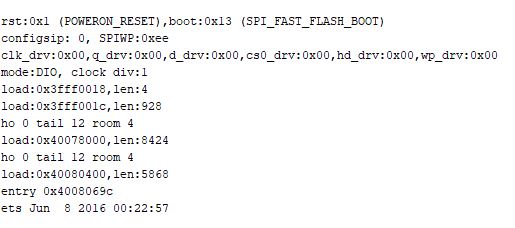
Ein Bootloader ist installiert. Beim Einschalten mit gedrückter Boot Taste blinkt die blaue LED nicht mehr.
Areas of application
- For observing plants
- Room climate recording
- An access point for every plant 😉
- Als Testplattform für Kurse (gibt ein paar negativ Beispiele im Netz)
Views

Hello Grow - from above 
Hi Grow – from the side 
Hi Grow from Below
Programming
Ich verwende ein fertiges MQTT Programm. Dieses ermöglicht mir ein paar schnelle Tests und spart Zeit.
Here is the link to the original
Libraries
Für das Programm werden ein paar Biliotheken benötigt, diese sind im Folgenden aufgelistet.
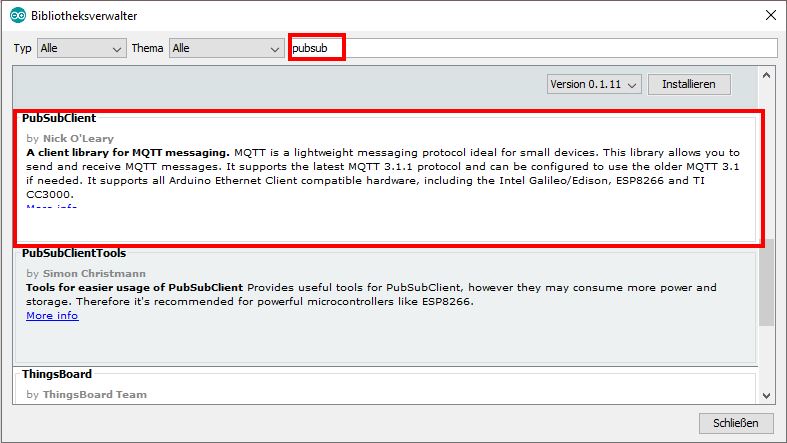
MQTT Client
We are not reinventing MQTT here; instead, we are using the following library.
https://github.com/knolleary/pubsubclient
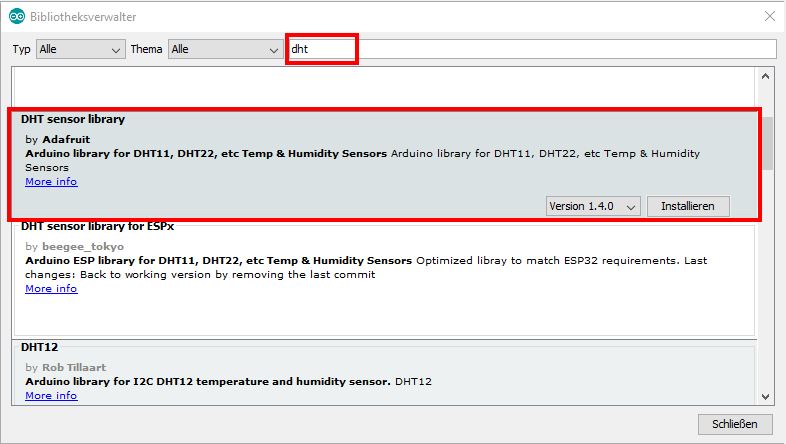
DHT11 Sensor Library
The DHT11 und DHT22 Luftfeuchte und Temperatursensor ist weit verbreitet auch hier gibt es unterschiedliche Implementierungen, das gewählte Programm verwendet die folgende:
https://github.com/adafruit/DHT-sensor-library
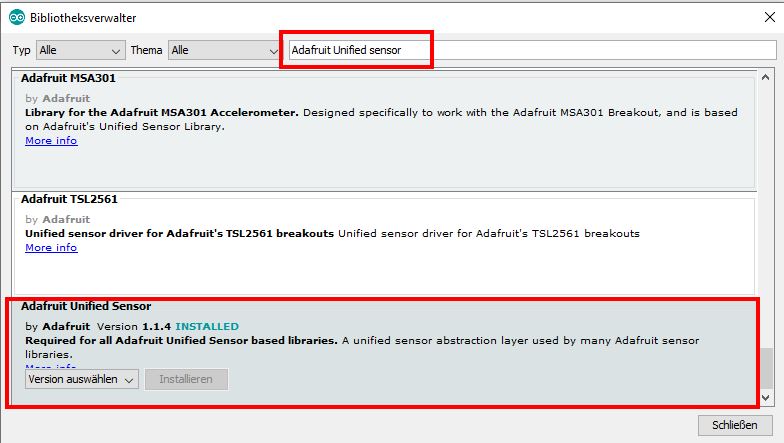
Adafruit hat irgnd wann mal eine Basis für all ihre Sensorimplementierung geschaffen, diese nennt sich Unified SensorLib. Sie wird auch für den DHT11 Sensor benötigt.
https://github.com/adafruit/Adafruit_Sensor
Test programme
Das Testprogramm kann von GitHub heruntergeladen werden. Ich habe noch ein paar andere Änderungen am Code vorgenommen deswegen hier mein Fork. In der Datei credentials.h müssen noch SSID, WIFI Passwort und MQTT Broker und die Titel eingetragen werden.
‚); document.write(‚
‚);
You can find the original here:
Auf die Einrichtung des Brokers gehe ich an dieser Stelle nicht näher ein, sollte noch keine Broker vorhanden sein, gibt es unterschiedliche Möglichkeiten an einen zu kommen:
- Es gibt sog. Webbroker, hier kann man sich im Internet anmelden und oft auch kostenlos den Broker verwenden. Beispiele hierfür sind HiveMQ, DIY projects and here's another Top 10 list.
- Eigener Broker – exemplarisch sei hier auf dem Mosquitto in Verbindung mit dem PI verwiesen (Here's the setup)
- Home automation broker. I am using IP-Symcon für die Hausautomation, viele andere Systeme bieten mittlerweile auch MQTT Anbindungen.
Nun noch compilieren und auf den Spieß schreiben und dann hoffen, dass was beim Broker angkommt.
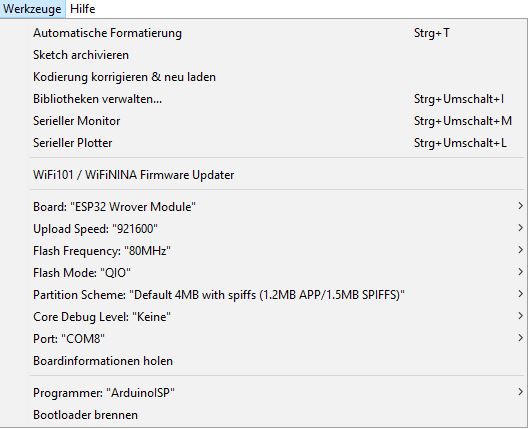
Hier liegt mal wieder der Hund begraben. Ohne Taster gehts nicht. Als erstes den Schreibvorgang einleiten. Dann den Boot Taster gedrückt halten und kurz auf den Reset (EN) Knopf drücken. Jetzt startet der ESP im Bootmode. Nach ein paar Sekunden kann der Boot Knopf wieder gelöst werden. Der Schreibvorgang sollte jetzt starten.
Auch auf meinen Broker werden die Werte vom Spiess jetzt angezeigt und können weiter verarbeitet werden.
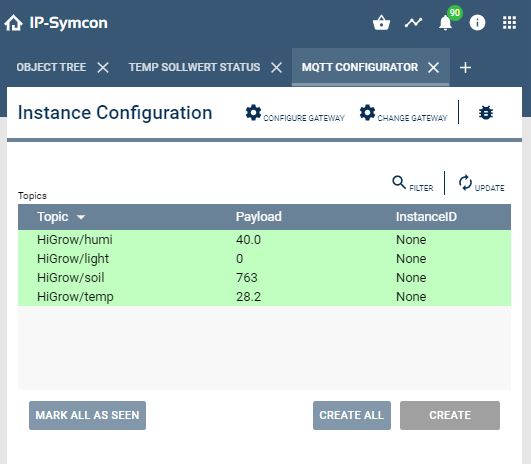
Über die Zeit schwankt es schön, mal schauen was man daraus machen kann.
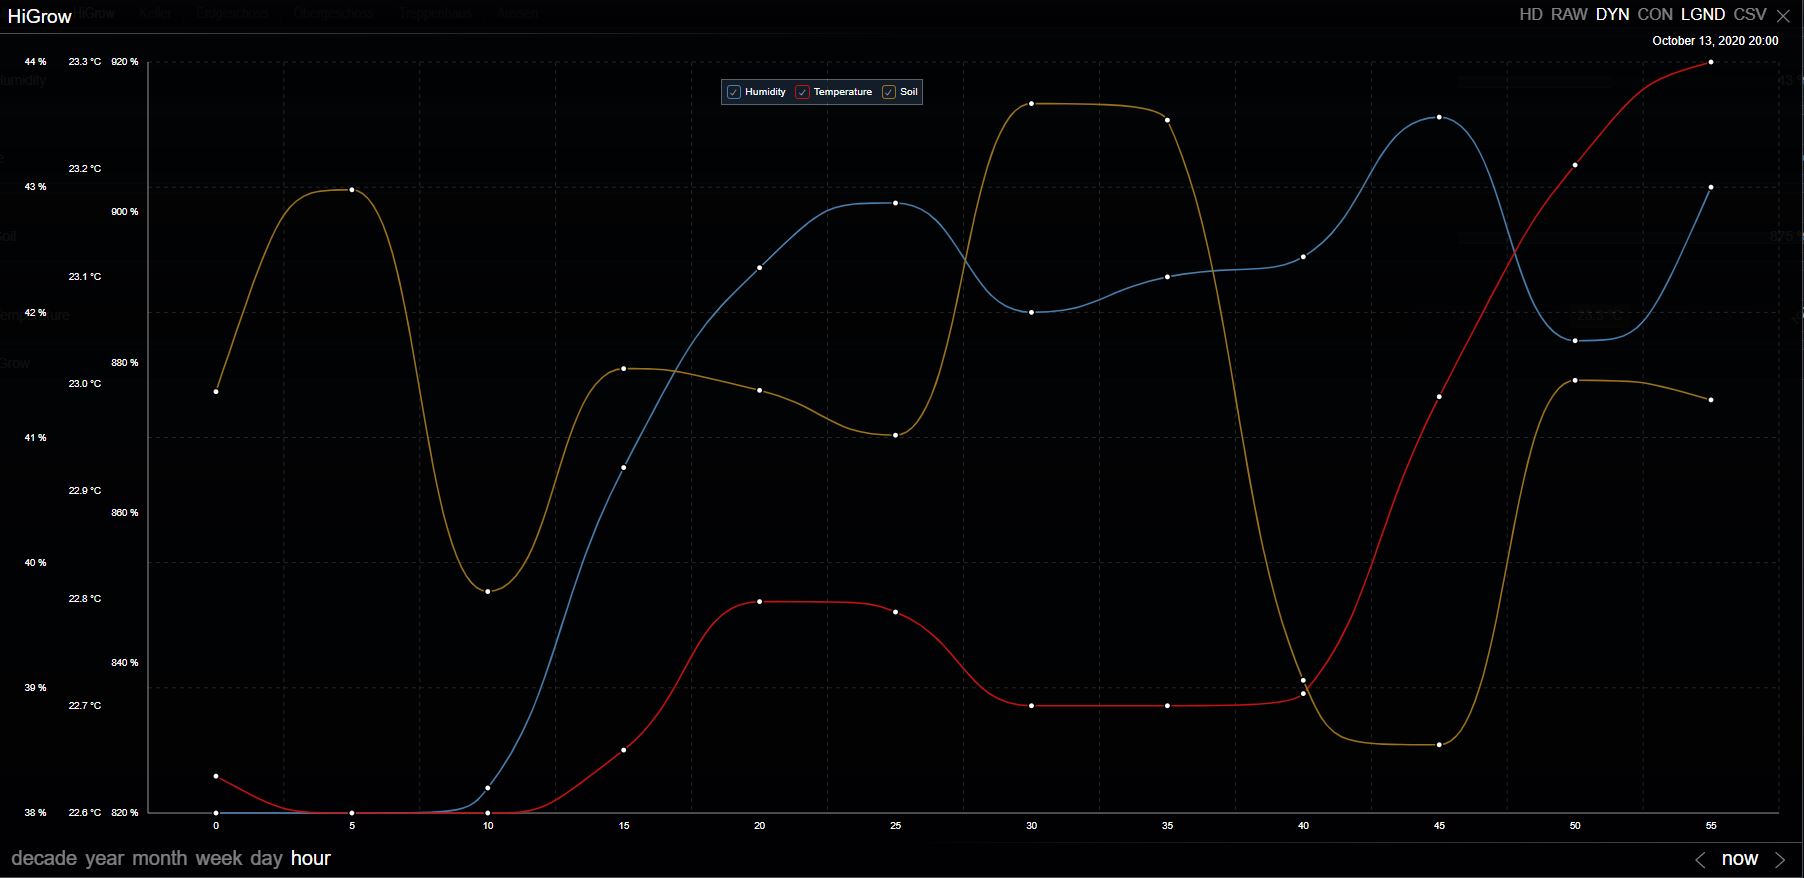
Long-term test (updated)
Three plants (Fiddle-leaf fig, Snake plant (no THC), Areca palm). The sensors measure and then go to sleep for 30 mins/1 hour/2 hours. The sensors send their values to the home server and this stores them. All batteries have around 2400Ah.
- 14.10.2020 11:30 Test with Benjamini started, sends every 30 minutes.
- 15.10.2020 23:03 Still receiving messages
- 16.10.2020 13:29 Benjamini is still sending.
- 16.10.2020 18:23 Der Benjamine läuft weiter, der Bogen Hanf sendet jetzt jede Stunde und Areca Palme alle zwei Stunden.
- 17.10.2020 13:04 All sensors still running table updated
- 19.10.2020 09:25 This morning at 4 am, the last reading from the Benjamini arrived. This means it lasted less than 5 days.
- 20.10.2020 ~21:30 The Arc Hemp sensor has failed
- 21.10.2020 ~04:00 The sensor for the Areca palm has failed.
Evaluation
Die Palme hält etwas länger durch aber nicht signifikant siehe Tabelle. Somit haben wir unspektakuläre 5 Tage. Alleine am ESP32 scheint es zumnindest nicht zu liegen:
- The ESP consumes a maximum of 180mA during normal operation with Wi-Fi.
- In DeepSleep mode, it only consumes <10 uA.
Assuming a cycle of 2 hours of DeepSleep and 10 seconds of measuring/sending, the calculation works out as follows:
Consumption per cycle under load
= 10s * 180mAh/3600(s)
= 10s * 180mAh/3600
= 10s * 0.022mAh
= 0.22 mAh
Consumption per cycle on standby
= 2h * 0.10mA
0.02mAh
Total consumption per cycle
0.22mAh + 0.02mAh
0.24mAh
With a 2400mAh battery
Cycles = 2400mAh / 0.24mAh = 10000c
Hours = 10000z / 2.002h/z = 4995h
Days = 4995h / 24h/Day = 208 days
That's 203 days more than the best test, so the main consumption must lie elsewhere.
Für den DHT 11 habe ich ebenfalls Daten gefunden, deshalb möchte ich überprüfen ob diese verantwortlich sein könnte.
- Standby max 150µA
- Last 2.5mA
Consumption per cycle under load
10s * 2.5mAh / 60min * 60s
= 10s * 2.5mAh/3600
= 10s * 0.000694mAh
= 0.0069 mAh
Consumption per cycle on standby
= 2h * 0.15mAh
0.3mAh
Total consumption per cycle ESP32 + DHT11
= 0.5469mAh
= 0.55mAh
With a 2400mAh battery
Cycles = 2400mAh / 0.55mAh = 4,363 cycles
Hours = 4.363z/ 2.002h/z = 2160h
Days = 4995h / 24h/Day = 90 Days
Mit DHT11 Sensor sind es nur noch etwas weniger als die Hälfte der Tage. Rechnet man die 90 Tage verbleibend minus die Wirklich gemessene Zeit verbleichen 85 Tage die der Boden-Feuchtesensor und die restliche Periphrie verbrauchen.
| #Test | Plant | Message | Started | Read | # measured values | #Tage |
|---|---|---|---|---|---|---|
| 1 | Benjamini | 30 mins. | 14.10.2020 11:30 | 19.10.2020 03:40 | 224 | Less than 5 |
| 2 | Bow Hemp | 1st St. | 16.10.2020 18:10 | 20.10.2020 21:30 | 99 | 4 |
| 3 | Areca palm | 2 St. | 16.10.2020 18:23 | 21.10.2020 04:00 | 52 | Less than 5 |
Die Werte der Feuchtesensoren schein mir auch nicht ganz schlüssig wenn ich sie mit denen im Internet vergleiche. Evtl. mache ich hierzu nochmal eine Versuchsreihe mal sehen.
Problems
High power consumption even in sleep mode.
Im Netz klagen einige Benutzer über den hohen Stromverbrauch wärend des Tiefschlafs (deep sleep). Meine Tests haben das bestätigt, allerdings liegt es meiner Meinung nach an den Sensoren.
Ich habe noch einen Fehler im Code gefunden, wenn man die Sleepzeit zu hoch setzt, geschieht ein Überlauf der int Variablen und er schläft nicht ein. Bitte int durch uint64_t tauschen dann klappts:
// int DEEPSLEEP_SECONDS = 1800; // 30 min // alt
uint64_t DEEPSLEEP_SECONDS = 1800; // 30 min // new
Miscellaneous
3D Modelle fürs Gehäuse
To package the cane, there are some 3D models on Thingiverse:
https://www.thingiverse.com/thing:3333221
https://www.thingiverse.com/thing:2791829
https://www.thingiverse.com/thing:3491667
https://www.thingiverse.com/thing:3209270
I've printed the first two models. The printing was done with the following print parameters:
| Description | Worth |
|---|---|
| Printer | Ender 5 |
| Material | PLA |
| Printing temperature | 210 |
| Bed temperature | 60 |
| Nozzle | 0,4 |
| Layer height | 0,2 |
| Shell thickness | 0,8 |
| Print speed | 95 |
| Support | Everywhere |
| Underground | Raft |
Der Ausdruck verlief ohne Probleme, das Endprodukt musste ich etwas mit dem Skalpell nachbearbeiten aber nichts was aus dem Rahmen fällt. Den Tropfen Deckel bräuchte ich persönlich nicht und werde ihn weg lassen. Zum Montieren habe ich 4st 2×15 Spax und 1st *2×2,5 Blechschauben verwendet. Das Board selbst passt gut in das Gehäuse. Hier noch ein paar Bilder :
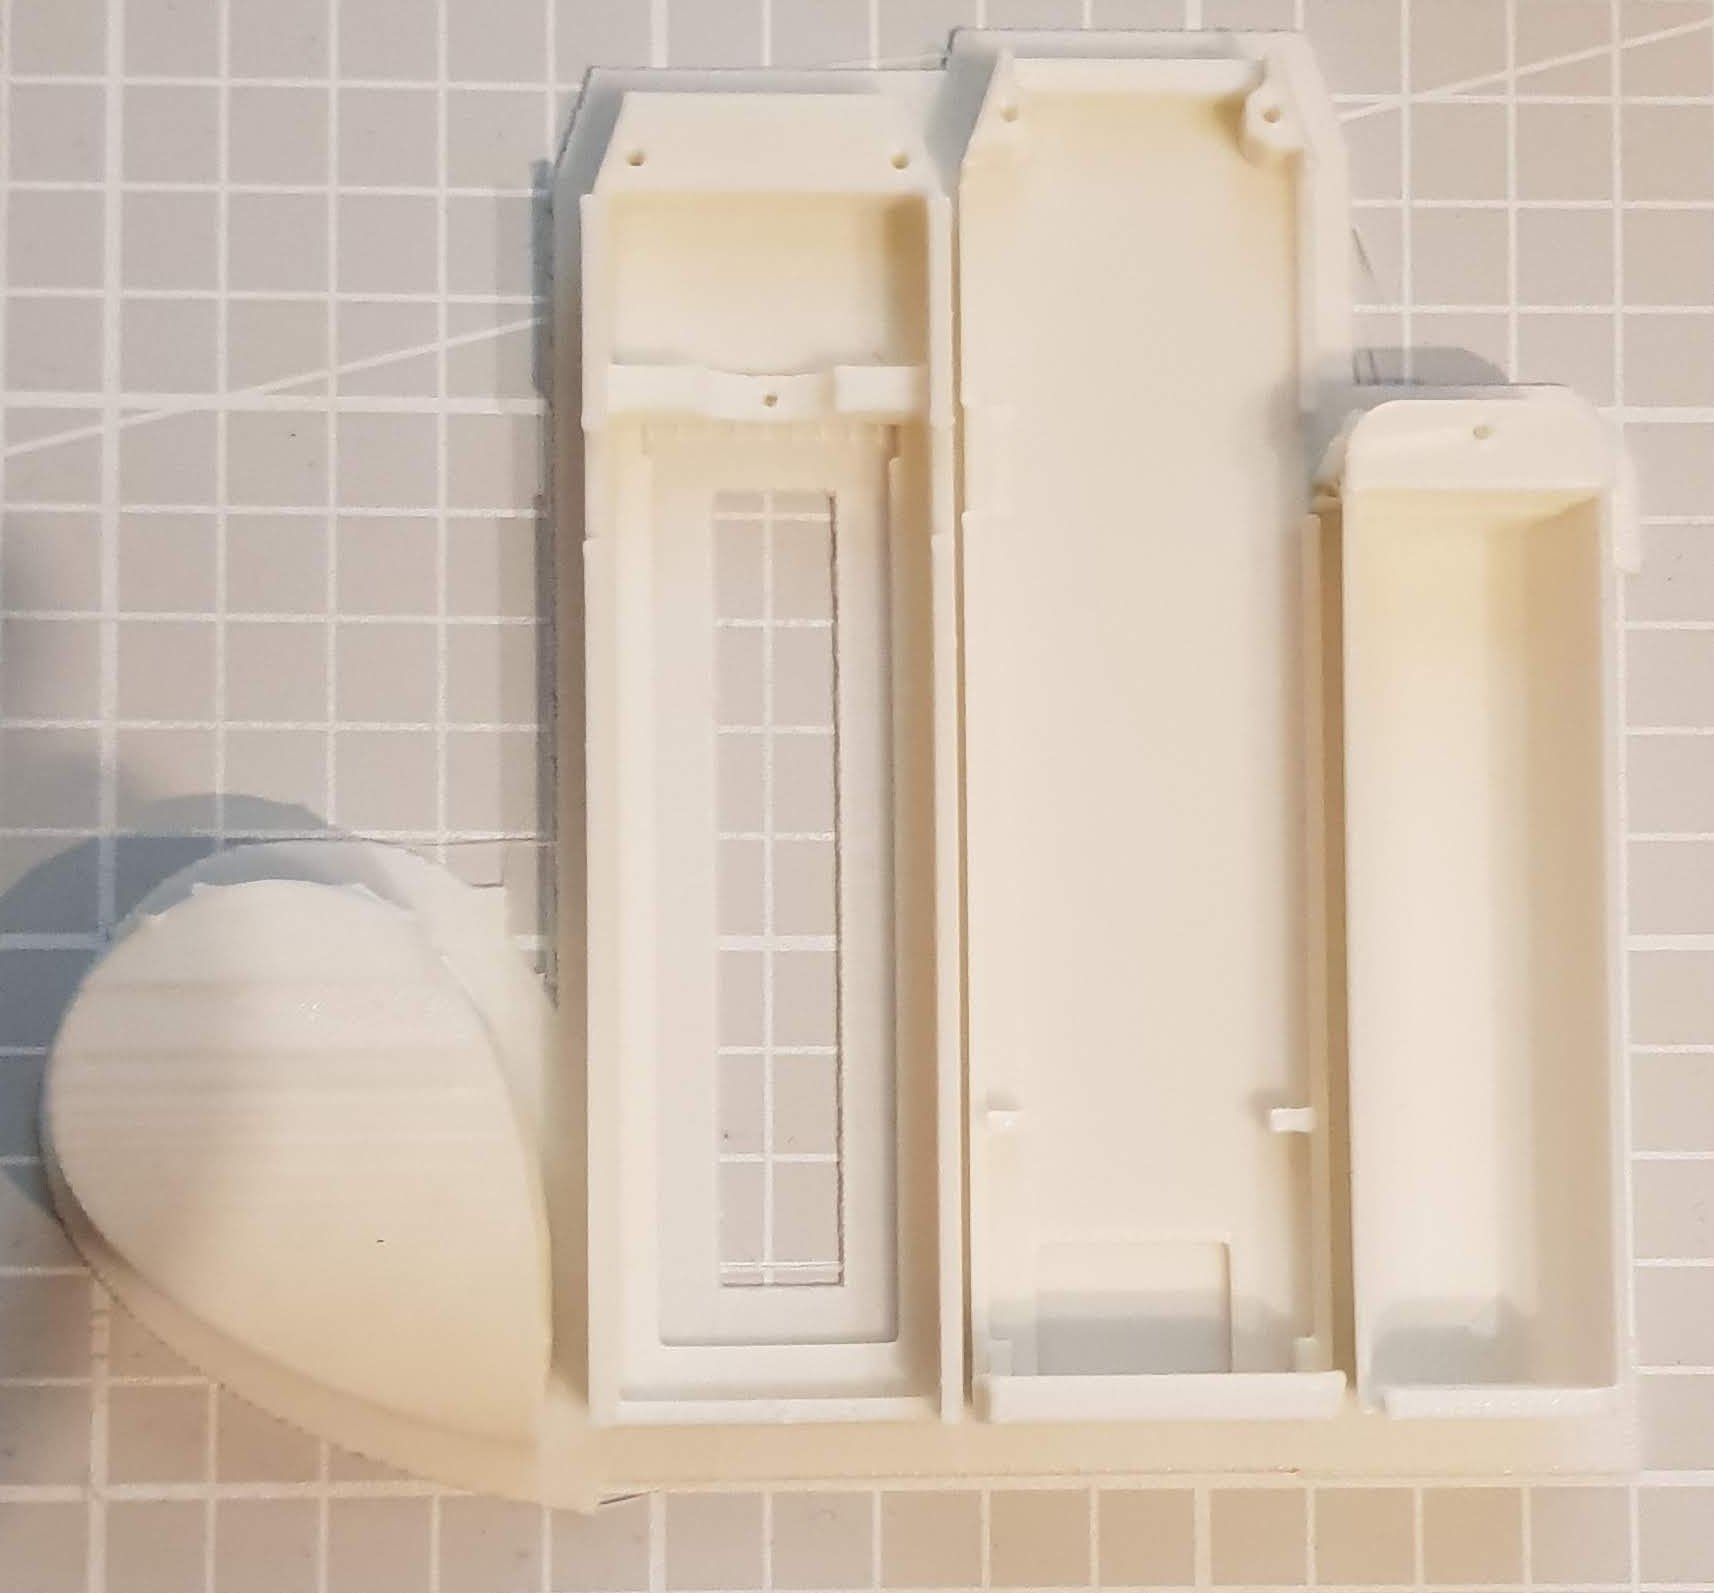
4HiGrow Verpackung – Frisch aus dem Drucker 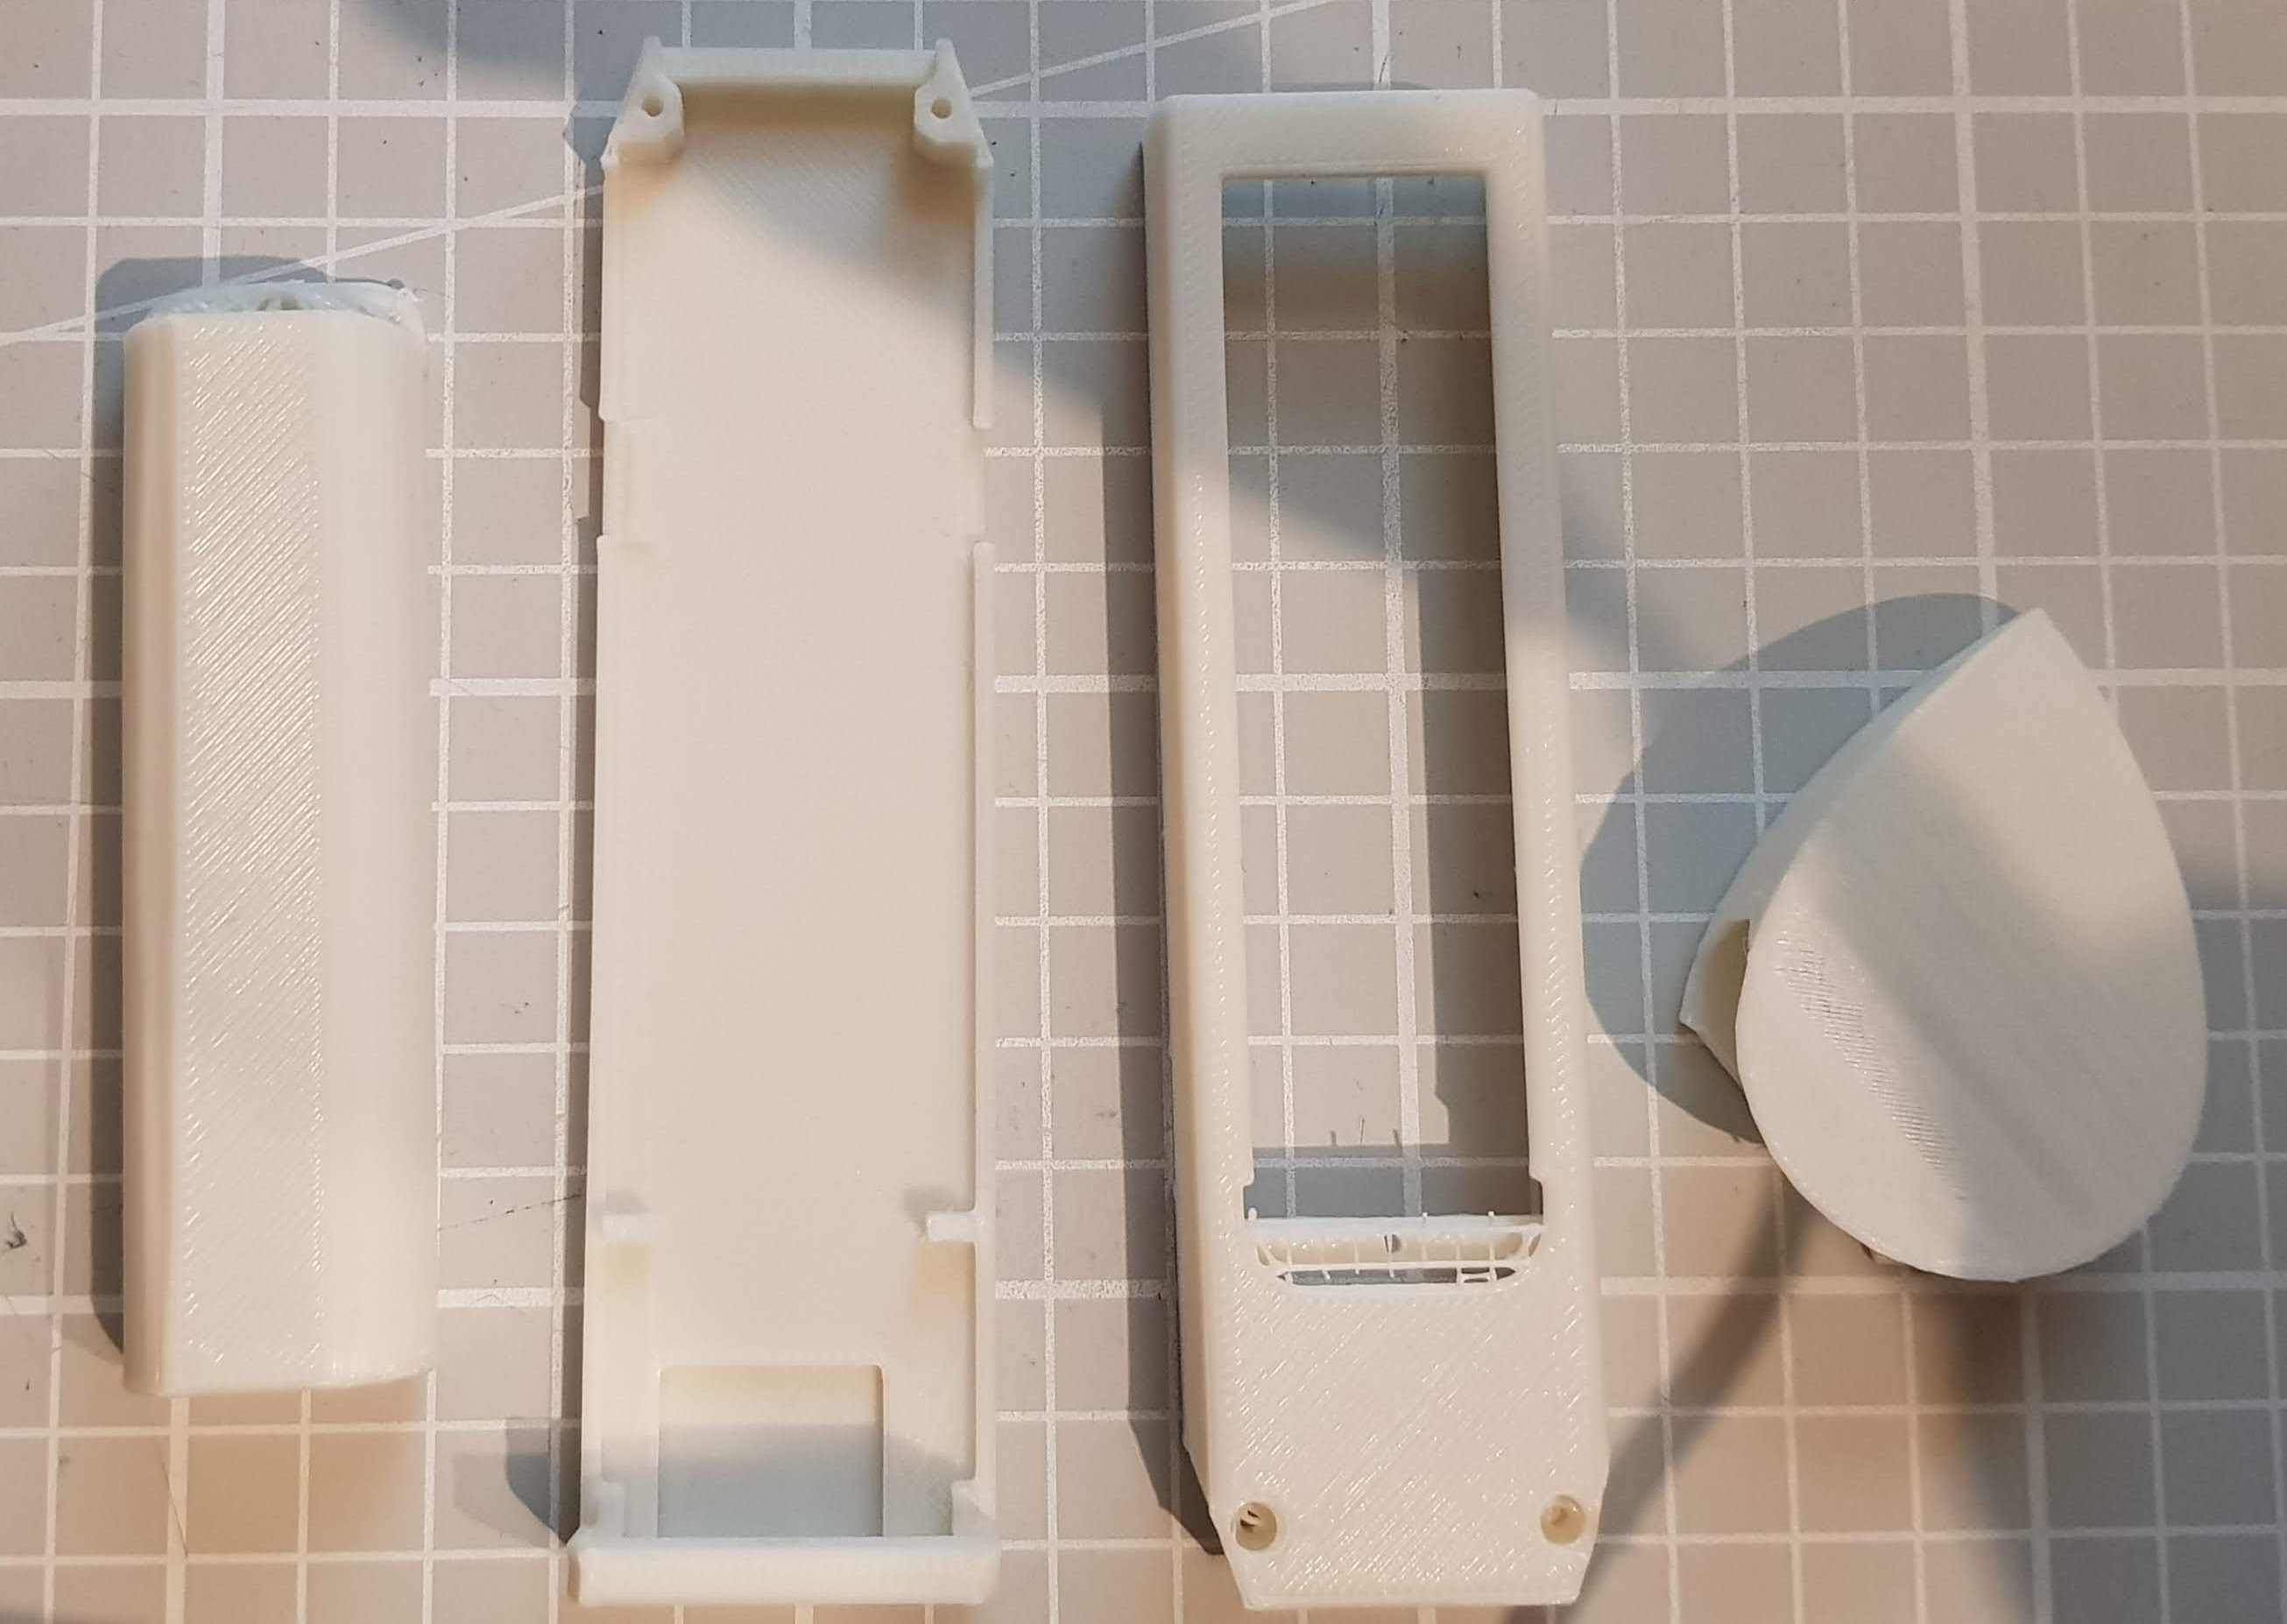
HiGrow Verpackung – Vom Brim gelöst 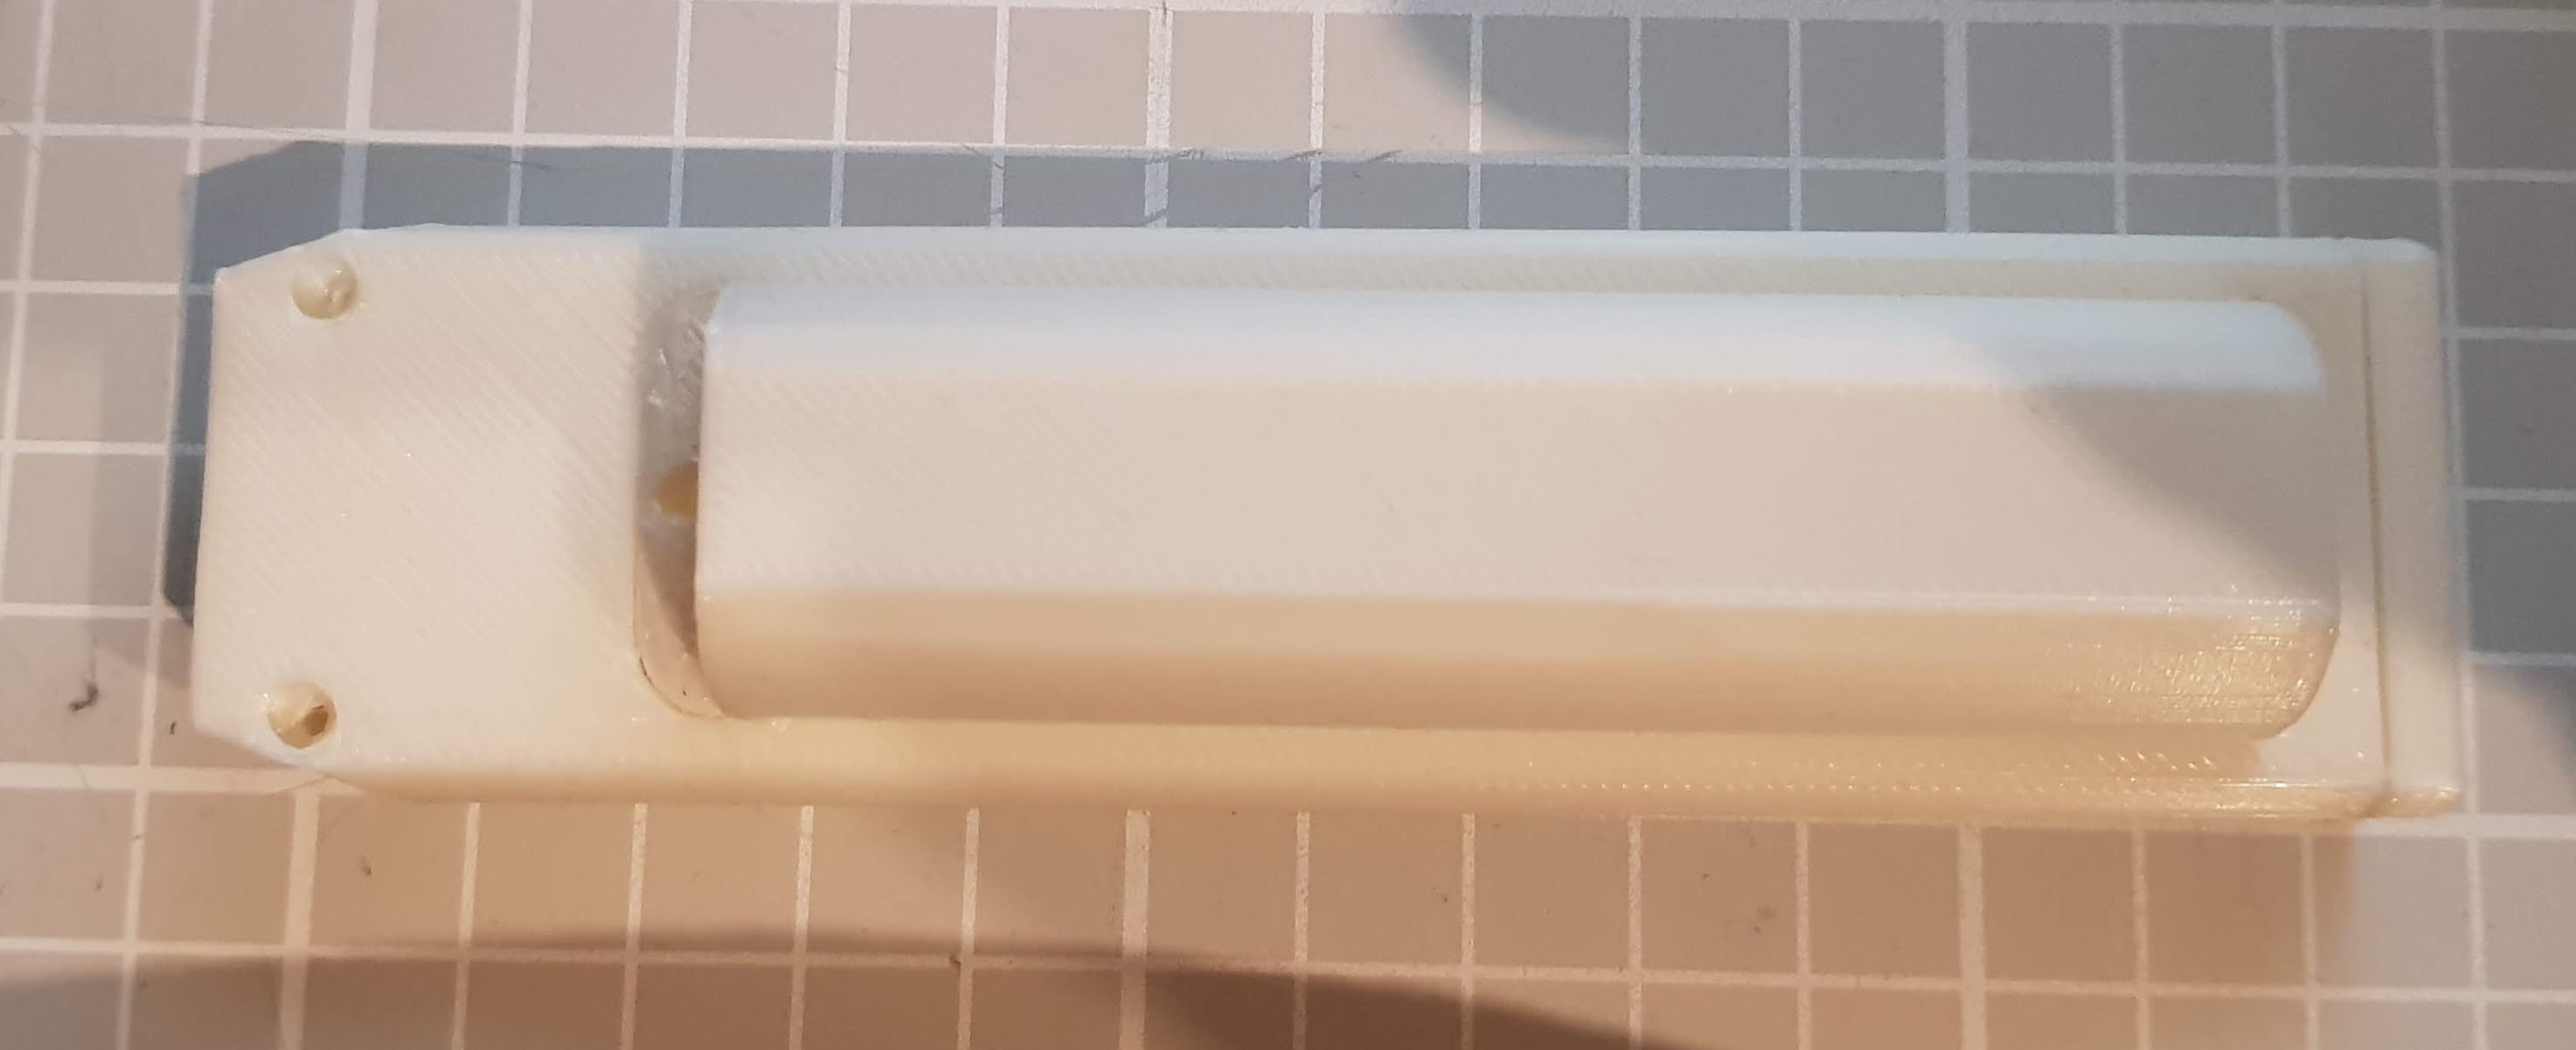
HiGrow Verpackung – Unten 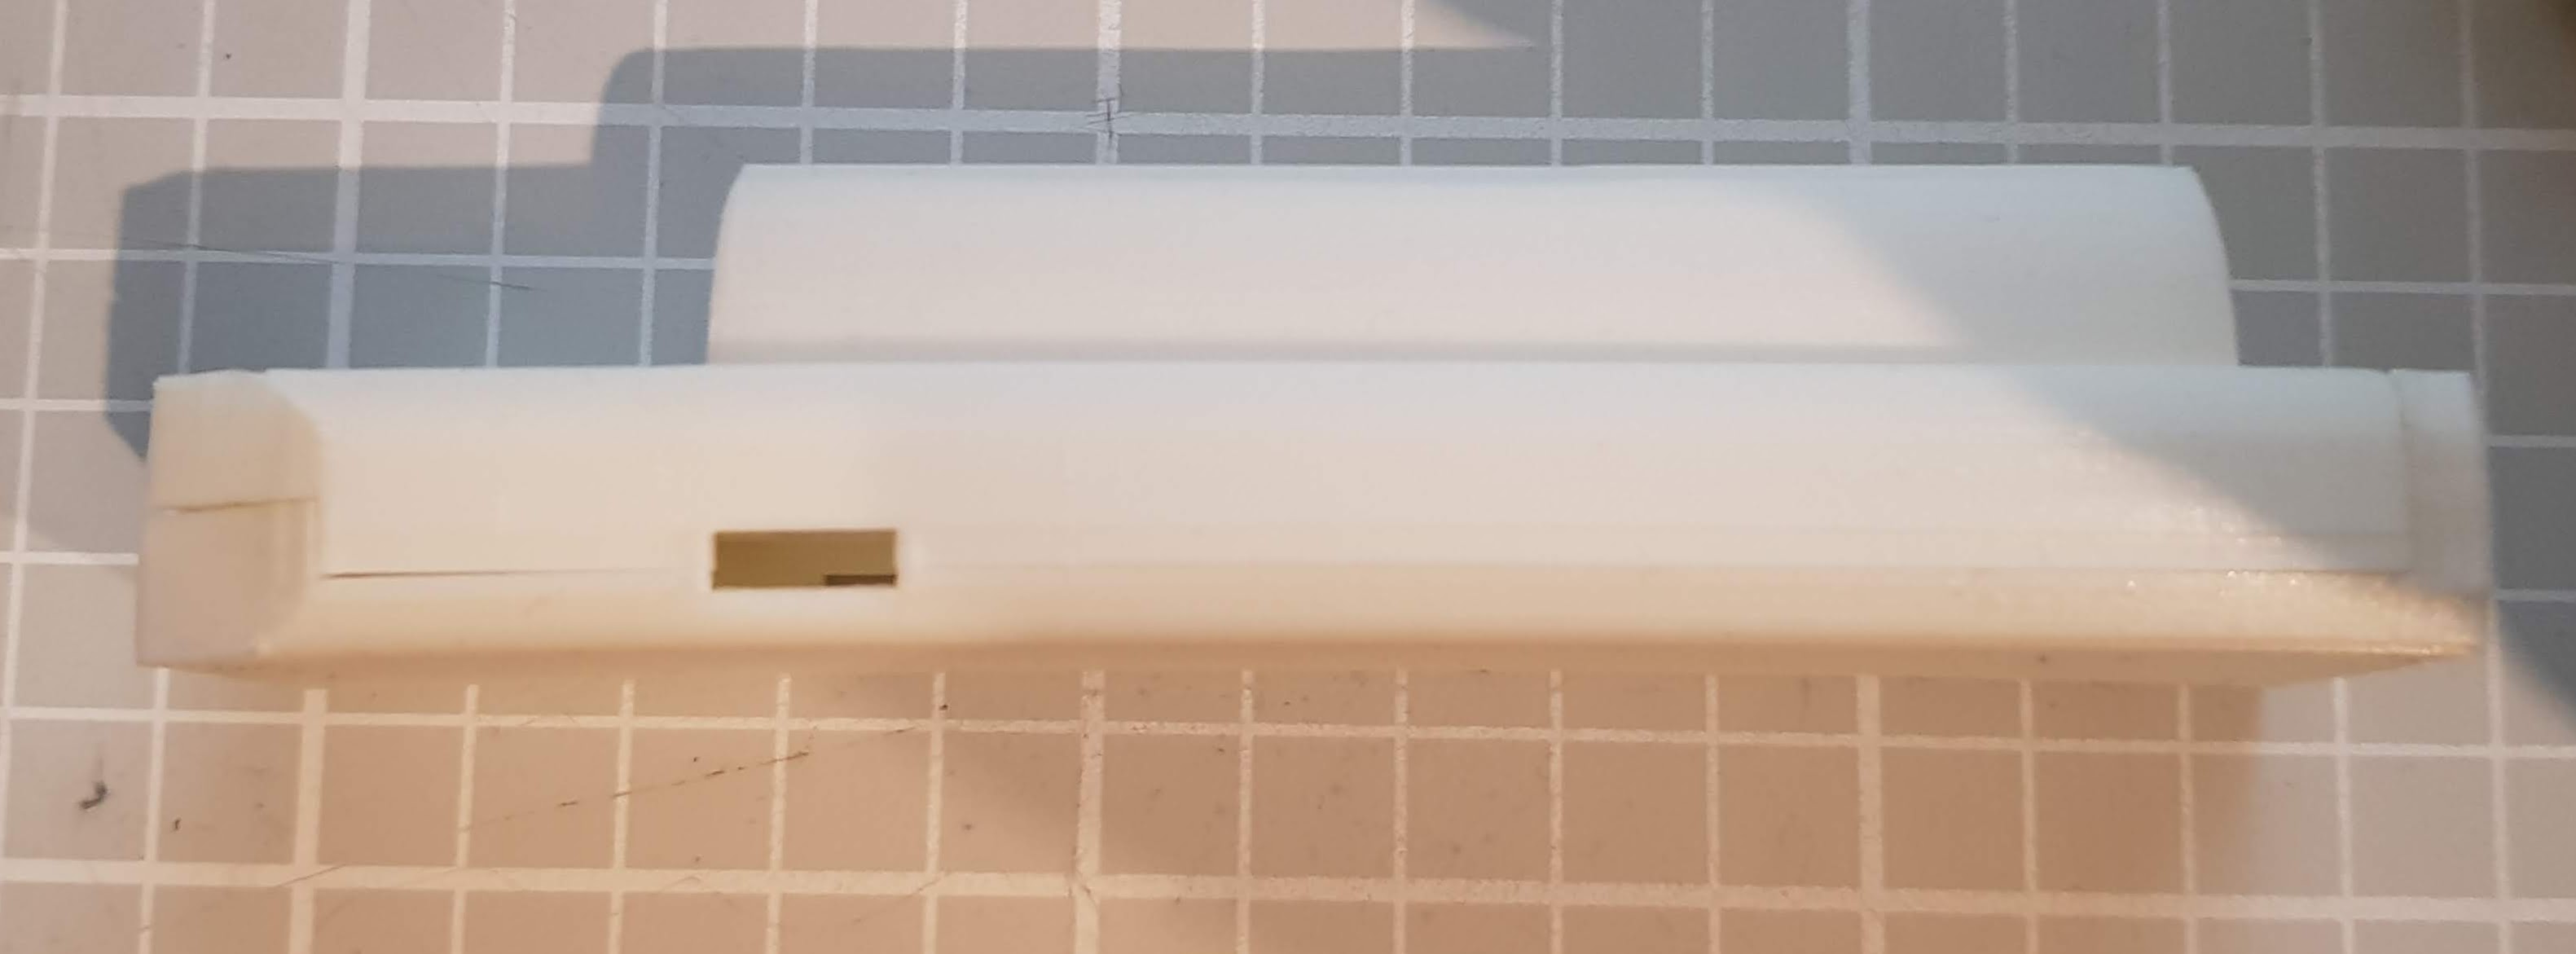
HiGrow Verpackung – Seite 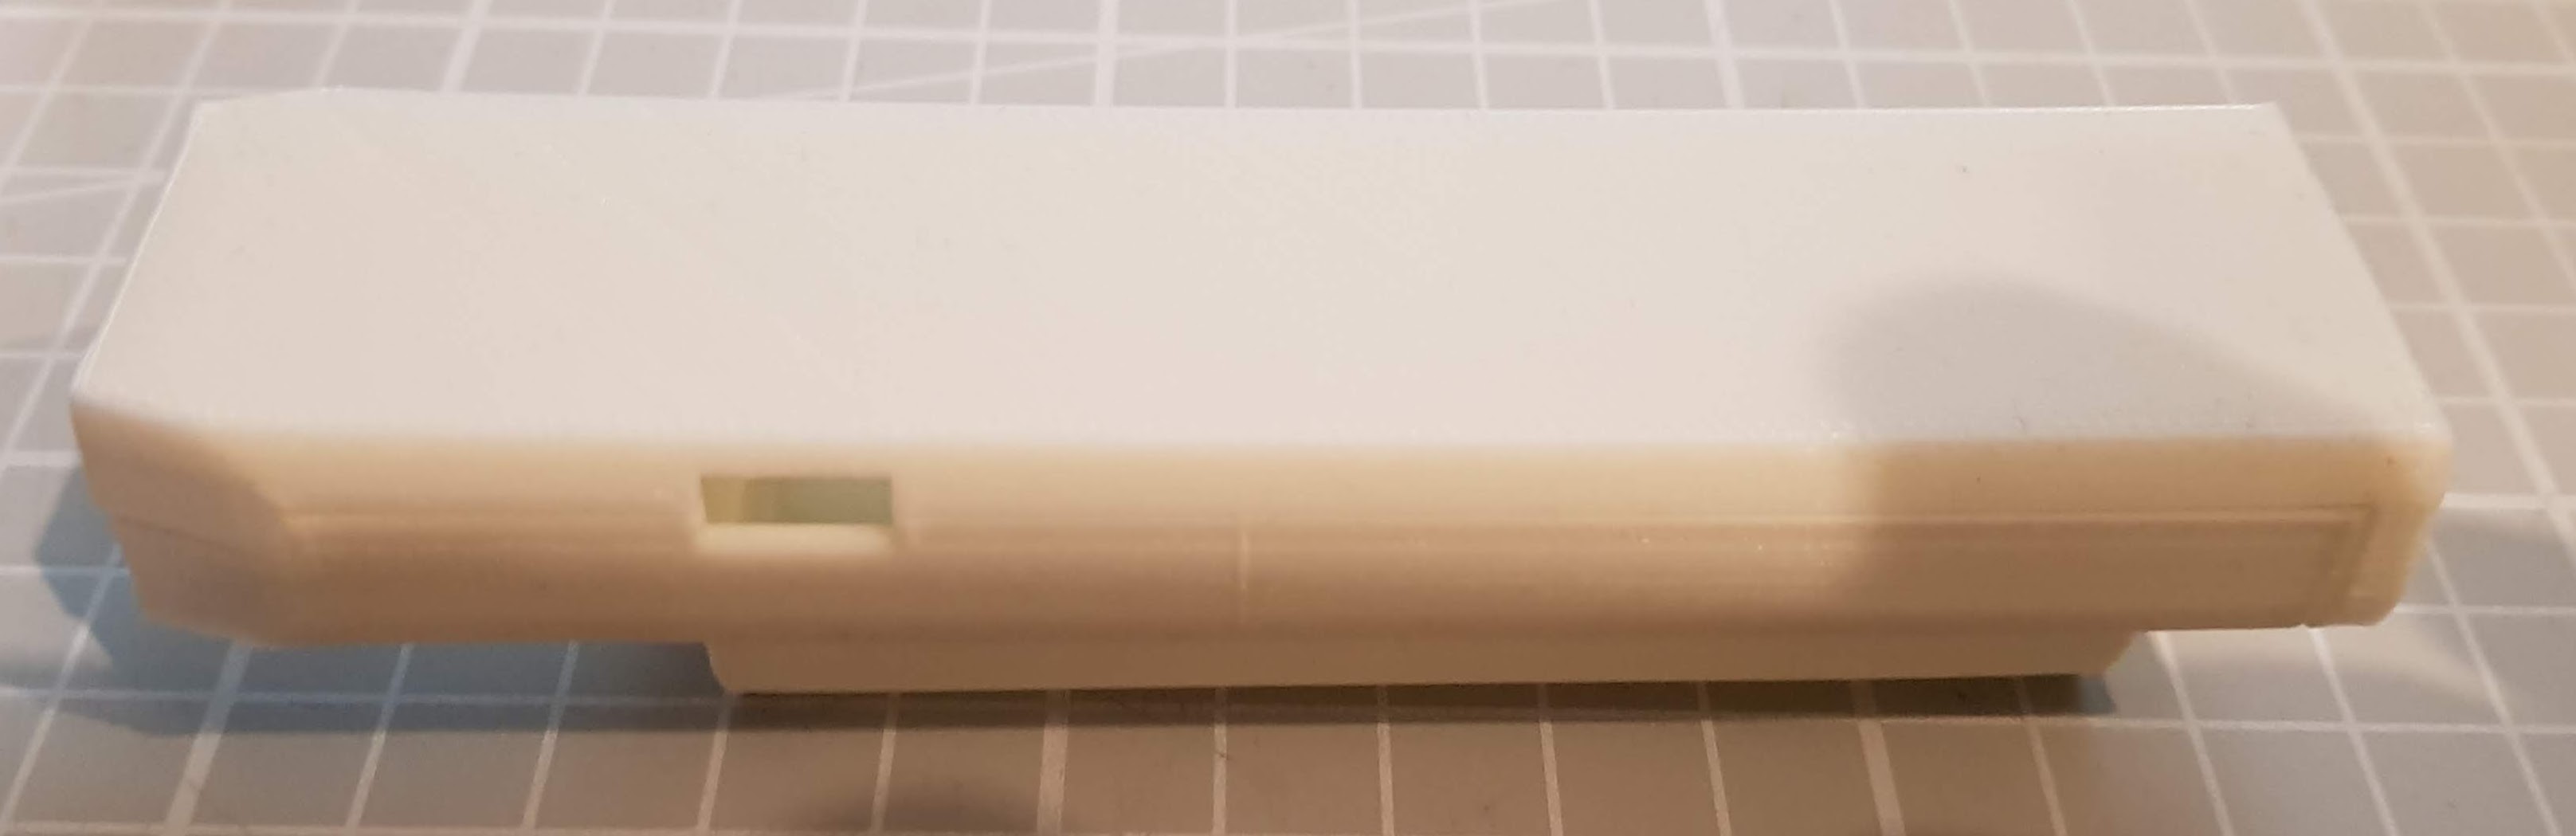
HiGrow Verpackung – Oben 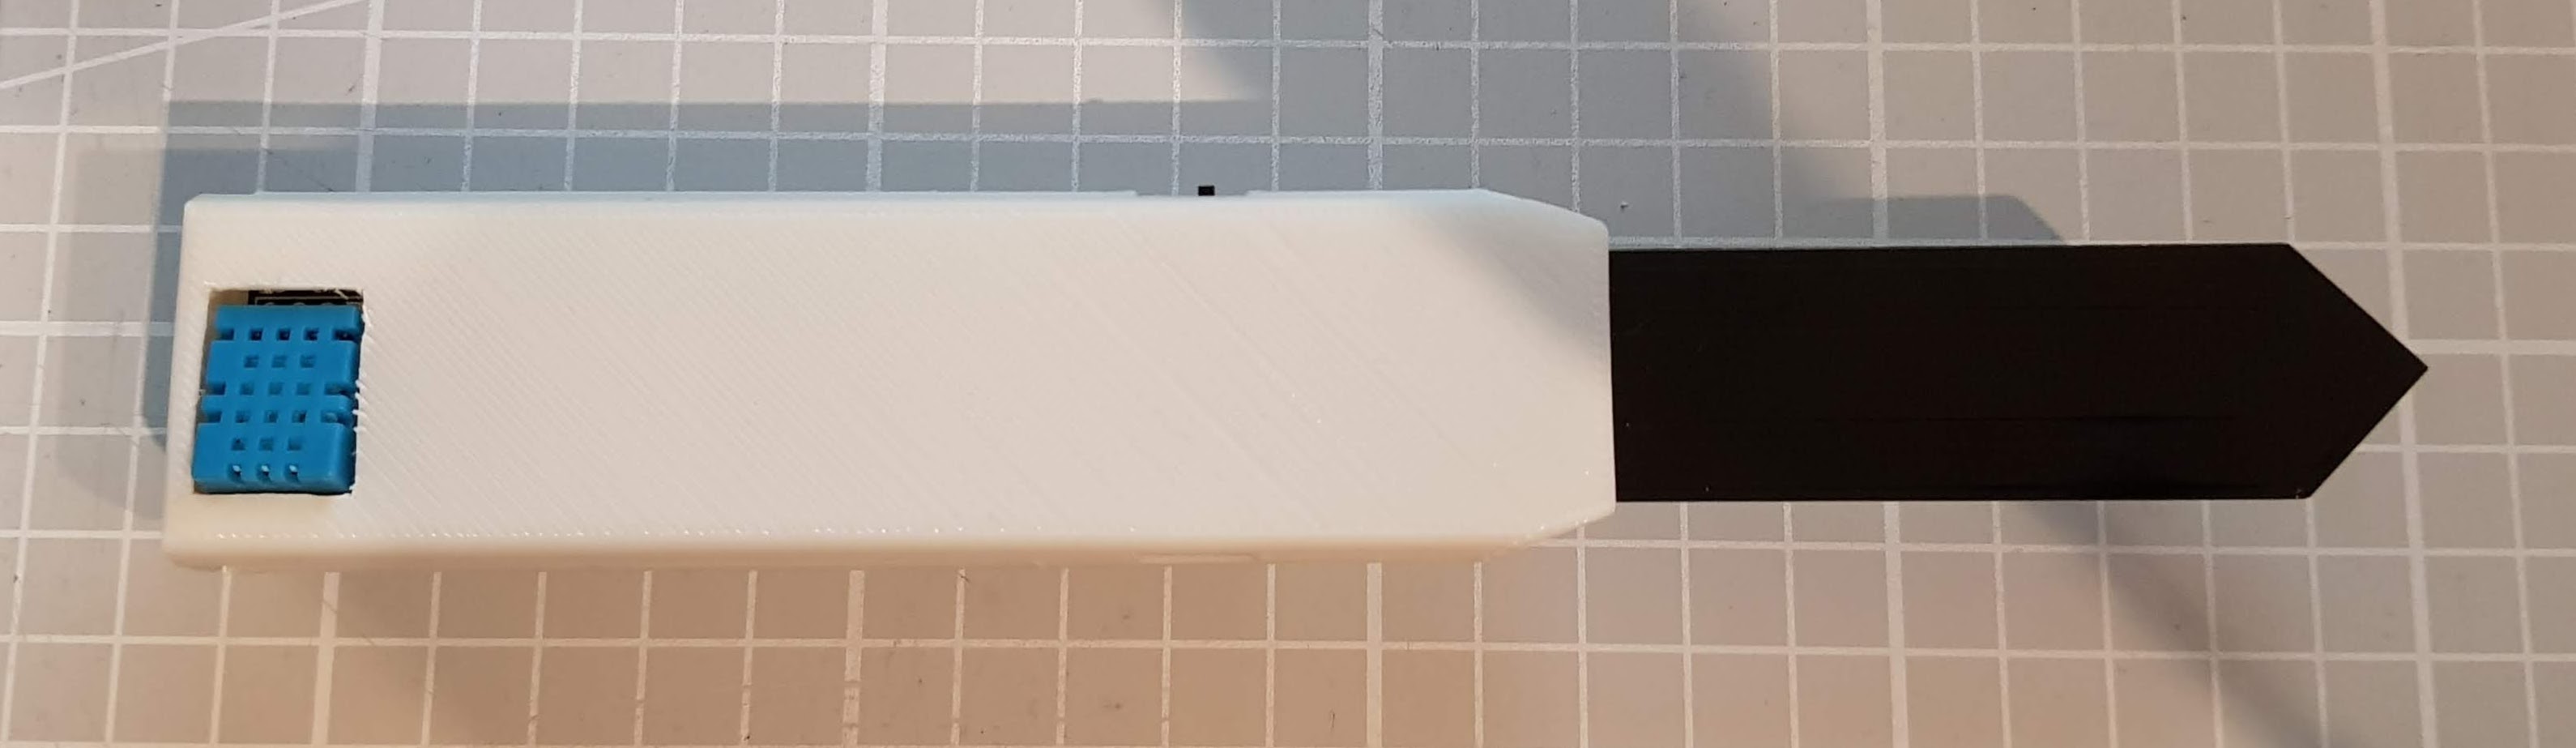
HiGrow Verpackung – Mit Board von Oben 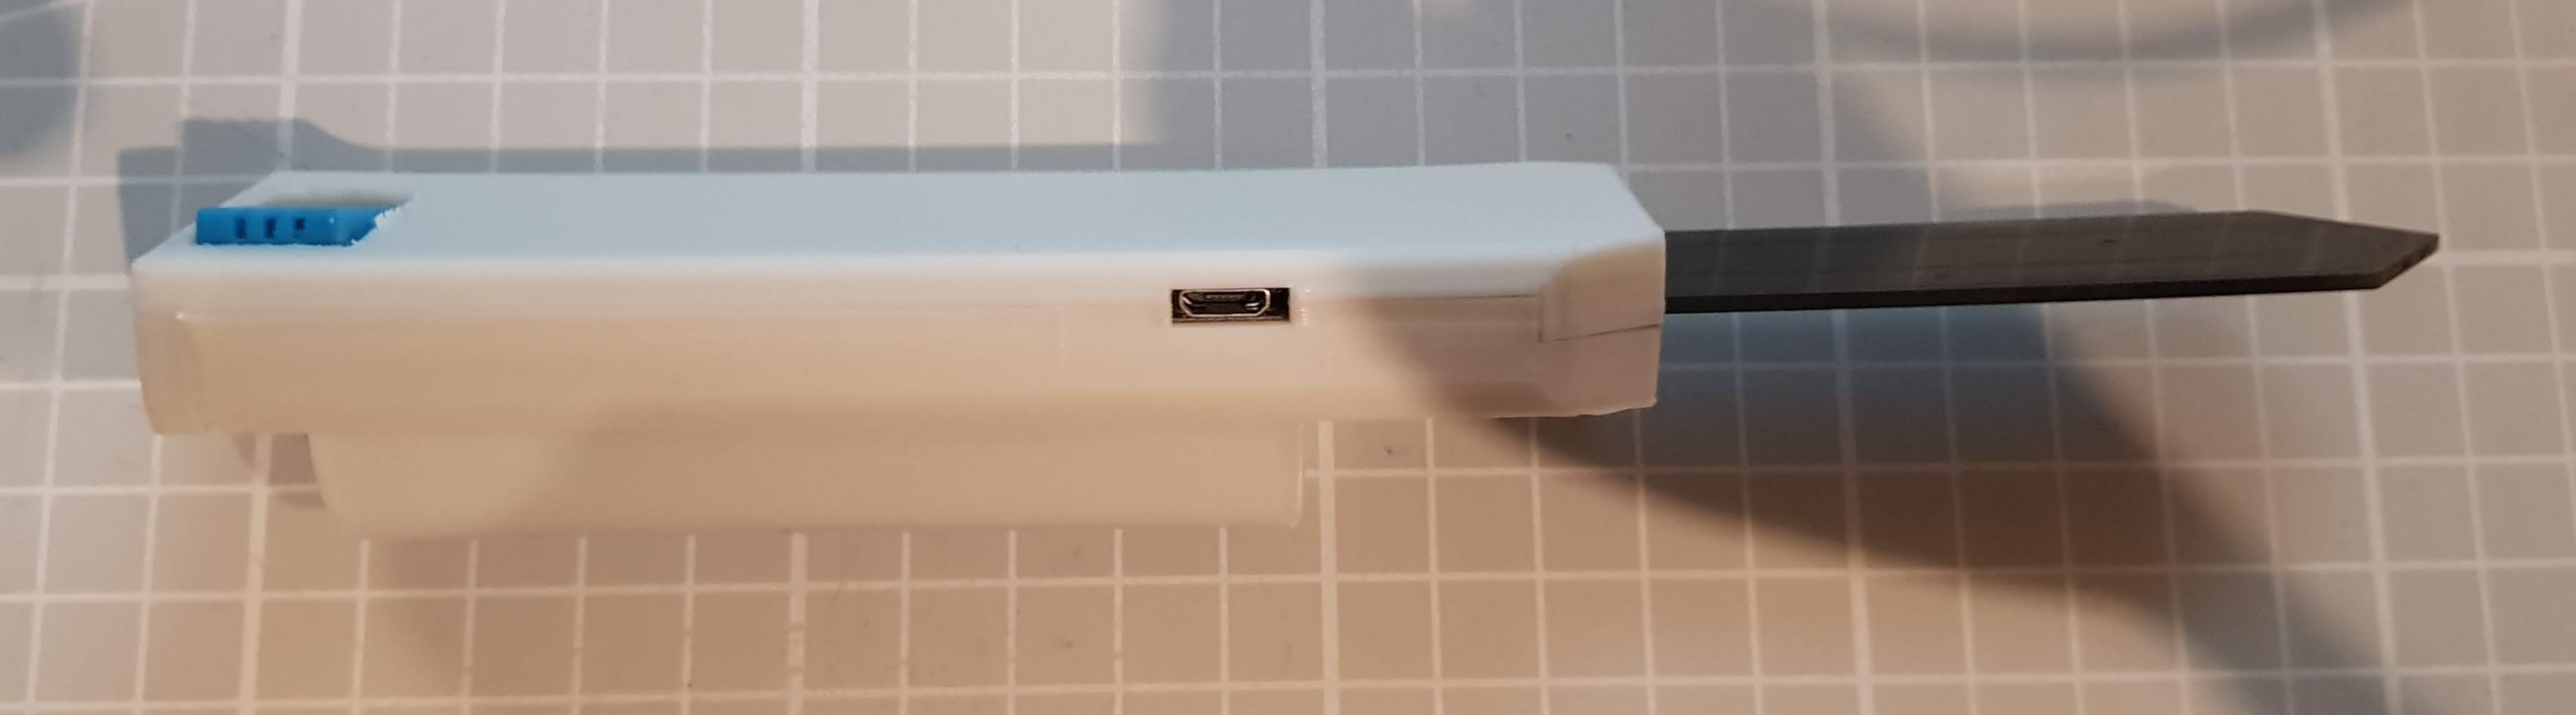
HiGrow Verpackung – Mit Board von der Seite 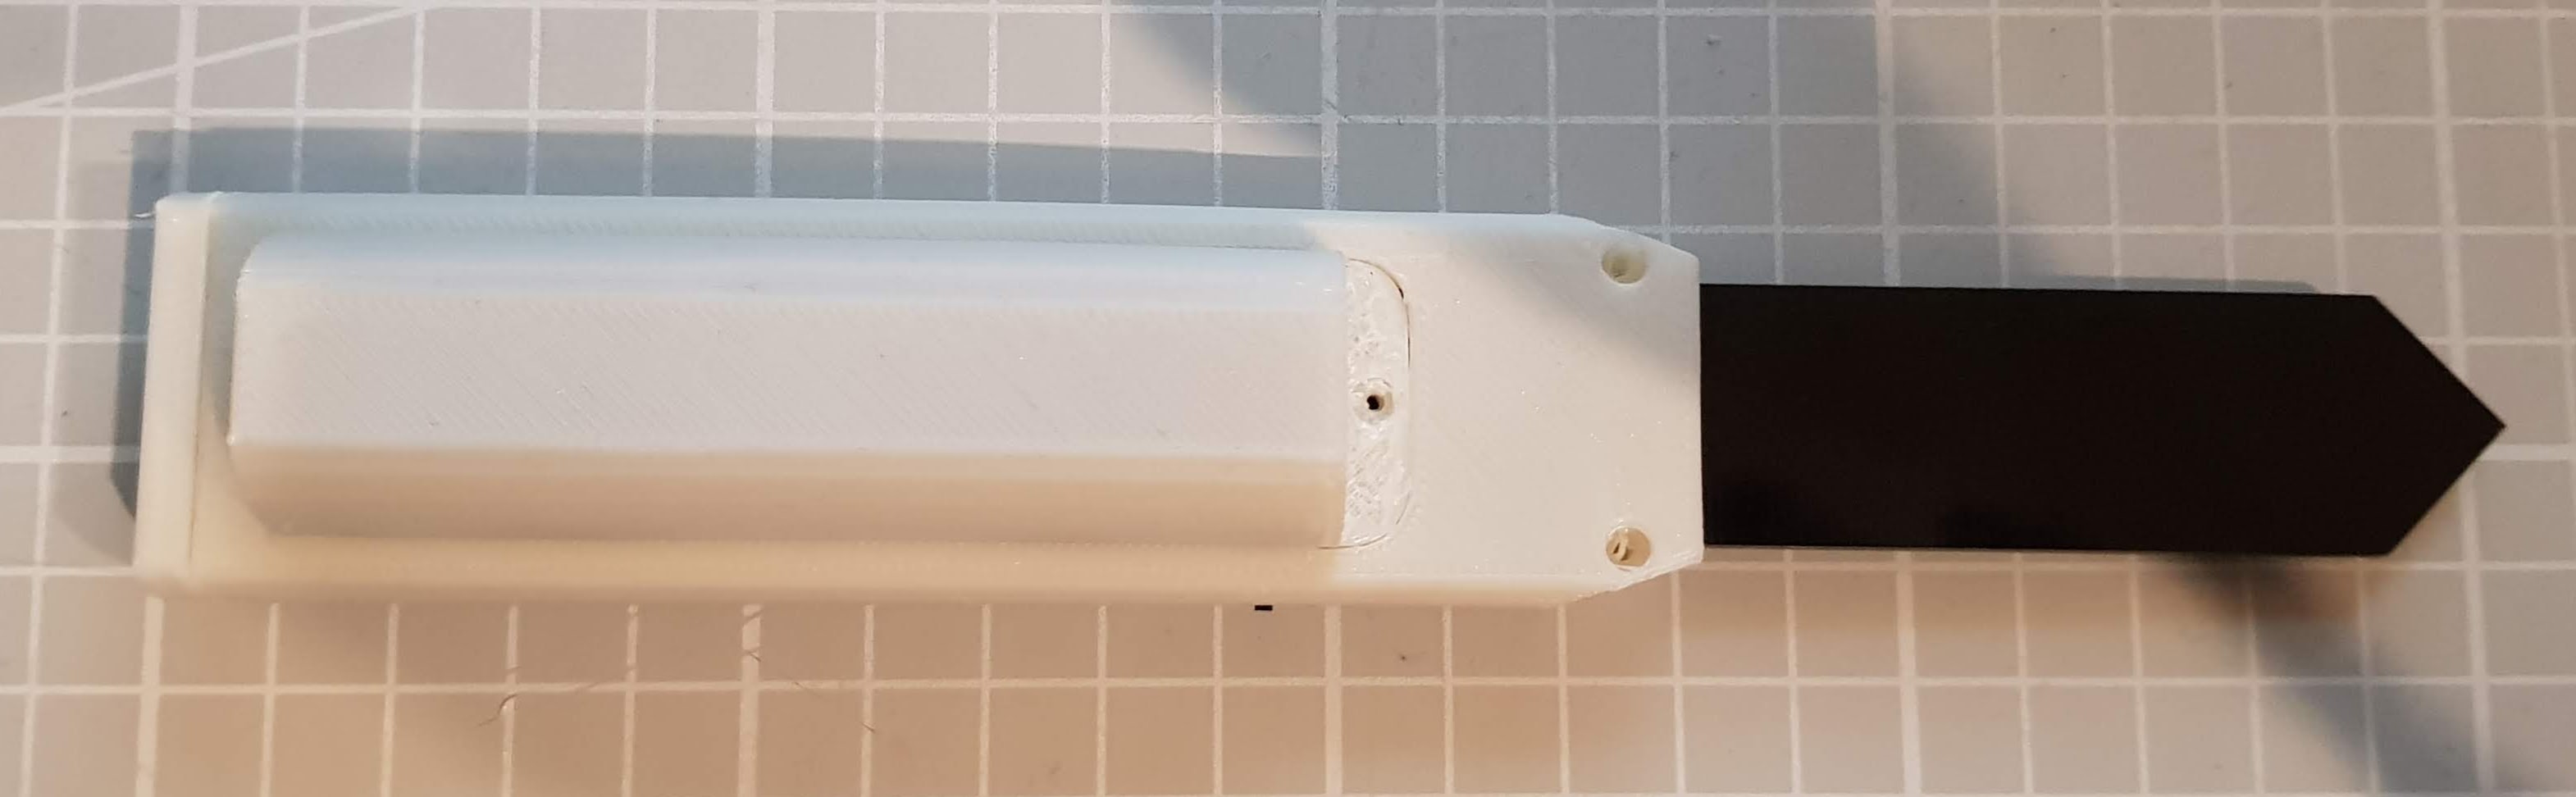
HiGrow Verpackung – Mit Board von Unten
The second expression was also okay, but here I'm missing the screw hole for attaching the lid. I've saved myself the trouble of taking pictures for now.
Conclusion
Nette Idee mit dem Pflanzensensor. Der ESP32 ist stand der Technik das gesamte Board hat ein paar Sensoren, was auch ganz nett für Einsteiger sein kann. Was mich am Stock ärgert ist die Knöpfchendrückerei beim Programmieren. Da waren wir schon mal weiter. Wenn man den Berichten im Internet glaubt (und das tue ich an dieser Stelle) dann kann der Stock die Nähe von Feuchtigkeit nicht ertragen und die Löpunkte blühen relativ schnell auf. Somit ist an einen Langzeiteinsatz ohne zusätliche Behandlung, zum Beispiel durch Epoxid Harz nicht zu denken. Ein Ausseneinsatz fällt damit auch flach.
Der Spannungsteiler um die Spannung des Akkus zu messen fehlt. Den Lichtsensor solls erst ab Version 2 geben. Der Stock ist eine nette Idee aber nicht besonders gut ausgeführt. Ich habe mir noch ein paar einzelne Bodenfeuchte Sensoren und eine Variante des HiGrow von LiliGo bestellt, diese werde ich bei Gelegenheit noch testen.
Verwandte Beiträge
- ESP32-C3 Seeed Studio XIAO
- ESP32-C3 Super Mini Board
- Preview – LuatOS ESP32-C3 Board
- ESP32 Bluetooth Gamepad
- ESP8266/32 WiFi Manager.
- Preview – ESP32 IO Shield for Arduino ESP32 Wroom Core Board
- Preview – ESP-WROOM-32 Rev1 Breadboard Adapter Board
- Preview – 7x9CM Prototyping Soldering Board for ESP8266, ESP-12E, ESP-12F, ESP32
- Preview – ESP32-Audio-Kit ESP32
- LilyGo T-Beam
Sources
CK Blog Post on Data Collection with the Sensor
Github Project HiGrowESP32MQTT
Re-release of the MQTT project
Github other project by lucafabbri
Nice contribution on Wikipedia about the game HighGrow 😉
Contribution to Deep Sleep Time ESP8266
| Date | Change | Author |
|---|---|---|
| 13.10.2020 | Post created | Suffocation |
Hello Stefan,
I've now also had my first experiences with the stick from Ali, and it's sufficient for experimenting.
I have the code from draeger-it.blog and am sending it to the „ThingSpeak“ page. .
Unfortunately, I'm not getting reasonable times with an 18650 battery either. With a stated 8800 mAh, it's kaput after about 200 cycles. When I measure the current the stick draws in standby mode, I have about 20 mA on the multimeter. In transmission status, the current is 170 mA.
Greetings from Halle/Sa
Siegfried
Hello,
after some error messages (wrong board, I had selected an ESP32 Wrover module instead of an ESP32 DEV Module as above)
No error messages are now appearing in the COM log.
But no further data is displayed there for me either.
It doesn't get any better than this.
11:00:57.393 -> …..ets Jun 8 2016 00:22:57
11:01:02.603 ->
11:01:02.603 -> rst:0x1 (POWERON_RESET),boot:0x13 (SPI_FAST_FLASH_BOOT)
11:01:02.603 -> configsip: 0, SPIWP:0xee
11:01:02.603 -> clk_drv:0x00,q_drv:0x00,d_drv:0x00,cs0_drv:0x00,hd_drv:0x00,wp_drv:0x00
11:01:02.603 -> mode:DIO, clock div:1
11:01:02.603 -> load:0x3fff0018,len:4
11:01:02.603 -> load:0x3fff001c,len:1216
11:01:02.603 -> ho 0 tail 12 room 4
11:01:02.603 -> load:0x40078000,len:10944
11:01:02.603 -> load:0x40080400,len:6388
11:01:02.603 -> entry 0x400806b4
11:01:02.882 -> [WIFI] Connecting to No_Name
11:01:03.068 -> xx:xx:xx:xx:xx:18
11:01:04.094 -> ………….
(MAC removed)
Shouldn't values be displayed there as well?
My Fritzbox can't find the IP address I entered either. (SSID and WPA2 password are correct though)
I wanted to use it with iOBroker (I already have MQTT installed there, but there is no connection).
Hello Corcon,
It looks like the Wi-Fi connection isn't working.
Let's check in the Fritzbox to see if 2.4GHz is enabled. If necessary, try disabling 5GHz. The encryption is WPA2. Try choosing a short password and test with that.
Perhaps try using some code that just establishes the Wi-Fi connection and see if that works. You can find an example here:
https://www.fambach.net/esp32-nodemcu/ or one of the example programs for the ESP32.
Hope that helps, regards Stefan
Hello,
After some „hurdles“, I managed to compile the code and flash it onto the plant skewer.
I have adjusted the WLAN SSID and password.
But shouldn't I see the Wi-Fi connection on the Fritzbox now?
As for MQTT, I wanted to use iobroker, but I'm not getting a connection there either.
How can I test if the spit is working at all?
Hello Stefan,
Everything runs on a RaspPi and the DietPi operating system for me. https://dietpi.com, It has a lot of built-in software for installation, including Docker: https://dietpi.com/docs/software.
If you want, I'll gladly send you my Node-RED, InfluxDB, Grafana „workflow“.
Sorry, yes I mean to keep it awake for longer, about 60 seconds, as I'd like it to wake up twice a day (uint64_t DEEPSLEEP_SECONDS = 3600*12;) and have enough time for watering and measurement. I can't find the setting to adjust the „awake“ time.
I've inverted the light level map because the graph in Grafana is showing a low value when it's sunny.
Greetings
Ian
Hello Ian,
is always before line 75 in the loop function. Before the deep sleep start is where you would need to get involved. The deep sleep start is unfortunately after the console output and therefore easily overlooked.
Hello
Stefan
Hello Stefan,
Thanks, found it.
Greetings
Ian
Hello Stefan,
Sorry, one more question. How can I set it to read the sensor data multiple times during the „wake“ phase?
Because in my irrigation system I would like to irrigate as follows in a 1-minute irrigation time:
Wait up
Sensor reading: dry > water > wait
Sensor reading: dry > water > wait
Sensor reading: dry > water > wait
Sensor reading: wet > no water > waiting
Sensor reading: wet > no water > waiting
etc.
Deep sleep
Greetings
Ian
Hello Ian,
Glad it's working out for you. With InfluxDB and Grafana, you're already much further along than I am. I've only just made my first attempts with Docker.
I don't know the module, but it's very interesting. Basically, it only needs two resistors connected as a voltage divider to an analogue port. It also annoys me a bit that the voltage or battery level aren't measured at the same time. On a few circuit diagrams there's a measurement connection for the charging IC, perhaps it just needs a bridge, but I'm not very good with electronics.
I'm not sure what you mean by the 60 seconds, of course you can keep the module awake for longer, for example, to switch a pin, is that what you mean?
The easiest way would be to put it before line 75, before the output and the sleep command (by the way, terrible programming style 😉).
Hello
Stefan
Hello Stefan,
Thank you very much for this great project. I have a HiGrow and couldn't do anything with it, now it's running great with node-red, influxDB and Grafana.
A question, would it be possible to integrate a GY219 Current Power Supply Sensor via I2C with MQTT. I am interested in monitoring the battery voltage.
Another question, would it be possible to determine the time after deep sleep? I would like to integrate it with my irrigation system and it needs about 60 seconds to be switched on.
Many greetings
Ian